I remember sitting on my floor three years ago, surrounded by a chaotic mountain of expensive fabrics and a sewing machine that felt more like a piece of heavy industrial machinery than a creative tool. I had watched dozens of “aesthetic” tutorials, but none of them mentioned the sheer frustration of a bird’s nest of tangled thread or the way a single wrong cut can turn a weekend project into a total loss. Most guides try to sell you on the magic of creation, but they skip over the reality that mastering sewing basics for beginners is actually about managing your tools and your environment so you don’t lose your mind.
I’m not here to give you a flowery lecture on “finding your inner designer.” Instead, I want to give you a functional system for getting started without the clutter or the unnecessary gear. I’ve stripped away the fluff to bring you the exact, no-nonsense essentials you need to actually finish a project. We’re going to focus on the mechanics, the right setup, and the simple workflows that turn a messy pile of cloth into something actually useful.
Table of Contents
Essential Sewing Machine Tools to Stop the Struggle
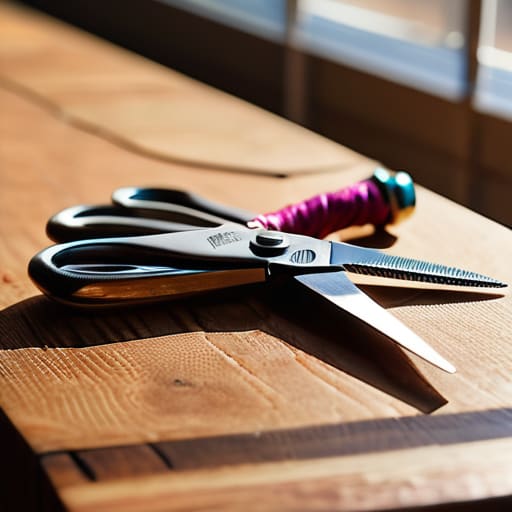
Look, you don’t need a massive, expensive kit to get started, but you also shouldn’t be scavenging through your kitchen junk drawer for scissors. To keep things efficient, I recommend focusing on a few high-quality sewing notions and supplies that actually do their job. Start with a sharp pair of fabric shears—and for heaven’s sake, never use them on paper—a decent seam ripper (because we all make mistakes), and a handful of versatile glass-head pins. Having these within arm’s reach prevents that frantic, mid-project search that kills your momentum.
Beyond the handheld gear, your machine needs a few specific companions to run smoothly. I always keep a small stash of different needle sizes on hand; using the wrong needle for your specific fabric types for sewing projects is the fastest way to end up with skipped stitches or even a broken machine. If you pair the right needles with a steady supply of high-quality all-purpose thread, you’ll find that most of your early hurdles disappear. It’s about building a streamlined workspace where the tools work for you, not against you.
The Simple Path to How to Thread a Sewing Machine
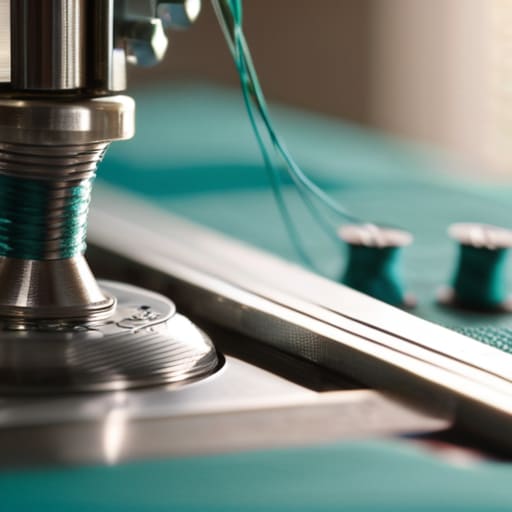
Look, I’ve spent enough time staring at a tangled mess of thread to know that nothing kills a productive flow faster than a machine that refuses to cooperate. Most people assume that learning how to thread a sewing machine is some complex, high-level engineering task, but it’s really just about following a logical sequence. Think of it like a circuit: if the path isn’t continuous and directed exactly where it needs to go, the whole system fails. Start by ensuring your spool is seated correctly and follow the tension guides one by one. Don’t try to skip steps to save time; that’s exactly how you end up with a bird’s nest of thread under your needle.
Once you’ve routed the upper thread, the next step is the bobbin. This is where most of my sewing machine troubleshooting tips come into play. If your tension feels off or your stitches look like a disaster, nine times out of ten, the bobbin wasn’t seated properly or the thread isn’t caught in the correct groove. Take a breath, reset, and trace the path with your eyes before you even touch the foot pedal. Once you nail this mechanical rhythm, you can stop worrying about the gear and actually start focusing on your project.
Five Small Systems to Keep Your Project from Spiraling
- Treat your workspace like a clean workbench; clear away everything except your machine and the fabric you’re currently working on to avoid the mental clutter of a messy desk.
- Don’t skip the iron—it’s not just for clothes, it’s for your seams, and a crisp, pressed seam is the difference between a DIY project and something that actually looks professional.
- Stop guessing with your needle; swap it out every time you start a new major project or if you hear even a slight “crunch” while sewing, because a dull needle is just a recipe for frustration.
- Slow down your pace to match your machine’s rhythm; you don’t need to race to the finish line, you just need consistent, controlled stitches that you can actually rely on.
- Keep a small “kit” of essentials—scissors, pins, and a seam ripper—within arm’s reach at all times so you aren’t wasting ten minutes hunting for a tool every time you hit a snag.
The Bottom Line: Less Friction, More Creating
Don’t overcomplicate your kit; focus on owning a few high-quality, functional tools rather than a drawer full of cheap gadgets that will only frustrate you mid-stitch.
Master the machine’s mechanics, like threading, before you attempt complex projects—it’s much easier to fix a setup error now than to troubleshoot a bird’s nest of thread later.
Treat your sewing space like an efficient workstation; a clean, organized area isn’t about aesthetics, it’s about removing the mental friction that stops you from actually starting.
The Logic of the Stitch
“Sewing isn’t about mastering complex patterns right away; it’s about mastering your tools and your tension. If you control the setup, the actual making becomes the easy part.”
Liam Anders Chen
Cutting Through the Noise
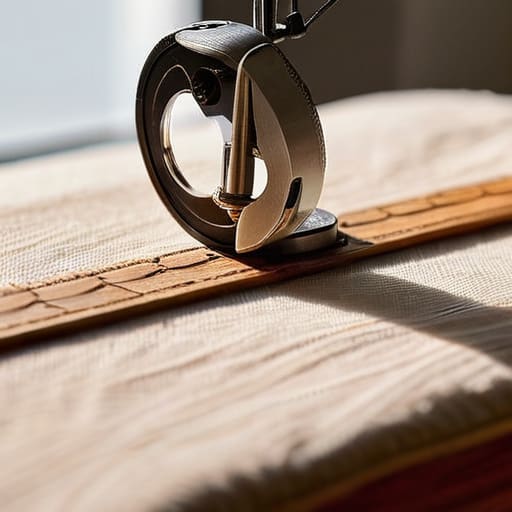
At the end of the day, sewing isn’t about mastering every complex stitch or owning every gadget in the catalog. It’s about having the right foundation so you aren’t fighting your equipment every time you sit down. We’ve covered the essential toolkit to keep your workspace functional and the straightforward process of threading your machine to prevent those inevitable, frustrating jams. Once you have these core systems in place, the technical friction disappears. You aren’t just managing a pile of fabric and loose threads anymore; you are actually operating a tool with intention and precision.
My advice? Don’t wait for the “perfect” setup to begin. Perfectionism is just another form of clutter that keeps you from making progress. Start with the basics we discussed, embrace the occasional crooked seam, and focus on the process rather than the end product. The goal here is to build a skill that serves you, not a hobby that consumes your mental energy. Once you strip away the intimidation, you’ll realize that sewing is just another series of small, manageable steps. Now, stop overthinking it and just go make something.
Frequently Asked Questions
I have a few fabric scraps lying around, but how do I actually know which needle or thread type I should be using so I don't end up with a bird's nest of tangles?
Look, don’t just grab whatever’s in the drawer and hope for the best. That’s how you end up with a bird’s nest of tangled thread and a ruined project. A good rule of thumb: match your needle to your fabric weight. Use a fine Universal needle for lightweight cottons, and switch to a heavy-duty denim needle for anything thicker. For thread, stick to high-quality all-purpose polyester; it’s versatile enough to handle most scraps without snapping.
Is it worth investing in a high-end machine right away, or should I just stick to a basic setup until I actually know what I'm doing?
Look, I’m a systems guy—I value efficiency over flash. Don’t drop a grand on a computerized beast just yet. A high-end machine often adds layers of complexity you don’t need while you’re still learning the fundamentals of tension and stitch control. Grab a reliable, mid-range mechanical machine instead. It’s rugged, predictable, and teaches you the mechanics. Master the basics on a simple setup first; once you outgrow it, then you upgrade.
What are the absolute bare-minimum mistakes I should watch out for so I don't accidentally ruin a perfectly good piece of fabric on my first try?
Look, I’ve seen enough ruined fabric to know that most mistakes aren’t about skill—they’re about rushing. First, check your tension; if it’s off, you’ll get a bird’s nest of thread on the underside. Second, always pin your fabric. If it shifts while you’re sewing, you’ve lost the battle. Lastly, don’t pull the fabric through the machine; just guide it. Let the machine do the heavy lifting so you don’t end up with a wavy mess.
