I was standing in front of my closet last Tuesday, staring at a pair of heavy-duty chinos with a fraying hem, feeling that familiar surge of frustration. Most people think you need a sewing machine and a degree in textile design to fix a simple tear, but that’s a total myth. In reality, learning how to mend clothes isn’t about becoming a master tailor; it’s about having the right tools and a few reliable systems to stop a small problem from becoming a reason to throw something away. I grew up in a house where we fixed things rather than replacing them, and I’ve realized that the “buy new” mentality is just a massive drain on both your wallet and your mental clarity.
In this guide, I’m stripping away the complicated jargon to give you a pragmatic toolkit for garment repair. I’ll show you the exact, no-nonsense methods I use to tackle everything from loose buttons to structural seam failures. My goal isn’t to turn you into a hobbyist, but to teach you how to mend clothes efficiently so you can reclaim your wardrobe and get back to the things that actually matter.
Table of Contents
- Step-by-Step Instructions
- The Only Sewing Kit Essentials You Actually Need
- Mastering Invisible Stitch Methods for Seamless Repairs
- Pro-Tips to Keep Your Repairs from Looking Like a Patchwork Disaster
- The Bottom Line
- ## The Philosophy of Repair
- Don't Let the Small Stuff Win
- Frequently Asked Questions
Guide Overview
Tools & Supplies
- Hand sewing needles of various sizes
- Fabric scissors for clean cuts
- Seam ripper for removing old stitches
- All-purpose sewing thread in various colors
- Assorted fabric patches
- Sewing notions kit (pins, measuring tape)
Step-by-Step Instructions
- 1. First, clear a workspace. You can’t fix something properly if you’re fighting a pile of laundry or a cluttered dining table. Find a flat, well-lit surface—a desk or even a clean patch of floor works—and gather your gear. You’ll need a needle, some high-quality thread that matches your fabric, and a pair of sharp scissors. I always keep a small repair kit in my desk drawer so I don’t waste twenty minutes hunting for a single needle.
- 2. Inspect the damage to determine your strategy. Is it a clean rip along a seam, or is there a hole in the middle of the fabric? If it’s a seam, you’re looking at a simple backstitch to pull the edges together. If it’s a hole, you’ll need to be a bit more surgical to bridge the gap. Knowing exactly what you’re up against prevents you from applying a “one size fits all” fix that ends up looking messy.
- 3. Prep your thread. Don’t just grab a massive glob of string and hope for the best. Cut a length of thread about the length of your arm—any longer and you’ll be fighting constant tangles—and thread it through the eye of the needle. Pull it through so the ends meet, then tie a sturdy knot at the tail. This double-thread method adds extra strength, which is essential if you’re fixing something like denim or a heavy cotton shirt.
- 4. Secure the starting point. Don’t just start sewing in the middle of the rip; you need an anchor. Start about half an inch before the actual damage begins. Push your needle through the fabric from the underside to the top. This hides your starting knot and ensures the repair looks clean from the front. I’ve learned the hard way that visible knots are the fastest way to make a garment look “patched up” rather than actually mended.
- 5. Execute the stitch. If you’re repairing a seam, use the backstitch: bring the needle up through the fabric, poke it back down a stitch’s length away, and then bring it back up between the previous two holes. This creates a continuous, overlapping line that is incredibly strong. If you’re closing a hole, work in small, controlled increments, making sure to pull the thread just tight enough to close the gap without puckering the fabric.
- 6. Reinforce the edges. Once you’ve reached the end of the tear, don’t stop immediately. Continue your stitching for another half inch beyond the damage. This “overlap” technique distributes the tension across more of the fabric, which prevents the repair from simply unravelling the next time you put the item on or toss it in the wash. It’s all about building a system that lasts.
- 7. Tie off and finish. To finish, bring your needle to the underside of the fabric one last time. Pass the needle through the loop created by your thread, pull it tight to form a knot, and repeat this twice to ensure it’s secure. Snip the excess thread close to the knot with your scissors. Now, give the fabric a quick tug to make sure everything is seated properly. You’ve just saved a piece of clothing from the landfill with about ten minutes of intentional work.
The Only Sewing Kit Essentials You Actually Need
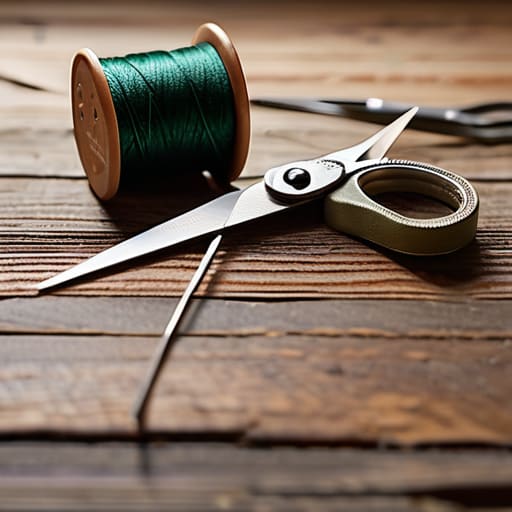
Look, you don’t need a massive, overflowing sewing box that takes up half your junk drawer. In my experience, most of those pre-packaged kits are filled with cheap, flimsy tools that snap the moment you actually need them. To keep things efficient, I keep a small, curated selection of fabric repair tools in a dedicated pouch. All you really need are a few high-quality hand-sewing needles (various sizes), a small pair of sharp embroidery scissors, a measuring tape, and a handful of versatile thread colors. If you invest in decent thread rather than the cheap stuff, your repairs will actually hold up under pressure.
I also suggest keeping a small stash of scrap fabric and a few safety pins on hand. These are lifesavers when you’re attempting more complex projects like patching denim holes or trying out different visible mending techniques to add character to an old jacket. Having the right materials ready means you won’t abandon a repair halfway through just because you’re missing a specific shade of navy thread. Keep it minimal, keep it functional, and you’ll actually use it.
Mastering Invisible Stitch Methods for Seamless Repairs
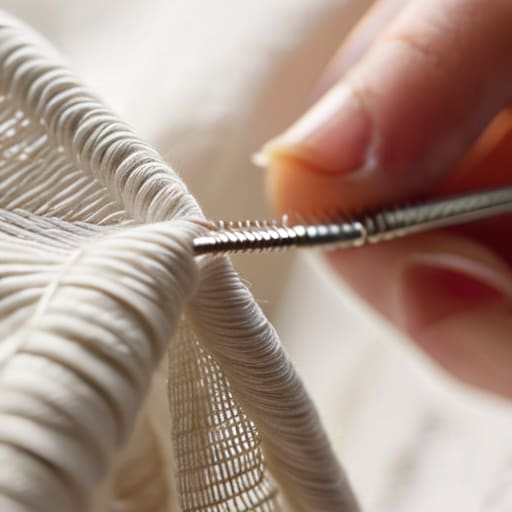
If you want your repairs to look like they never happened, you need to move past basic stitching and embrace invisible stitch methods. The goal here isn’t to create a decorative pattern, but to mimic the natural weave of the fabric. When I’m working on a delicate cotton shirt or a seam that’s starting to pull, I rely on the ladder stitch. You essentially weave your needle through the fold of the fabric on either side of the gap. As you pull the thread taut, the two edges zip together, hiding the thread entirely. It’s a small, precise movement that requires patience, but the result is a seamless finish that keeps your clothes looking sharp rather than patched up.
For heavier materials like trousers or skirts, you might feel tempted to use thicker thread, but that often leaves a tell-tale ridge. Instead, try to match your thread weight to the original garment as closely as possible. If you find yourself patching denim holes or working with sturdier weaves, you can use a slightly larger needle, but keep your tension even. If you pull too hard, the fabric will pucker, which is just as obvious as a bad rip. Aim for consistency over speed—it’s the only way to ensure the repair stays hidden under normal wear.
Pro-Tips to Keep Your Repairs from Looking Like a Patchwork Disaster
- Always match your thread weight to the fabric; using heavy-duty upholstery thread on a thin linen shirt is a quick way to cause more puckering and ruin the garment.
- Iron everything before you start. You can’t get a clean, professional-looking mend if you’re fighting against old wrinkles and distorted seams.
- Don’t just patch the hole—reinforce the surrounding area. If the fabric is thinning, use a small piece of lightweight interfacing on the inside to give the repair some structural integrity.
- Test your color match on the inside hem first. Lighting in stores is deceptive, and you don’t want to realize your “navy” thread is actually royal blue once you’ve already started stitching.
- Work from the inside out whenever possible. The goal is to make the repair invisible from the front, so keep your tension even and your knots tucked away on the underside.
The Bottom Line
Don’t let a small tear become a reason to replace a good piece of clothing; most repairs are just ten minutes of focused work away from being solved.
You don’t need a massive sewing chest to be effective—just a few high-quality essentials that actually do the job.
Focus on the technique, not the perfection; a clean, functional stitch is always better than a discarded garment.
## The Philosophy of Repair
“Mending isn’t just about fixing a hole in a shirt; it’s about refusing to let a minor setback dictate your consumption. When you learn to repair, you reclaim control over your belongings and, more importantly, your time.”
Liam Anders Chen
Don't Let the Small Stuff Win
At the end of the day, mending isn’t about becoming a master tailor; it’s about having the right tools and the right mindset to handle the minor setbacks. We’ve covered how to build a lean, functional sewing kit, the step-by-step mechanics of basic repairs, and those invisible stitch methods that make a fix look like it was never even there. Once you strip away the intimidation factor, you realize that most wardrobe malfunctions are just small, solvable problems. By keeping a few essentials on hand and knowing these core techniques, you stop being a victim of a loose thread or a sudden tear and start becoming the manager of your own belongings.
I’ve always believed that the way we treat our tools and our clothes reflects how we treat our time. Every minute you spend tossing a perfectly good shirt because of a tiny hole is a minute wasted on unnecessary consumption and clutter. When you take ten minutes to fix a seam, you aren’t just saving money; you are reclaiming control over your environment. Stop letting a minor rip dictate your schedule or your budget. Grab your needle, find a quiet spot, and fix the problem so you can get back to what actually matters: living your life.
Frequently Asked Questions
How do I know if a tear is actually fixable, or if I'm just wasting my time trying to save a piece of clothing that's beyond repair?
Look, I’ve spent enough time at my workbench to know when a project is worth the effort and when it’s just clutter. If the fabric is fraying at the edges of the tear or the weave itself is disintegrating, let it go. That’s a structural failure, not a simple fix. If the hole is clean and the fabric feels solid around the damage, it’s worth the ten minutes of work. Don’t fight a losing battle.
Is there a way to mend clothes without having to sit down for an hour every single time a small hole appears?
Look, I get it. I don’t have an hour to spend hovering over a needle every time a thread pulls loose. For those quick fixes, skip the heavy sewing and keep a roll of high-quality iron-on mending tape in your desk. It takes thirty seconds: cut, press, and you’re done. It’s not a permanent fix for a major tear, but for minor snags, it stops the bleeding so you can move on with your day.
What’s the best way to handle different fabric types, like stretchy gym gear versus a stiff denim jacket?
Treat them like two different engineering problems. For stretchy gym gear, you can’t use a standard straight stitch; it’ll snap the moment you pull the fabric. Use a zigzag stitch or even a needle and thread with a bit of “give” to follow the fabric’s natural movement. Denim is the opposite—it’s heavy and stubborn. Use a thicker needle and a longer stitch to ensure the repair actually holds against the tension.
