I was mid-way through moving a heavy bookshelf into my new apartment last Tuesday when I heard it—that sickening, hollow thud followed by the sound of crumbling plaster. I stood there staring at a jagged, gaping wound in my pristine white drywall, feeling that immediate spike of mental clutter that comes when your environment stops working for you. Most people think you need a professional contractor or a massive toolkit to fix a mistake like that, but honestly, knowing how to patch a hole in the wall is less about expensive gear and more about having the right system in place.
I’m not here to sell you on a complicated, multi-day renovation project that eats up your entire weekend. My goal is to help you strip away the intimidation factor so you can fix the damage, clear the visual distraction, and get back to your actual life. In this guide, I’m going to walk you through a streamlined, no-nonsense process for repairing everything from tiny nail pricks to larger dents. We’ll focus on the exact tools you actually need and the precise movements required to get a seamless finish without the unnecessary headache.
Table of Contents
- Step-by-Step Instructions
- Mastering the Drywall Patch Kit for Small Holes
- Pro Wall Compound Application Techniques for Effortless Results
- Pro Moves to Keep Your Walls Looking Flawless
- The Bottom Line: Keep It Simple and Move On
- ## On the Value of a Quick Fix
- Done and Dusted
- Frequently Asked Questions
Guide Overview
Tools & Supplies
- Putty knife for applying compound
- Sandpaper for smoothing surfaces
- Spackle knife for small holes
- Sponge for cleaning dust
- Spackle or joint compound (1 small tub)
- Patch kit or mesh adhesive tape (1 pack)
- Sandpaper (medium and fine grit)
- Interior paint (small sample size)
Step-by-Step Instructions
- 1. First, grab your precision screwdriver from your bag—not for the wall, but to clear out any loose debris or jagged bits of drywall sticking out from the hole. You want a clean, recessed edge so the patch sits flush rather than creating a bump. If the edges are fraying, just lightly sand them down until the perimeter is smooth.
- 2. Next, pick your weapon based on the size of the damage. If it’s just a small nick from moving furniture, a simple tub of lightweight spackle will do. If you’re looking at a gaping wound from a doorknob, you’re going to need a self-adhesive mesh patch to provide some structural integrity. Don’t try to skip this step; without a base, the patch will just sink right back in.
- 3. Apply your compound using a putty knife. I like to work from the center outward, applying just enough pressure to fill the void without overloading the area. The goal is to get the material into the cracks while keeping the surface as level as possible. If you apply too much at once, you’re just creating more work for yourself during the sanding phase.
- 4. Let it dry completely. This is the hardest part for people who like to move fast, but patience is a system that pays off. If you try to sand wet compound, you’ll end up with a muddy mess that ruins your drywall texture. Give it the time it needs—usually an hour or two depending on the humidity—until it feels hard to the touch.
- 5. Once it’s dry, grab a fine-grit sanding sponge and lightly buff the area. You aren’t trying to reshape the whole wall; you’re just aiming to eliminate the transition between the patch and the original surface. Run your hand over it; if you can feel a ridge, you’ll see it once the light hits it later, so keep sanding until it feels seamless.
- 6. Wipe away the dust with a damp microfiber cloth. This is a small detail that most people overlook, but if you leave that fine white powder on the wall, your paint won’t adhere properly. You want a clean, dust-free canvas before you even think about opening a paint can.
- 7. Finally, dab on a bit of matching paint. If you don’t have the original color, don’t panic—just take a small flake of the dried paint to a hardware store for a match. Use a small brush or a sponge to feather the edges of the paint outward, blending the new color into the old so the repair becomes virtually invisible.
Mastering the Drywall Patch Kit for Small Holes
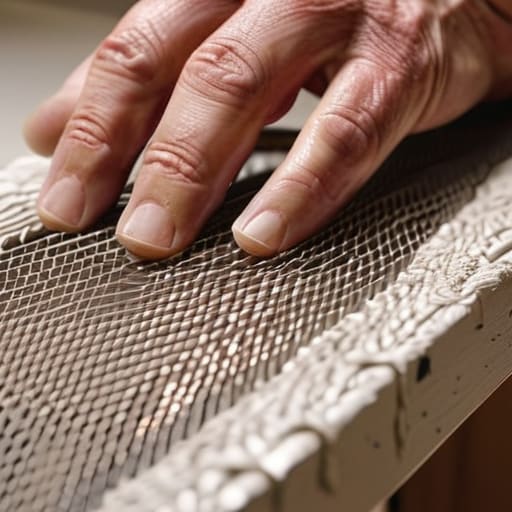
If you’re looking at a tiny puncture from a door handle or a stray nail, don’t bother hauling a massive sheet of gypsum into your car. A standard drywall patch kit for small holes is your best friend here. These kits usually come with a self-adhesive mesh patch that does the heavy lifting for you. My trick is to make sure the area around the hole is bone-dry and free of loose debris before you stick the patch on. If the surface is dusty, the adhesive won’t bite, and you’ll end up fighting a peeling mess later.
Once the patch is secure, the real work begins with your wall compound application techniques. I always tell myself: less is more. It’s tempting to glob the compound on to fill the void in one go, but that just creates a mountain you’ll have to sand down later. Instead, apply thin, translucent layers. Let each one dry completely before adding the next. This approach saves you massive amounts of time when it eventually comes to how to sand drywall smooth for that professional, seamless finish.
Pro Wall Compound Application Techniques for Effortless Results
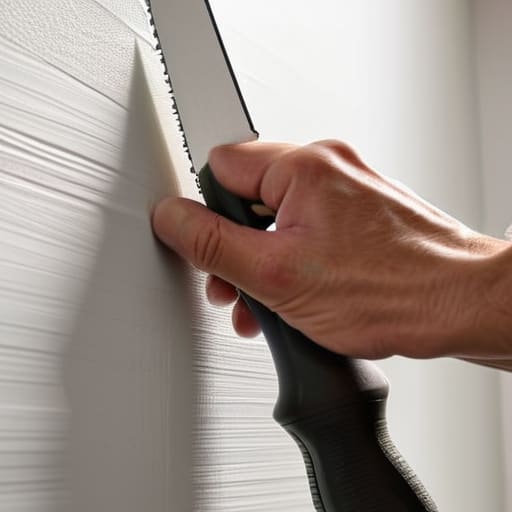
If you want to avoid that tell-tale “bump” under your paint, you have to change how you think about the compound. Most people try to fill the hole in one massive go, but that’s a recipe for a mess. Instead, I treat it like layering a thin veneer. Start with a very thin layer of compound, spreading it slightly beyond the edges of your mesh tape for drywall repair. The goal isn’t to fill the void immediately; it’s to create a seamless transition between the patch and the existing wall. If you build it up too thick, you’ll end up spending way too much time trying to figure out how to sand drywall smooth later on.
Once that first layer is dry, apply a second, even wider coat. This is where most of the heavy lifting happens. I always aim for a feathered edge, meaning the compound should get thinner and thinner as it moves away from the center. Think of it as gradual integration rather than just slapping mud on a surface. If you master these wall compound application techniques now, you won’t be staring at a textured mess when it’s time for painting over patched walls.
Pro Moves to Keep Your Walls Looking Flawless
- Don’t rush the drying process. It’s tempting to throw a second coat of compound on a damp patch just to get it over with, but that’s how you end up with a lumpy, uneven mess. Give it time to set properly so your finish stays smooth.
- Sanding is where most people mess up. Use a fine-grit sanding sponge rather than heavy-duty sandpaper; you want to feather the edges into the existing wall, not create a crater of dust around the repair.
- Clean the area before you start. I’ve seen too many people try to patch over loose dust or old, peeling paint. If the surface isn’t clean, your new compound won’t bond, and you’ll be staring at that same hole in a month.
- Use a light touch with the putty knife. You aren’t trying to plaster a cathedral; you’re trying to fill a void. Apply just enough pressure to spread the compound, and aim to leave as little excess as possible to minimize sanding later.
- Match your texture. If your walls have a slight orange-peel or knockdown texture, don’t leave your patch perfectly smooth. Use a damp sponge or a light spray to mimic the surrounding pattern so the repair actually disappears into the room.
The Bottom Line: Keep It Simple and Move On
Don’t aim for perfection on the first pass; it’s much easier to apply two thin, clean layers of compound than to try and fix one thick, messy mound.
Invest in a decent quality putty knife—having the right tool in your kit saves you from the frustration of a jagged, uneven finish.
Treat the repair as a quick system, not a weekend project; get the patch done efficiently so you can stop thinking about it and get back to your actual life.
## On the Value of a Quick Fix
A hole in the wall is just visual noise; don’t let a minor imperfection become a permanent distraction. Patch it, smooth it, and clear the space so your mind can focus on what actually matters.
Liam Anders Chen
Done and Dusted
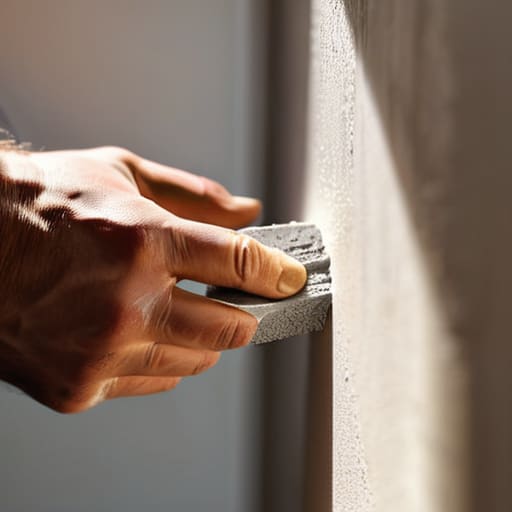
At the end of the day, patching a hole isn’t about achieving architectural perfection; it’s about the process of systematic repair. We’ve covered the essentials: selecting the right patch for the job, applying your compound with steady, purposeful strokes, and letting the drying process work its magic. If you’ve followed these steps, you haven’t just covered up a dent; you’ve successfully executed a small, repeatable system to restore your environment. Remember, the secret is in the patience of the layers—don’t rush the sanding, or you’ll just end up fighting the wall all over again.
I know how easy it is to let these little imperfections pile up until they feel like overwhelming evidence of a chaotic home. But there is a profound sense of clarity that comes from looking at a wall that used to have a hole and seeing something smooth and seamless instead. Don’t let a minor repair sit on your mental to-do list for weeks. Fix it, clear the space, and reclaim your environment so you can stop managing your house and start actually enjoying it. You’ve got the tools, you’ve got the method, now go get it done.
Frequently Asked Questions
How do I know if the hole is too big for a simple patch kit and requires a full sheet of drywall?
Look, I’m a big fan of the quick fix, but there’s a line where a patch kit becomes a band-aid on a broken leg. If the hole is larger than about six inches, or if you can see through it into the next room, stop. At that point, you aren’t just fixing a dent; you’re dealing with structural integrity. Don’t waste your weekend fighting a massive gap—grab a fresh sheet and do it right.
Can I skip the sanding step if I'm in a rush, or is that going to ruin the finish?
Look, I get it—you’re in the middle of a busy week and just want this done. But honestly? Don’t skip the sanding. If you leave it rough, you’re just trading ten minutes of work now for an hour of frustration later when you try to paint it. You’ll end up with a visible bump that catches the light, and it’ll look amateur. Take the extra few minutes to sand it smooth; your future self will thank you.
What’s the best way to hide the patch so it doesn't look like a different texture once I paint it?
The secret isn’t just the patch; it’s the feathering. Don’t stop applying compound at the edge of the hole. Instead, use your putty knife to spread the compound much wider than the actual repair, tapering it down until it’s almost invisible. You want a gradual slope, not a bump. Once it’s sanded smooth, hit it with a primer first. If you skip primer, the patch will soak up paint differently and look like a ghost.
