I was halfway through a delicate soldering job on a vintage mechanical keyboard last Tuesday when my screwdriver rolled off a makeshift pile of cardboard boxes and vanished into the dark abyss of my cluttered floor. It was a small moment, but it felt like a massive failure of my own system. Most people think you need a massive, expensive workshop or a degree in carpentry to get started, but that’s a lie that keeps people from actually creating. The truth is, learning how to build a workbench isn’t about buying the fanciest power tools or following a complex blueprint; it’s about creating a stable, dedicated foundation where your tools actually have a home.
In this guide, I’m stripping away the fluff and the over-engineered designs that waste your time and money. I’m going to show you a straightforward, modular approach to building a workspace that is built to last and designed for actual utility. We’ll focus on structural integrity, smart organization, and using materials that won’t break the bank. By the time we’re done, you won’t just have a table; you’ll have a reliable system that lets you stop fighting your environment and start focusing on the work you actually love doing.
Table of Contents
- Step-by-Step Instructions
- Choosing Heavy Duty Workbench Materials for Life Long Stability
- Mastering Sturdy Workbench Design and Essential Woodworking Tools
- 5 Ways to Stop Your Workbench from Becoming a Messy Liability
- The Bottom Line: Build Once, Build Right
- The Foundation of Every Project
- Build It, Use It, Move On
- Frequently Asked Questions
Guide Overview
Tools & Supplies
- Circular saw or miter saw for cutting lumber
- Power drill for driving screws
- Tape measure for accurate marking
- Speed square for ensuring 90-degree angles
- Level to ensure a flat work surface
- 4×4 lumber for legs (approx. 16 feet)
- 2×4 lumber for frame (approx. 40 feet)
- 3/4 inch plywood for tabletop (1 sheet)
- 2.5 inch wood screws for framing
- 1.5 inch wood screws for tabletop
Step-by-Step Instructions
- 1. First, you need to stop guessing and start measuring. Grab that notebook I always mention and sketch out a footprint that actually fits your space. Don’t just build a massive table because you think you should; if you’re working in a tight corner, a sprawling workbench is just more unnecessary clutter to manage. Decide on your height—usually around 34 to 36 inches—and write down your exact dimensions before you even touch a saw.
- 2. Next, head to the lumber yard and get some sturdy, straight-grained 2x4s. I’ve learned the hard way that buying the cheapest, most bowed wood in the pile is a recipe for a wobbly nightmare. You want pieces that are dead straight so your foundation doesn’t fight you later. Pick up a sheet of 3/4-inch plywood for the top as well; it’s the backbone of your entire setup.
- 3. Now, it’s time to cut your components to the specs you noted earlier. If you don’t have a table saw, a decent circular saw and a straight edge will do the trick. The goal here is precision over speed. As someone who restores mechanical keyboards, I can tell you that even a millimeter of error can throw a whole system off. Take your time to ensure every cross-cut is square.
- 4. Start assembling the frame by creating two rectangular end frames using your 2x4s. I prefer using pocket hole joinery or heavy-duty wood screws to keep everything tight. Drive your screws through the legs into the horizontal stretchers, but don’t go full force immediately. You want to leave a little bit of wiggle room to square the frame up before you tighten everything down for good.
- 5. Once the frame is stable, connect your two end frames with long longitudinal stretchers to create the main structure. This is where you’ll want to add a bottom shelf if you have the vertical space. A bottom shelf isn’t just for extra storage; it acts as a structural stabilizer that prevents the legs from splaying under heavy loads. It’s all about building for longevity.
- 6. Lay your plywood top onto the frame. If you want a truly professional feel, I recommend using a bit of wood glue along the top edges of the 2x4s before laying the plywood down. This prevents the top from shifting or squeaking when you’re working. Secure it with screws, but make sure they are countersunk below the surface. You don’t want a stray screw head catching on your tools or scratching a project you’re working on.
- 7. Finally, don’t just leave it as a raw slab of wood. Give the top a quick sand with some medium-grit sandpaper to smooth out any splinters or rough patches. If you have the time, a simple coat of polyurethane or even just a bit of linseed oil will protect the wood from spills and moisture. A well-maintained surface is a functional surface, and it’s the first step to keeping your workspace organized.
Choosing Heavy Duty Workbench Materials for Life Long Stability
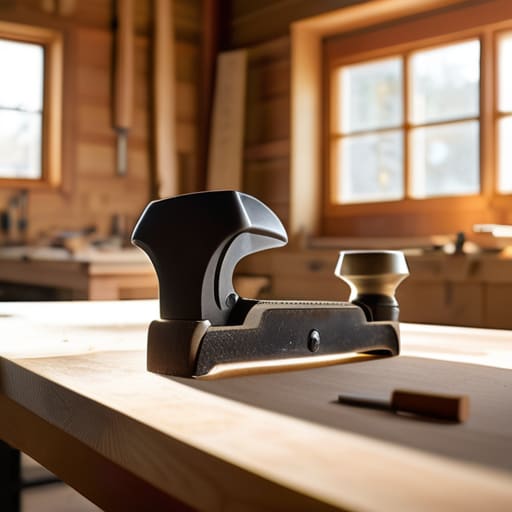
If you’re going to do this, do it once and do it right. I’ve spent too many hours wrestling with flimsy, particle-board tables that wobble the second I apply any real pressure. When you’re selecting heavy duty workbench materials, stop looking for the cheapest option at the big-box store. You want mass. I personally swear by thick maple or even high-grade birch plywood for the top. The goal isn’t just a flat surface; it’s about creating a foundation that absorbs vibration and stays dead-still when you’re sawing or sanding.
Don’t get too bogged down in complex woodworking workbench plans that require specialized timber you can’t find locally. Instead, focus on the structural integrity of your frame. Use solid 4×4 posts for the legs and heavy-duty construction screws—not just nails—to ensure everything stays locked in place. A sturdy workbench design is less about aesthetic perfection and more about the sheer density of the build. If it feels heavy and slightly intimidating to move, you’re probably on the right track.
Mastering Sturdy Workbench Design and Essential Woodworking Tools
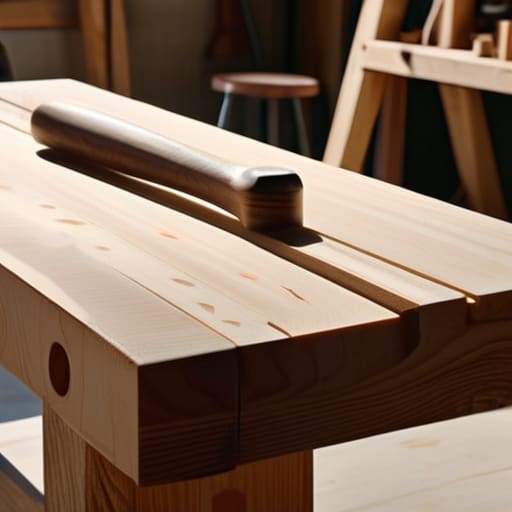
When you’re actually in the middle of the build, it’s easy to get lost in the weeds of a complex set of woodworking workbench plans. My advice? Don’t over-engineer the geometry. A sturdy workbench design relies less on fancy joinery and more on mass and rigidity. If your frame wobbles when you’re sawing, you’ve already lost the battle. I always aim for a design that prioritizes a low center of gravity; the heavier the base, the less you’ll be fighting the table and the more you’ll be focusing on your craft.
As you move through the assembly, keep your essential woodworking tools within arm’s reach. I can’t tell you how many times I’ve lost momentum because I had to hunt for a specific driver or a level halfway through a critical step. Treat your assembly process like a system: lay out your components, verify your squareness, and tighten everything twice. If you treat the construction with the same precision you’d use to restore a mechanical keyboard, you’ll end up with a workspace that lasts a lifetime instead of a weekend project that falls apart in a month.
5 Ways to Stop Your Workbench from Becoming a Messy Liability
- Prioritize height based on your body, not a random number. I learned the hard way that a workbench that’s even two inches too low will wreck your lower back by the end of a Saturday session. Stand at your station and bend your knees slightly; that’s your sweet spot.
- Build in dedicated “zones” for different tasks. Don’t just throw everything on the surface. I keep my precision tools—like the screwdrivers I use for my keyboard builds—in a specific spot so I’m not hunting through sawdust every time I need to make a fine adjustment.
- Invest in a heavy-duty clamping system early. A workbench is useless if your workpiece is sliding around like a hockey puck. Whether it’s a built-in vise or simple holdfasts, you need a way to lock your project down so your hands are free to actually work.
- Think about your lighting before you think about your aesthetics. There is nothing more frustrating than squinting at a delicate cut because you’re working in a shadow. Aim for bright, overhead LED shop lights, but add a dedicated task lamp for the detailed stuff.
- Leave room for the “messy” reality of life. Don’t design a workspace that’s so minimalist it’s impractical. You need a place for the scrap wood, the power cords, and the half-finished projects. A system only works if it can handle the chaos of a real project.
The Bottom Line: Build Once, Build Right
Don’t cut corners on stability; a flimsy workbench is just a recipe for frustration and wasted time. Invest in heavy-duty materials now so you aren’t rebuilding your setup six months down the line.
Design your workspace around your actual workflow, not a theoretical ideal. A workbench that works for you is one that keeps your most essential tools within reach and your clutter at bay.
Focus on functionality over aesthetics. Your workbench isn’t a showroom piece—it’s a tool meant to absorb impact, hold weight, and help you get your projects done without the chaos.
The Foundation of Every Project
“A workbench isn’t just a piece of furniture; it’s the physical manifestation of your ability to focus. If your foundation is wobbling, your work will too. Build it once, build it solid, and stop letting a shaky table dictate the quality of your craft.”
Liam Anders Chen
Build It, Use It, Move On
At the end of the day, building a workbench isn’t about achieving woodworking perfection or following a complex blueprint to the letter. It’s about the fundamentals: selecting heavy-duty materials that won’t wobble under pressure, designing a structure that supports your specific workflow, and having the right tools to pull it all together. Once you’ve secured that solid foundation and organized your workspace, you’ve done the heavy lifting. The goal was never to spend months obsessing over the perfect shop; the goal was to stop fighting your environment so you can finally get to work.
Don’t let the fear of a messy garage or a “not quite right” design keep you in a state of perpetual planning. A workbench is a tool, not a museum piece, and it’s meant to get scratched, dented, and covered in sawdust. The real value isn’t in the wood and screws themselves, but in the mental clarity you gain when you finally have a dedicated, stable place to create. So, grab your screwdriver, clear some space, and start building. You’ll be surprised how much faster you move once you aren’t constantly tripping over your own chaos.
Frequently Asked Questions
How much space should I actually budget for a workbench in a small apartment or garage?
Don’t let a massive blueprint kill your motivation before you even start. If you’re in a tight garage or a small apartment, aim for a footprint of about 4′ x 2′. It’s enough room to actually work without feeling claustrophobic, but small enough to tuck into a corner. If you’re really squeezed, go vertical with shelving above it. Just remember: a workbench that’s too big for your space is just another piece of clutter.
Is it worth spending the extra money on a solid wood top, or can I get away with using plywood?
Look, if you’re just assembling IKEA furniture or light electronics, plywood is fine. But if you’re actually planning to build, repair, or tinker, go with solid wood. Plywood can delaminate or warp over time, and it doesn’t take a beating like a real slab of maple or oak. I’ve seen too many people waste time fighting a wobbly, uneven surface. Spend the extra cash now; your future self will thank you for the stability.
What are the best ways to organize my tools on the bench without making it feel cluttered?
The secret is to stop treating your workbench like a storage unit and start treating it like an active workspace. I use a “zones” approach: keep the tools I touch every five minutes—like my calipers or a specific driver—within arm’s reach, and everything else goes on a wall-mounted pegboard. If it’s not in use, it shouldn’t be on the surface. Clear the deck so you can actually focus on the task at hand.
