I used to think that learning how to bake bread at home required a chemistry degree and a kitchen full of expensive, specialized gear. I spent way too much time scrolling through endless tutorials that demanded sourdough starters with names, digital scales for every gram, and artisanal proofing baskets that cost more than my monthly grocery bill. It felt like a massive, unnecessary system of complexity just to get a basic loaf on the table. Honestly, it was just more noise in an already loud world, and I hated how it made a simple, primal skill feel like a high-maintenance chore.
I’m not here to sell you on a lifestyle you don’t have time for. My goal is to strip away the fluff and show you the most efficient, low-friction way to get great results using what you already have in your pantry. I’ll walk you through a streamlined process that focuses on the mechanics of the dough rather than the vanity of the equipment. We’re going to master the fundamentals so you can spend less time managing a kitchen mess and more time actually enjoying the warm, crusty reward.
Table of Contents
- Mastering the Essential Bread Baking Tools You Actually Need
- Demystifying the Yeast Fermentation Process for Real Results
- Five Practical Rules to Keep Your Baking From Turning Into a Mess
- The Bottom Line: Keep It Simple and Let It Work
- The Philosophy of the Loaf
- Getting Your Hands Dirty
- Frequently Asked Questions
Mastering the Essential Bread Baking Tools You Actually Need
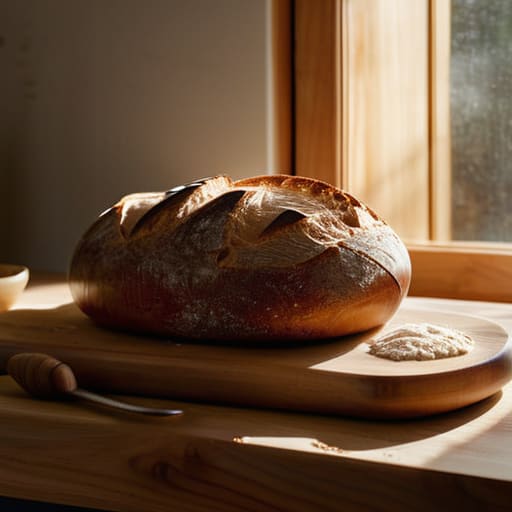
I’ve spent way too much time in my life looking at overly complicated gadget catalogs, thinking I needed a specialized machine for every single task. When it comes to bread making for beginners, that mindset is a trap. You don’t need a $500 bread machine or a professional-grade stone to get started. In fact, most of the “must-have” gear sold online is just clutter that will eventually sit in your pantry gathering dust.
To keep things streamlined, I focus on a few essential bread baking tools that actually move the needle. You need a digital scale—don’t even bother with measuring cups, because precision is everything when you’re managing the yeast fermentation process—a large mixing bowl, and a sturdy bench scraper. That’s it. If you have those, you have the foundation for a functional system. I always keep my kit minimal; if a tool doesn’t serve a direct, repeatable purpose, it doesn’t earn a spot on my counter. Keeping your setup lean isn’t just about saving space; it’s about reducing the friction between you and a great loaf.
Demystifying the Yeast Fermentation Process for Real Results
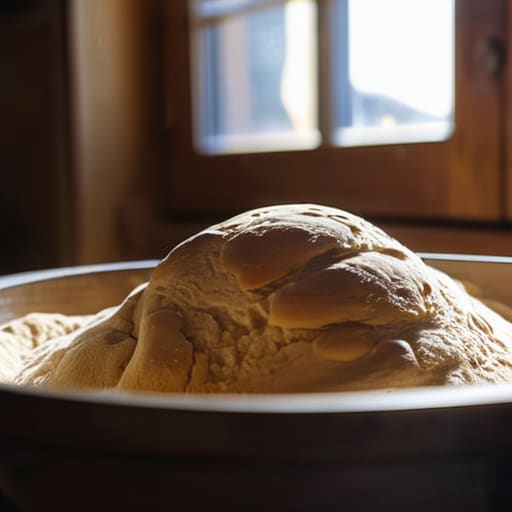
Most people treat yeast like a magic trick, but I view it as a simple biological system. At its core, the yeast fermentation process is just a tiny engine fueled by sugar and warmth. When you mix your ingredients, you aren’t just making a paste; you are creating an environment where these microscopic organisms can do their job. They consume the sugars and release carbon dioxide, which is what creates those beautiful air pockets in your crust. If your kitchen is too cold, the engine stalls; if it’s too hot, you’ll kill the workers. I always aim for a steady, moderate temperature to keep things predictable.
Don’t let the science intimidate you. For those starting out with bread making for beginners, the most important thing to master is patience during the rise. I’ve learned through plenty of failed loaves that rushing the dough is the fastest way to end up with a dense, heavy brick. You have to watch the dough, not the clock. Look for that specific, pillowy texture and a noticeable increase in volume. Once you stop fighting the timeline and start working with the natural rhythm of the fermentation, you’ll finally see the results you’re after.
Five Practical Rules to Keep Your Baking From Turning Into a Mess
- Stop obsessing over fancy recipes and start using a digital scale. Volume measurements like “cups” are too inconsistent for bread; if you want repeatable results every single time, you need to weigh your flour and water in grams.
- Respect the dough, not the clock. Most beginner recipes tell you to let something rise for “one hour,” but your kitchen temperature might be different from the author’s. Watch how the dough actually looks and feels instead of staring at your watch.
- Don’t be afraid of a little mess. I used to worry about flour everywhere, but a messy counter is just a sign of a system in motion. Just clear it all away once the bread is in the oven so you can actually enjoy the house while it bakes.
- Give your dough the space to breathe. If you try to rush the rising process by putting it in a warm spot that’s too hot, you’ll end up with a weird taste and a collapsed structure. Slow and steady wins the race every time.
- Learn to trust your hands. There’s no substitute for the tactile feedback of kneading or folding dough. If it feels too sticky, add a tiny bit of flour; if it feels too tough, give it more time. Your hands will tell you more than any manual ever could.
The Bottom Line: Keep It Simple and Let It Work
Don’t let a lack of fancy gadgets stop you; if you have a basic bowl, a scale, and an oven, you already have everything required to bake a great loaf.
Respect the biology of the yeast by giving it the time and temperature it needs, rather than trying to rush the process to fit a tight schedule.
Focus on the rhythm of the dough rather than perfection, because a slightly misshapen loaf that tastes incredible is always better than a perfect one that never gets made.
The Philosophy of the Loaf
“Baking bread isn’t about mastering a complex chemistry experiment; it’s about building a reliable system of flour, water, and patience so you can stop worrying about the process and start enjoying the result.”
Liam Anders Chen
Getting Your Hands Dirty
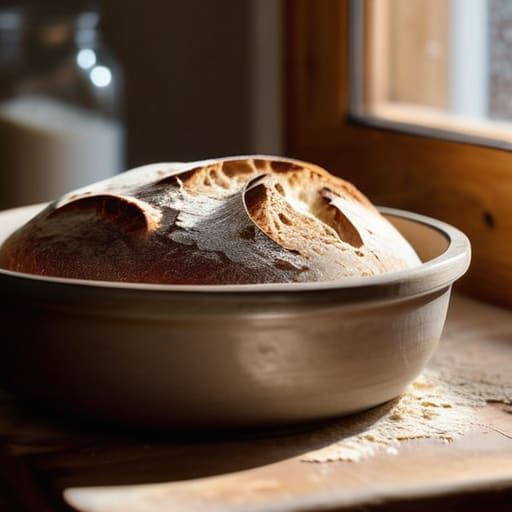
At the end of the day, baking bread isn’t about having a professional-grade kitchen or mastering complex chemistry; it’s about stripping away the noise. You don’t need a dozen specialized gadgets or a PhD in microbiology to get a decent loaf on the table. If you have the right basic tools, a clear understanding of how yeast works, and the patience to let the fermentation happen on its own terms, you’ve already won half the battle. Focus on the fundamentals of the process rather than the perfection of the outcome. Once you stop obsessing over every minor variable and start trusting your senses, the whole thing becomes a repeatable system rather than a stressful chore.
My advice? Don’t wait for the “perfect” moment or a complete set of equipment to begin. Grab a bowl, some flour, and a little bit of time, and just start making a mess. There will be flat loaves and dense crusts along the way, but that’s just part of the calibration process. The goal here isn’t to become a master baker overnight; it’s to reclaim a bit of control and find some quiet rhythm in your own kitchen. Life is far too chaotic to let a simple loaf of bread intimidate you. Get in there, get your hands floury, and enjoy the process.
Frequently Asked Questions
I don't have a fancy stand mixer; can I actually get good results just using my hands?
Honestly? You don’t need a stand mixer. In fact, I often prefer doing it by hand. A machine can sometimes feel like it’s doing the work for you, but when you’re kneading, you’re actually feeling the dough’s development. You can feel exactly when the gluten has formed and the texture has shifted from shaggy to smooth. It’s tactile, it’s meditative, and it’s more than enough to get a professional-grade loaf. Just clear some counter space and get to work.
How do I know if my dough has actually proofed enough, or am I just guessing by looking at it?
Stop guessing and start using the “poke test.” It’s the most reliable, low-tech system I know. Gently press your finger about half an inch into the dough. If it springs back immediately, it needs more time. If it stays indented or collapses, you’ve gone too far. You’re looking for that perfect, slow rebound that signals the structure is ready. It takes the anxiety out of the process so you can actually trust your results.
My kitchen is freezing right now—how do I keep the yeast active without accidentally killing it?
Don’t let a cold kitchen kill your momentum. If your place is freezing, the yeast will just go dormant, stalling your rise. The fix is simple: find a “warm zone.” Move your dough into a turned-off oven with just the oven light on, or place your bowl inside a microwave next to a mug of steaming water. You’re creating a microclimate—stable, gentle warmth that keeps the fermentation moving without shocking the yeast.
