I’ve spent too many weekends staring at a corner of my apartment filled with “maybe one day” pieces—that wobbly side table or the dresser with the peeling veneer that just won’t quit. We’ve all been there, stuck in a cycle of either buying cheap, disposable junk that ends up in a landfill or feeling paralyzed by the sheer scale of a home renovation. But honestly, the chaos of a cluttered, uninspiring space is a massive drain on your mental clarity. Instead of letting your old pieces collect dust and guilt, I want to show you how to leverage some practical upcycling furniture ideas to reclaim your space without breaking the bank or your schedule.
In this post, I’m stripping away the fluff and giving you five high-impact, low-friction projects that actually work for a busy lifestyle. I’m not talking about month-long renovations that require a professional workshop; I’m talking about small, repeatable systems you can implement this weekend to transform your environment. You’re going to learn exactly how to breathe new life into your existing pieces so you can stop managing your clutter and start actually enjoying your home.
Table of Contents
Swap the Hardware
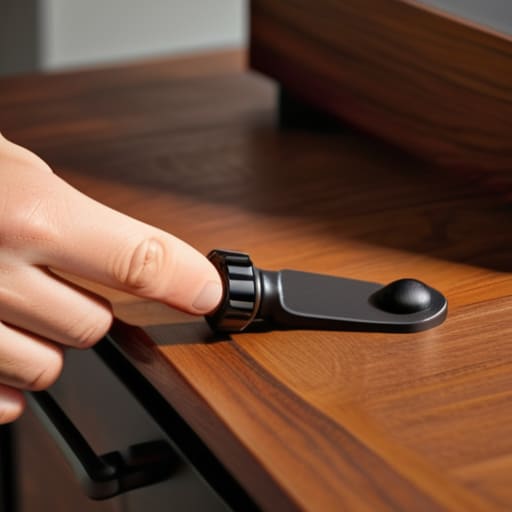
Most people think they need a whole new piece of furniture when, in reality, they just need better details. I’ve seen it a dozen times: a perfectly functional mid-century nightstand that looks “dated” simply because of some cheap, brass-plated pulls that have seen better days. Before you even think about sanding or painting, grab a screwdriver from your bag and swap out the hardware.
The Power of a Clean Sand and Stain
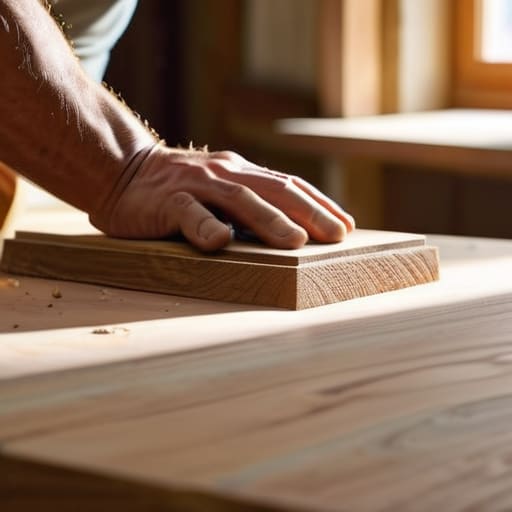
If you’ve inherited a heavy oak table that feels like it belongs in a museum from 1974, don’t toss it. The problem usually isn’t the wood; it’s the thick, orange-tinted polyurethane finish that’s masking the grain. I prefer a systematic approach here: strip it back to the raw wood using a quality sander, and then apply a modern, neutral stain like walnut or a simple clear matte coat.
Reclaim Your Walls with Floating Shelves
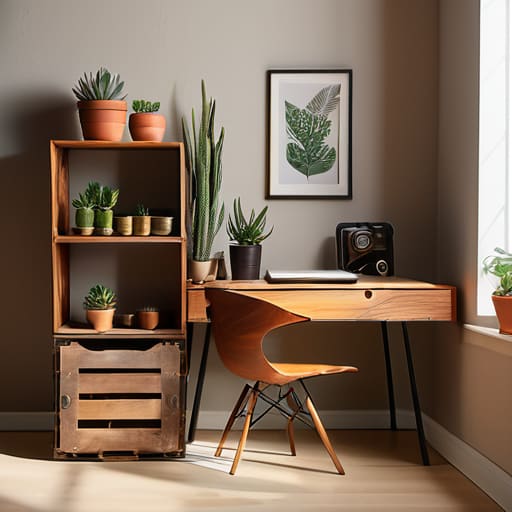
We all have those old, awkward wooden crates or small side tables that don’t quite fit our current floor plan. Instead of letting them take up valuable real estate on the ground, turn them into wall-mounted storage. I once took a series of old, mismatched wooden boxes and mounted them in a grid pattern to create a modular shelving unit for my tech gear.
Paint for Function, Not Just Fashion
I’m not a fan of following every fleeting color trend you see on social media. If you’re going to paint a piece of furniture, do it with a purposeful palette in mind. If you have a desk that feels too heavy in a small room, a light sage or a soft grey can make the piece feel less intrusive and more integrated into your workspace.
Update the Legs
Sometimes, a piece of furniture feels “stuck” because its silhouette is wrong for your space. An old, bulky cabinet can feel incredibly heavy if it sits directly on the floor. One of my favorite hacks is to attach tapered wooden legs or even slim metal hairpin legs to the base.
The Bottom Line
Don’t get paralyzed by perfection; a quick sand and a fresh coat of paint is better than a piece of furniture gathering dust in your hallway.
Focus on function first—if a piece doesn’t serve a purpose in your current space, it’s just more clutter you’re working too hard to maintain.
Invest in the right tools once so you aren’t fighting your equipment; a decent screwdriver and a quality brush make the whole process feel like a hobby instead of a chore.
## The Philosophy of Upcycling
“Upcycling isn’t about chasing a Pinterest aesthetic; it’s about seeing the functional potential in what others have discarded and refusing to let good engineering—or good wood—go to waste.”
Liam Anders Chen
Stop Waiting for Perfection
Look, we’ve covered a lot of ground here, from stripping down old wood to swapping out those tired, dated handles for something with actual character. Whether you’re tackling a full-scale dresser refinishing or just doing a quick hardware swap on a side table, the core principle remains the same: you are reclaiming something that was headed for a landfill and making it functional for your current life. You don’t need a professional workshop or a massive budget to see results; you just need the right tools, a bit of patience, and the willingness to stop letting good bones go to waste.
At the end of the day, my goal isn’t to turn you into a master carpenter or a professional interior designer. I just want you to stop overcomplicating the process. The most important thing is to pick one project—just one—and actually start. Don’t worry if the first coat of paint isn’t perfectly even or if you struggle with a screw; that’s just part of the system. Once you realize that you have the power to shape your own environment instead of just buying whatever mass-produced junk is trending this week, everything changes. Now, grab that screwdriver and get to work.
Frequently Asked Questions
I don't have a dedicated workshop; can I actually pull these projects off in a small apartment?
Absolutely. I used to live in a studio apartment where my “workshop” was just a corner of my dining table and a single drop cloth. You don’t need a garage to get things done; you just need a system. Invest in a decent multi-tool, a small set of precision screwdrivers, and some heavy-duty painter’s tape to protect your floors. Keep your tools organized in one compact bin, and you can clean up and be back to your life in ten minutes.
How do I know if a piece of furniture is worth the effort of restoring, or if I'm just wasting my time on junk?
Look, I’ve spent enough hours hunched over a workbench to know when a project is a winner versus a money pit. Before you grab your sandpaper, check the bones. Is it solid wood or cheap particle board? If it’s real hardwood, it’s worth the sweat. If it’s just veneer and sawdust held together by luck, walk away. Don’t waste your weekend fighting junk; only invest your time in pieces built to last.
What are the absolute bare-minimum tools I need to get started without spending a fortune at the hardware store?
Look, you don’t need a garage full of heavy machinery to see results. If you’re just starting, stick to the essentials: a decent cordless drill, a multi-bit screwdriver set, a sanding block with some medium-grit sandpaper, and a high-quality paintbrush. That’s it. Don’t get sucked into the “buying more gear” trap; it’s just more clutter. Grab these basics, get your hands dirty, and focus on the project instead of the shopping list.
