I was hunched over my bathroom floor last Saturday, armed with a toothbrush and a bottle of overpriced “miracle” cleaner, feeling like I was losing a war against my own home. I had spent forty-five minutes scrubbing a single corner, only to realize that the grime wasn’t moving—it was just getting redistributed. Most people think that learning how to clean grout requires back-breaking labor and a cabinet full of chemical cocktails, but that’s a lie. The truth is, if you’re fighting the dirt, your system is broken, not your effort.
I’m not here to sell you on a twenty-step ritual that eats up your entire weekend. I want to show you how to approach this with the precision of an engineer: identifying the right tools, applying the correct chemistry, and executing the task so efficiently that you can actually get back to your life. In this guide, I’m stripping away the fluff to give you a streamlined, no-nonsense workflow for getting those lines bright again without the unnecessary chaos.
Table of Contents
- Step-by-Step Instructions
- Finding the Best Grout Cleaner for Tile Without the Complexity
- Natural Grout Cleaning Solutions for a Faster Simpler Life
- Five Pro-Tips to Keep Your Grout Clean Without the Headache
- The Bottom Line: Efficiency Over Effort
- The Philosophy of a Clean Home
- Done and Dusted
- Frequently Asked Questions
Guide Overview
Tools & Supplies
- Stiff grout brush or old toothbrush for scrubbing
- Microfiber cloth or sponge for wiping away residue
- Baking soda (1 cup)
- Warm water (as needed for paste)
- White vinegar (1/2 cup)
- Dish soap (few drops)
Step-by-Step Instructions
- 1. First, clear the deck. I can’t stand working around clutter, and neither should you. Move the bath mats, clear the soap bottles off the ledge, and make sure the floor is completely dry before you start. If you’re working on a backsplash, clear the counters. You want an unobstructed workspace so you aren’t fighting with a stray sponge or a bottle of cleaner mid-process.
- 2. Grab your toolkit. You don’t need a cabinet full of expensive, specialized chemicals that smell like a laboratory. I keep it simple: a stiff-bristled grout brush (or an old toothbrush if you’re in a pinch), some warm water, a mild dish soap, and a bottle of white vinegar. If the stains are really stubborn, keep some baking soda nearby. Having your tools organized before you dive in is the only way to keep this from becoming a chore.
- 3. Mix your solution. In a small bowl, combine warm water with a few drops of dish soap. If the grime looks particularly greasy, add a splash of vinegar to the mix. Avoid using straight vinegar on natural stone like marble—it’ll etch the surface—but for standard ceramic or porcelain, it’s a highly effective way to cut through the buildup without much fuss.
- 4. Apply and let it sit. Don’t just start scrubbing immediately; that’s a waste of energy. Dip your brush into the solution and work it into the grout lines. Once the lines are saturated, walk away for ten minutes. This gives the solution time to actually break down the dirt and oils so you aren’t doing all the heavy lifting with your muscles.
- 5. Scrub with intent. Come back and hit those lines with some focused pressure. Use short, circular motions with your brush. You’ll see the grime lifting almost instantly. If you hit a particularly dark spot that refuses to budge, make a paste of baking soda and water, smear it on, and let it sit for another five minutes before scrubbing again.
- 6. Rinse and dry. Once the grout looks clean, don’t just leave the residue there. Use a damp cloth or a sponge to wipe away the dirty slurry. I always finish by going over the area with a clean, dry microfiber cloth. Leaving excess moisture in the grout can lead to more staining down the road, and a dry finish is much easier to maintain.
- 7. Seal the deal (Optional but recommended). If you want to stop this from happening again next month, apply a grout sealer once everything is completely dry. It’s a small, ten-minute task that creates a barrier against moisture and dirt. It’s the difference between cleaning every week and only having to do a deep clean once a season.
Finding the Best Grout Cleaner for Tile Without the Complexity
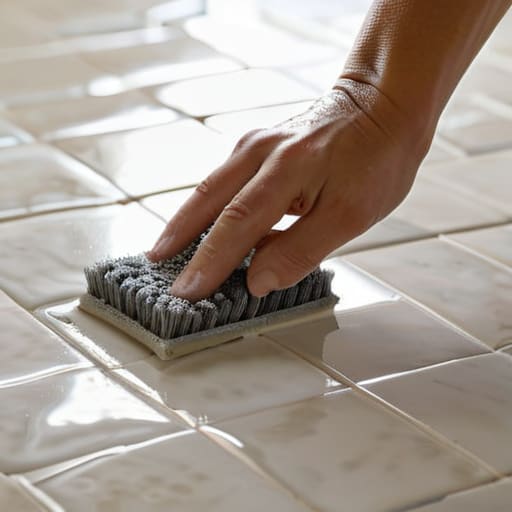
Look, you don’t need a chemistry degree or a twenty-step cleaning kit to tackle this. Most people walk into a big-box store and get paralyzed by the sheer volume of specialized sprays, but that’s just more clutter you don’t need. If you’re looking for the best grout cleaner for tile, my rule of thumb is to start with the least aggressive option first. Often, a simple mixture of baking soda and hydrogen peroxide works wonders for removing mold from grout lines without leaving behind a film of toxic chemicals that you’ll just have to rinse away later.
If you prefer something store-bought, skip the “ultra-strength” gimmicks that promise instant miracles. Those heavy acids can actually eat away at your sealant, making the job harder next time. Instead, look for pH-neutral cleaners designed specifically for stone or ceramic. Once you’ve finally achieved that clean look, don’t skip the grout sealer application. It’s a small, ten-minute task that acts as a barrier, preventing dirt from sinking in so you aren’t stuck repeating this entire process every single month. Keep it simple, keep it effective.
Natural Grout Cleaning Solutions for a Faster Simpler Life
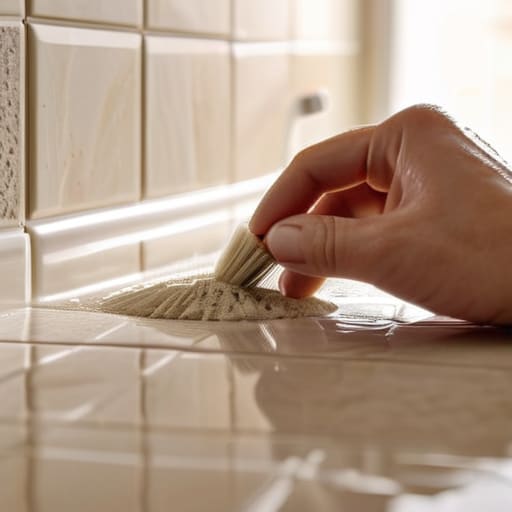
Sometimes, the most effective system is the one that doesn’t require a trip to the chemical aisle. If you aren’t dealing with heavy-duty industrial grime, I find that natural grout cleaning solutions are often more efficient because they don’t leave behind that sticky, synthetic residue that actually attracts more dirt later. A simple mixture of baking soda and water creates a functional paste that does the heavy lifting without the harsh fumes. If you’re specifically looking at removing mold from grout lines in a high-moisture bathroom, a light spray of distilled white vinegar can cut through the organic buildup surprisingly well.
The trick here is letting the chemistry do the work for you. I always tell people: stop scrubbing harder and start letting it sit. Apply your mixture, walk away for ten minutes to handle a quick task, and come back to find the grime has loosened significantly. It’s about working smarter, not harder. Once you’ve achieved that clean state, don’t forget that a quick grout sealer application is the ultimate way to prevent the cycle of scrubbing from starting all over again.
Five Pro-Tips to Keep Your Grout Clean Without the Headache
- Seal it once and forget it. Once your grout is clean and dry, apply a high-quality sealer. It’s a ten-minute job that prevents grime from sinking into the pores, meaning you won’t have to deep-clean it nearly as often.
- Stop using old toothbrushes. They’re too small and frustrating. Grab a dedicated grout brush or even a stiff-bristled nylon brush. You want something with enough leverage to actually move the dirt without making your hands ache.
- Work in small sections. Don’t slather cleaner across the entire bathroom floor and hope for the best. Apply your solution to one small area, let it sit for a few minutes to do the heavy lifting, and then scrub. It keeps the product from drying out too fast and becoming useless.
- Vacuum before you wet anything. I’ve learned this the hard way: if you pour liquid onto a floor covered in loose dust and hair, you’re just making a muddy mess that gets pushed deeper into the grout lines. Vacuum first to clear the surface.
- Don’t overcomplicate your toolkit. You don’t need a cabinet full of specialized chemicals. A good brush, a bucket, a microfiber cloth, and a solid cleaner are all you need to get the job done and get back to your day.
The Bottom Line: Efficiency Over Effort
Don’t overcomplicate the chemistry; whether you’re using a specialized cleaner or a simple vinegar solution, the goal is to let the product do the heavy lifting so you aren’t stuck scrubbing for hours.
Invest in the right tools once—a decent stiff-bristled brush saves more time and mental energy than any “magic” cleaning hack ever will.
Maintenance is the ultimate time-saver; a quick wipe-down once a week prevents the grime buildup that turns a ten-minute task into a weekend-ruining project.
The Philosophy of a Clean Home
“Don’t let a few dirty lines in your tile become a mental weight; cleaning grout isn’t about achieving perfection, it’s about reclaiming your space so you can stop staring at the grime and start enjoying the room.”
Liam Anders Chen
Done and Dusted
At the end of the day, cleaning grout doesn’t need to be a weekend-long battle against grime. Whether you opted for a heavy-duty specialized cleaner or stuck to the simplicity of a natural vinegar solution, the goal was the same: efficiency. We’ve covered how to pick the right tools, how to use natural alternatives to keep things simple, and how to apply them without wasting your precious time. Remember, the secret isn’t in the intensity of the scrubbing, but in choosing the right system that works for your specific tile type. Once those lines are bright and clear, you’ve officially reclaimed a piece of your home from the clutter of dirt and decay.
I know that when you’re staring at a dirty floor, it feels like just one more thing on an endless to-do list. But once this task is finished, I want you to focus on the feeling of that clean space rather than the effort it took to get there. Don’t let the maintenance of your home become a source of mental friction; instead, treat these small cleaning rituals as a way to reset your environment. A clean home provides the mental clarity we all need to actually focus on what matters. Now, put the screwdriver away, step away from the bucket, and go enjoy the space you’ve just restored.
Frequently Asked Questions
How do I know if my grout is actually stained or if it’s just time to reseal it?
Here’s the quick test: pour a few drops of water onto the grout. If it beads up and stays on the surface, your seal is still doing its job. If the water soaks in and darkens the grout almost immediately, your seal has failed. That’s not a stain; it’s an open door for grime. Clean it thoroughly, let it dry completely, and then reseal it. Don’t waste time scrubbing what a new seal would fix instantly.
Is there a way to clean the grout without having to scrub every single line by hand?
Look, I get it. Scrubbing every individual line feels like a massive sinkhole for your time. If you want to skip the manual labor, invest in a handheld steam cleaner. The high-pressure heat does the heavy lifting, loosening grime so you can just wipe it away. If you don’t want to buy new gear, a motorized grout brush attachment for your drill is a total game-changer. Let the machine do the work; you’ve got better things to do.
Can I use these cleaning methods on natural stone tiles, or am I going to ruin the finish?
Stop right there. If you’re working with natural stone—like marble, travertine, or slate—put the vinegar and lemon juice away immediately. Those acidic DIY tricks are great for ceramic, but they’ll eat through your stone’s finish and leave it dull and etched. For natural stone, stick to a pH-neutral cleaner specifically rated for stone. It’s a small extra step, but it’s much easier than replacing an entire floor.
