I was sitting on my sofa last Tuesday, trying to actually focus on some work, when I felt that unmistakable, icy needle of air prickling against my ankles. It’s the kind of subtle, constant annoyance that drains your mental energy without you even realizing it. Most people think they need to overhaul their entire HVAC system or replace the whole entryway to stop the chill, but that’s a massive waste of time and money. The truth is, you’re likely just losing a battle with a few millimeter-wide gaps. Weatherstripping a door isn’t some major construction project; it’s a simple mechanical fix that stops the chaos of a draft from invading your sanctuary.
I’m not here to sell you on complicated, over-engineered solutions that fall apart in a month. I want to show you how to do this right the first time using a few basic tools you probably already have in your bag. I’ll walk you through how to identify exactly where the leaks are, which materials actually last, and the precise way to apply them so they don’t peel off in a week. Let’s get this sorted so you can stop fighting your front door and finally get back to enjoying a comfortable, quiet home.
Table of Contents
- Step-by-Step Instructions
- Choosing the Right Materials for Lasting Energy Efficient Home Improvements
- Mastering Door Bottom Seal Installation to End the Drafts
- Five Pro-Tips to Keep Your Seal from Failing
- The Bottom Line for a Draft-Free Home
- ## The Philosophy of the Small Fix
- Closing the Gap
- Frequently Asked Questions
Guide Overview
Tools & Supplies
- Measuring tape for sizing the door perimeter
- Utility knife for trimming excess material
- Screwdriver for securing door sweeps or stops
- Weatherstripping roll or strips (adhesive or tension-based)
- Door sweep (one per door)
- Cleaning solution and cloth to prep the surface
Step-by-Step Instructions
- 1. First, you need to identify exactly where the air is leaking. I usually do this by taking a lit incense stick or a candle and slowly moving it around the perimeter of the door frame on a windy day. When the flame flickers or the smoke gets pushed inward, you’ve found your problem area. Don’t just guess; knowing exactly where the gaps are saves you from buying more material than you actually need.
- 2. Once you know the culprits, grab a damp cloth and some cleaning spray to wipe down the door frame. This is the step most people skip, and it’s why their DIY projects fail. If there’s dust, old adhesive, or grime on the surface, your new weatherstripping won’t stick, and you’ll be right back where you started in two weeks. Take your time here; a clean surface is the foundation of a permanent fix.
- 3. Next, it’s time to measure. Grab that small notebook I always keep on me and write down the lengths of the sides and the top of the door frame. If you’re using adhesive foam or rubber strips, you want to make sure you have enough to cover the entire gap without having awkward, tiny seams every few inches. Precision at this stage prevents a lot of frustration later.
- 4. Now, peel the backing off your chosen weatherstripping and start applying it. I recommend starting at the top corner and working your way down. Press the strip firmly against the frame, using your thumb to ensure there are no air pockets trapped underneath. If you’re using a roll, try to keep your movement steady and continuous so the strip stays straight and functional.
- 5. If you’re dealing with a gap at the very bottom of the door, you’ll likely need a door sweep rather than standard striping. Align the sweep with the bottom edge of the door, ensuring it sits flush against the threshold without being so tight that it makes the door difficult to swing open. It’s a fine balance between blocking the draft and maintaining ease of use.
- 6. Finally, do a “stress test” on your work. Close the door and feel around the edges with your hand to ensure there’s no more incoming air. If you still feel a breeze, you might need to add a second layer or adjust the alignment of your strip. Once it feels solid, you’re done. Now you can finally stop worrying about the draft and get back to your day.
Choosing the Right Materials for Lasting Energy Efficient Home Improvements
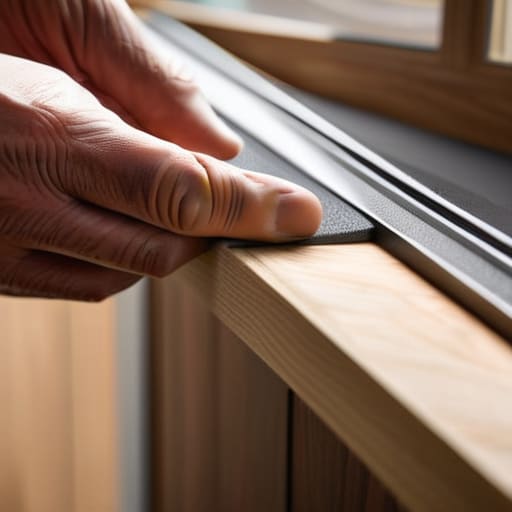
Don’t just grab the first roll of foam you see at the hardware store. I’ve learned the hard way that choosing the wrong stuff is just a recipe for doing the same job twice in six months. If you’re looking at the different types of door weatherstripping materials, think about where the seal is actually going. For the sides and top of the frame, I usually lean toward silicone or V-strip because they hold their shape and don’t degrade under constant movement. If you go with the cheap, tacky foam, it’ll likely compress into a useless pancake by next season.
You also need to address the gap at the very bottom, which is usually the biggest culprit when it comes to preventing air leaks around doors. This is where a solid door sweep or a heavy-duty bottom seal becomes non-negotiable. While a simple strip might work for a bedroom, your front or back door needs something more robust to handle the heavy foot traffic and temperature swings. Investing in quality components now isn’t just about improving home insulation; it’s about building a system that actually works so you can stop thinking about it.
Mastering Door Bottom Seal Installation to End the Drafts
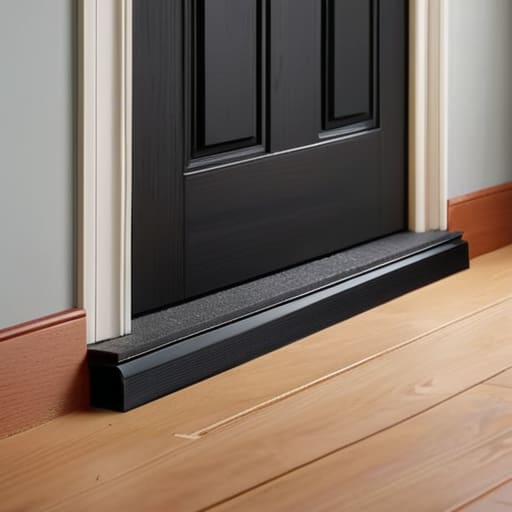
Most people focus so much on the sides and top of the frame that they completely overlook the biggest culprit: the gap at the floor. You can spend hours perfecting the perimeter, but if there’s a canyon between your door and the threshold, you’re essentially throwing money out the window. When it comes to door bottom seal installation, the goal isn’t just to block wind; it’s to create a seamless transition. I always recommend checking the clearance first. If your seal is too thick, you’ll be fighting the door every time you try to enter, which is a massive headache you don’t need.
If you’re following a standard door sweep installation guide, pay close attention to the mounting surface. I’ve seen too many DIY attempts fail because the person tried to stick an adhesive sweep onto a dusty, uneven threshold. For a permanent fix, I prefer screw-on models. They offer a level of stability that adhesive just can’t match, especially in high-traffic areas. Once you get that bottom seal tight against the floor, you’ll notice an immediate difference in how the room feels. It’s one of those small, systematic wins that makes your home feel significantly more controlled.
Five Pro-Tips to Keep Your Seal from Failing
- Clean the surface twice. If you try to stick new weatherstripping onto a layer of old dust or oily residue, it’s going to peel off within a week. Wipe it down with isopropyl alcohol and let it dry completely before you even think about applying the adhesive.
- Don’t over-compress the seal. I’ve seen people jam the foam in so tight that the door becomes a nightmare to latch. You want a snug fit that stops the air, not a structural modification that turns your door into a workout every time you want to leave the house.
- Check your alignment, not just the gaps. Sometimes the draft isn’t because the seal is bad, but because the door has sagged. A quick adjustment to the hinges can do more for your energy bill than any roll of tape ever will.
- Test with a flashlight. If you want to be sure you didn’t miss a spot, have someone stand outside with a bright light while you’re inside. If you see light peeking through the edges, you’ve still got a leak that needs plugging.
- Invest in quality over convenience. Those cheap, thin foam strips from the bargain bin might work for a month, but they compress and lose their shape fast. Spend the extra five bucks on something durable like silicone or heavy-duty rubber; your future self will thank you.
The Bottom Line for a Draft-Free Home
Don’t settle for a “quick fix” that fails in a month; invest in high-quality, durable materials now so you aren’t repeating this task next season.
Focus on the gaps you can actually feel—if you can see light or feel a breeze, that’s exactly where your energy (and money) is leaking out.
Treat this as a system, not a chore; once the seals are tight, you’ve reclaimed both your home’s temperature and your own peace of mind.
## The Philosophy of the Small Fix
“We spend so much energy trying to solve the massive, overwhelming problems in our lives, but we forget that a drafty door is a constant, quiet drain on our comfort. Fixing it isn’t just about saving a few bucks on the heating bill; it’s about reclaiming your space from the chaos of the outside world, one seal at a time.”
Liam Anders Chen
Closing the Gap
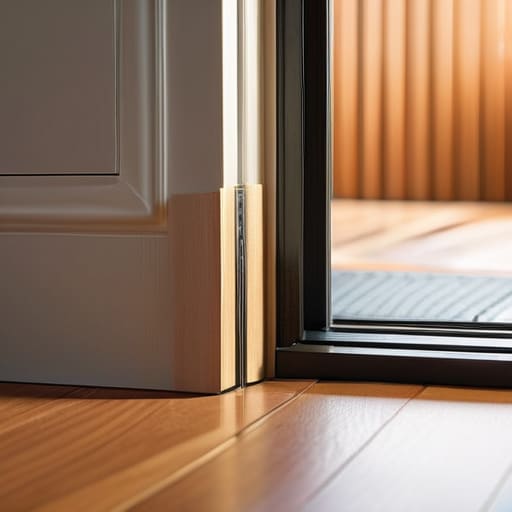
At the end of the day, weatherstripping isn’t just about lowering your utility bill—though that’s a massive win for your wallet. It’s about the cumulative effect of these small, intentional fixes. By selecting the right materials, securing your door bottom seals, and ensuring a tight fit around the frame, you’ve effectively eliminated the invisible friction in your home. You’ve taken a chaotic, drafty entrance and turned it into a controlled, efficient barrier. It’s a simple system, but once those gaps are closed, you’ll notice the difference in the air quality and the temperature immediately.
I know that when you’re staring at a pile of adhesive strips and tools, it can feel like just another chore on an endless to-do list. But I promise you, the mental clarity that comes from mastering your environment is worth every minute of the effort. We spend so much of our lives reacting to discomfort rather than preventing it. By taking this one small step today, you aren’t just fixing a door; you’re reclaiming your space and your peace of mind. Now, go grab a coffee, sit in your newly warmed living room, and enjoy the quiet.
Frequently Asked Questions
How do I know if I actually need more weatherstripping or if my door is just warped and needs a different fix?
Here’s the quick test: grab a flashlight and have someone stand outside at night while you’re inside with the lights off. If you see light bleeding through the edges, you’ve got a gap that weatherstripping can fix. But, if the door feels heavy, drags on the floor, or won’t latch without a fight, that’s a structural issue. You can’t seal a warp away; you’ll just end up with a mess of crushed foam.
Will applying these seals mess up the finish on my door or leave a sticky residue when I eventually need to replace them?
That’s a fair concern. If you’re using high-quality, self-adhesive foam or rubber, you’re usually safe, but I always recommend a quick test on an inconspicuous spot first. To avoid that dreaded sticky residue later, don’t just rip them off. Use a hairdryer to gently warm the adhesive before peeling; it softens the bond and lets the seal come away much cleaner. It’s a small extra step that saves a massive headache later.
I can feel a draft at the top of the door even after sealing the sides—what am I missing?
If you’ve tackled the sides and the bottom but still feel a chill, you’re likely dealing with a gap at the top corner or a misaligned header. Check the top jamb—sometimes the door doesn’t sit flush against the frame because the house has settled. Grab that precision screwdriver from my bag; you might just need to tighten the hinges to realign the door, or simply apply a fresh strip of adhesive foam to that top edge.
