I was staring at a jagged, blackened line of moldy silicone in my guest bathroom last Tuesday, feeling that familiar surge of frustration. I had spent twenty minutes trying to scrape it out, only to realize I was making a much bigger mess of the tile than when I started. Most people think learning how to caulk is about having a steady hand or some secret artistic talent, but that’s a lie. It’s actually about having the right system and understanding the physics of the bead before you even touch the trigger.
I’m not here to give you a lecture on home aesthetics or sell you a dozen expensive, specialized tools you’ll never use again. Instead, I’m going to show you the exact, stripped-down method I use to get clean, professional lines without the headache. We’re going to cover everything from choosing the right sealant to the single most important trick for smoothing a bead, so you can stop fighting your fixtures and get this job done right the first time. Let’s get to work.
Table of Contents
Guide Overview
Tools & Supplies
- Caulking gun to apply the sealant
- Putty knife or scraper to remove old caulk
- Caulk finishing tool or finger to smooth the bead
- Caulk tube (Silicone or Acrylic depending on surface)
- Cleaning solution or rubbing alcohol to prep surface
Step-by-Step Instructions
- 1. First things first, you need to clear the workspace. If you’re working on a bathtub or a kitchen backsplash, grab a putty knife or even a flathead screwdriver from my bag and scrape out every bit of the old, crusty caulk. I’ve learned the hard way that trying to layer new sealant over old junk is a recipe for a messy, peeling disaster. You want a clean, bare surface if you want this to actually last.
- 2. Once the debris is gone, grab some rubbing alcohol and a clean rag to wipe down the area. This isn’t just about being tidy; it’s about eliminating invisible oils and dust that prevent the new caulk from bonding. If the surface isn’t clinically clean, the caulk will just peel off in a week, and you’ll be right back where you started, wasting more of your precious time.
- 3. Now, let’s prep the tool. Take your caulk tube and cut the nozzle at a slight 45-degree angle. Don’t go too wide with the cut—you want a small, controlled bead, not a massive gusher that you’ll spend an hour trying to clean up. Think of it like tuning a mechanical keyboard; it’s all about the precision of the output.
- 4. Apply the caulk with a steady, consistent hand. Start at one end of the gap and pull the gun toward you in one continuous motion. The key here is to maintain a constant pressure on the trigger. If you hesitate or stop mid-way, you’ll end up with bumps and ridges that look amateur and catch dirt.
- 5. This is where most people mess up, so pay attention: you need to smooth that bead immediately. I usually keep a small spray bottle of water mixed with a tiny drop of dish soap nearby. Lightly mist the bead, then use your finger (or a specialized smoothing tool if you’re feeling fancy) to press the caulk into the gap. You’re aiming for a seamless, professional finish that looks like it was done by a pro, not a weekend warrior.
- 6. Don’t touch it. Once you’ve smoothed it out, step away and let it cure according to the manufacturer’s instructions on the tube. I know it’s tempting to check if it’s dry, but patience is a system too. If you disturb it while it’s setting, you’ll ruin the seal and have to start the whole process over from step one.
The Great Debate Choosing Silicone vs Acrylic Caulk
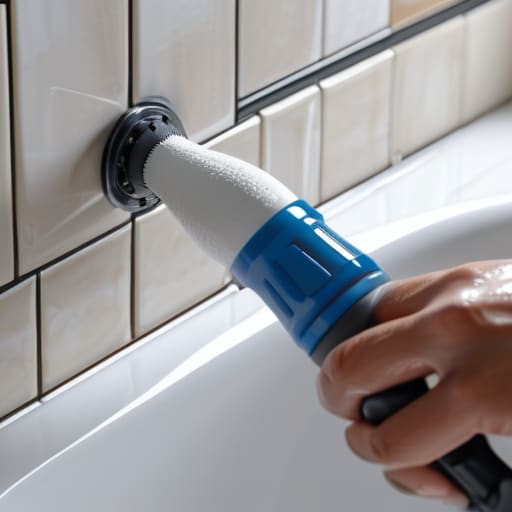
Before you even squeeze the trigger on your caulk gun, you need to pick the right tool for the job. I see people make this mistake all the time: they grab a tube of acrylic for a shower and wonder why it starts peeling within a month. If you’re caulking bathtub seams or dealing with anything that gets wet, you need silicone. It’s waterproof, flexible, and handles temperature shifts without cracking. Acrylic, on the other hand, is much easier to paint over, making it your go-to for caulking window gaps or baseboards where aesthetics matter more than water resistance.
The trade-off is simple: silicone is the best sealant for bathrooms, but it’s a bit more unforgiving. It’s stickier and harder to clean up if you mess up your smoothing technique. Acrylic is more forgiving for beginners because it’s water-based, but it lacks that long-term durability in high-moisture zones. My rule of thumb? If water is going to touch it, go silicone. If you’re just sealing a gap in a dry room to keep drafts out, stick with acrylic.
Mastering Caulk Gun Usage Without the Stress
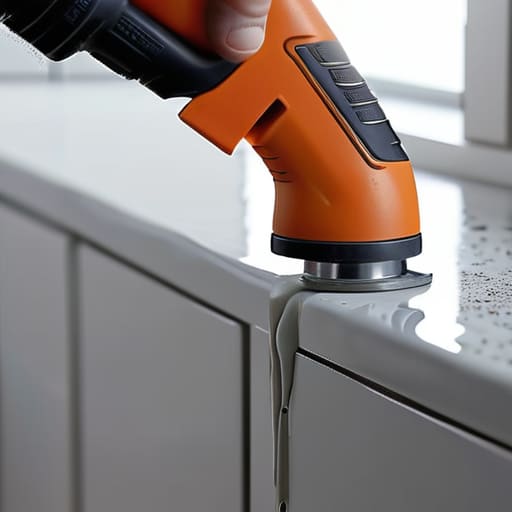
Look, I’ve spent enough time hunched over mechanical keyboards to know that the right tool is useless if your technique is shaky. When it comes to caulk gun usage, the biggest mistake people make is treating it like a heavy-duty construction tool rather than a precision instrument. You want to aim for a steady, consistent pressure. If you squeeze too hard, you’ll end up with a massive, uneven blob; if you’re too light, you’ll get gaps. I always tell myself to maintain a constant tempo as I pull the gun along the joint. It’s more about rhythm than raw strength.
Once you’ve laid down the bead, the real work begins: smoothing caulk bead to get that professional finish. Don’t overwork it. I keep a small spray bottle with a mix of water and a drop of dish soap nearby. A light mist helps the tool glide without sticking. If you’re caulking bathtub seams, focus on a single, fluid motion rather than trying to fix mistakes after they’ve already started to skin over. Work in small sections, keep your movements intentional, and you’ll avoid the frustration of having to start all over again.
Pro Tips to Save You Time (and Your Sanity)
- Clean the surface like your life depends on it. If there’s old, crusty caulk or even just a layer of dust left behind, your new bead will peel off in a week, and you’ll be right back where you started.
- Don’t be afraid to use your finger, but use soap first. A quick dip in a bowl of soapy water before you smooth the bead makes the process way cleaner and prevents that sticky, smeared mess on your skin.
- Work in small, manageable sections. I’ve learned the hard way that if you try to do an entire bathtub in one go, the first half will dry before you even reach the end, leaving you with ugly, jagged lines.
- Keep a damp rag in your pocket. You’re going to make mistakes—it happens to the best of us—so having a wet cloth ready to wipe away a stray smear immediately saves you a massive headache later.
- Check the “skinning” time on the tube. Every brand is different, and knowing exactly how long you have before that caulk sets will stop you from rushing and creating a sloppy finish.
The Bottom Line: Keep It Simple and Sealed
Don’t overthink the material choice; use silicone for wet areas like showers to prevent mold, and stick to acrylic for baseboards where you might need to paint later.
Precision beats speed every time—take your time with the caulk gun to ensure a steady bead, because fixing a messy job takes twice as long as doing it right the first time.
Clean your surfaces thoroughly before you start; no amount of high-quality sealant can fix a gap that’s sitting on top of dust or old, peeling residue.
## The Philosophy of the Seal
“Caulking isn’t just about filling a gap; it’s about closing the door on future headaches. A clean, steady bead today means you won’t be dealing with water damage or moldy seams six months from now when you’d much rather be doing literally anything else.”
Liam Anders Chen
Done and Dusted
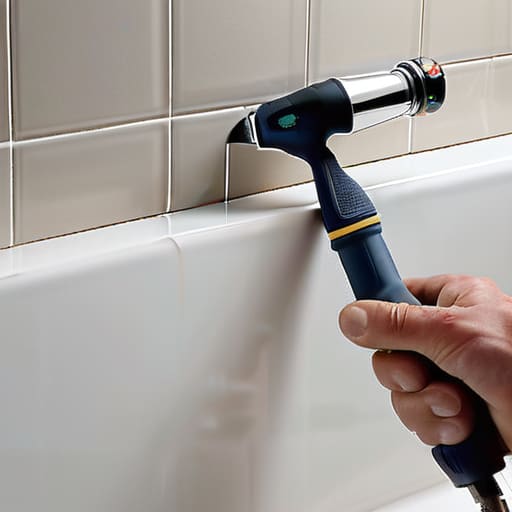
At the end of the day, successful caulking comes down to two things: choosing the right material for the job and maintaining a steady hand. Whether you opted for the flexibility of silicone in your bathroom or the easy cleanup of acrylic for your baseboards, you’ve now eliminated a potential source of moisture damage and aesthetic chaos. Remember, it isn’t about achieving a museum-quality finish on your first try; it’s about applying the right tool with enough patience to let it cure properly. You’ve navigated the selection process, mastered the caulk gun, and smoothed out the seams—now the hard part is actually over.
I know that DIY tasks like this can feel like just another item on an endless to-do list, but there is a specific kind of satisfaction in seeing a clean, sealed line where there used to be a gap. It’s a small win, but these small wins are exactly how we reclaim our environments from the slow creep of disrepair. Don’t let a little bit of messy sealant intimidate you next time a gap appears. Fix it, seal it, and get back to living your life instead of worrying about your fixtures. You’ve got this.
Frequently Asked Questions
How do I know if I need to strip off the old, crusty caulk before applying the new stuff?
Look, don’t try to save time by layering new caulk over the old. If it’s peeling, discolored, or feels brittle, it’s gotta go. Even if it looks okay, if it’s oily or has any mold creeping in, you’re just building a house of cards. Strip it back to the bare surface. It’s a bit of a pain upfront, but if you don’t, the new seal won’t stick, and you’ll just be doing this all over again next month.
What’s the best way to clean the surface so the new bead actually sticks and doesn't peel off in a month?
If you skip the prep, you’re just wasting your time and money. To make sure that bead actually stays put, you need to strip away any old, crusty residue first—scrape it down with a putty knife. Once it’s smooth, hit the area with rubbing alcohol on a clean rag. It cuts through the grease and soap scum that usually causes peeling. Clean, dry, and grit-free is the only way to go.
I messed up the bead and it looks like a total disaster—can I smooth it out, or am I stuck waiting for it to dry?
Don’t panic—you haven’t ruined it yet. If the caulk is still wet, you can absolutely fix it. Grab a damp rag or a gloved finger to smooth that bead back into shape. If it’s already started to skin over, stop touching it; you’ll just tear it up and make a bigger mess. In that case, scrape it out with a putty knife, wipe the area clean, and start fresh. Better to redo it now than stare at it for months.
