I was halfway through a focused deep-work session yesterday when I felt that unmistakable, cool draft against my knee. I looked down to see a fraying hole in my favorite raw denim—the kind of wear that usually signals the end of a garment’s life. Most people will tell you that once the fabric gives way, it’s time to head to the mall and replace them, but that’s a waste of money and even more of a waste of precious time. Learning how to patch jeans isn’t about being a master tailor; it’s about maintaining the tools you already own so you don’t have to constantly deal with the friction of replacement.
I’m not going to bore you with complex sewing patterns or expensive equipment you’ll never use again. Instead, I’m going to show you a streamlined, systems-based approach to repairing denim that actually holds up to daily wear. We’ll cover the most efficient ways to reinforce the fabric and secure the edges so the fix stays invisible and functional. My goal is to get you through this repair in under fifteen minutes so you can stop worrying about your wardrobe and get back to living.
Table of Contents
- Step-by-Step Instructions
- Mastering Darning vs Patching to Save Your Precious Time
- The No Nonsense Kit Sewing Needle and Thread for Jeans
- Five ways to make sure your patch actually lasts
- The bottom line: fix it once and get back to your day
- The philosophy of a quick fix
- Get Back to Your Life
- Frequently Asked Questions
Guide Overview
Tools & Supplies
- Sewing needle or sewing machine for stitching
- Fabric scissors for trimming excess material
- Denim patch fabric or scrap fabric (1 piece)
- Thread matching the denim color (1 spool)
Step-by-Step Instructions
- 1. First, clear your workspace. I can’t stand working on a cluttered dining table, so find a flat, hard surface and lay out your tools: a needle, some heavy-duty thread (denim-specific is best), a pair of sharp scissors, and your patch material. If you don’t have a dedicated patch, a piece of scrap denim from an old pair of jeans works perfectly because the texture will blend in naturally.
- 2. Trim the frayed edges. Take your scissors and carefully cut away the loose, messy threads around the hole. You don’t want to cut into the “good” fabric, but you need to create a clean perimeter so the patch sits flat. If the edges are too ragged, the repair will never look intentional; it’ll just look like a mess.
- 3. Position your patch. Place your scrap fabric underneath the hole, making sure it extends at least half an inch beyond the damaged area in every direction. This extra coverage is non-negotiable if you want the repair to actually hold up under the stress of daily movement.
- 4. Secure the edges with a tack stitch. Before you go full-scale with the repair, use a needle and thread to sew a few quick stitches around the very edge of the hole to hold the patch in place. Think of this as stabilizing the system before you commit to the heavy lifting; it prevents the fabric from shifting while you’re trying to be precise.
- 5. Execute the whipstitch or running stitch. Now, start sewing through both the denim and the patch. I prefer a tight, consistent running stitch for a more minimal look, but if the hole is in a high-stress area like the knee, use a whipstitch to wrap the edges securely. Keep your tension even and firm—not so tight that the fabric puckers, but not so loose that the threads sag.
- 6. Reinforce the high-friction zones. If you notice any spots where the fabric feels particularly thin around the patch, go over those areas with an extra layer of stitching. In my experience, most repairs fail because people underestimate the friction caused by walking or sitting, so don’t be afraid to add a little extra structural integrity where it counts.
- 7. Trim the excess and inspect. Once you’ve finished your final stitch, snip the thread close to the fabric. Give the patch a firm tug to ensure everything is locked in place. If it feels solid and the edges are secure, you’re done. Now, get this out of your way and get back to your day.
Mastering Darning vs Patching to Save Your Precious Time
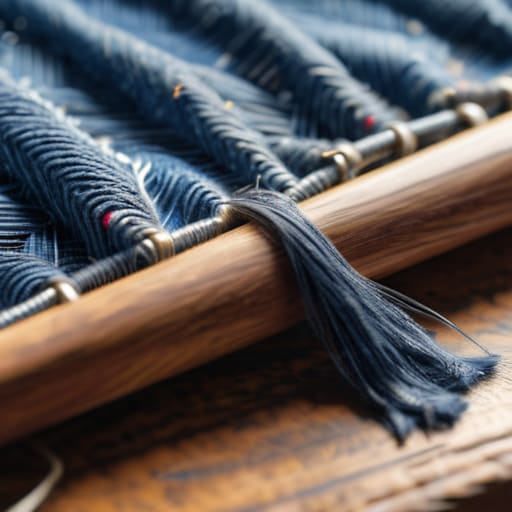
When you’re staring at a frayed hem or a blown-out knee, the first question isn’t just how to fix it, but how much time you actually want to invest. This is where the debate of darning vs patching comes into play. If you’re looking for a quick, structural fix to stop a tear from spreading, a patch is your best friend. It’s efficient and gets the job done with minimal fuss. However, if you want to preserve the original look of the garment or even turn the damage into a design feature, you might want to look into visible mending techniques. Darning essentially weaves new threads into the existing structure, which is more labor-intensive but far more durable for high-friction areas like the inner thigh.
For my workflow, I try to match the method to the urgency. If I’m in a rush before a meeting, I’ll reach for some iron-on denim patches to bridge the gap instantly. But if it’s a pair of raw denim I’ve spent months breaking in, I’ll take the time to grab a heavy-duty sewing needle and thread for jeans to do it properly. The goal isn’t perfection; it’s about functional longevity without letting the repair become a second job.
The No Nonsense Kit Sewing Needle and Thread for Jeans
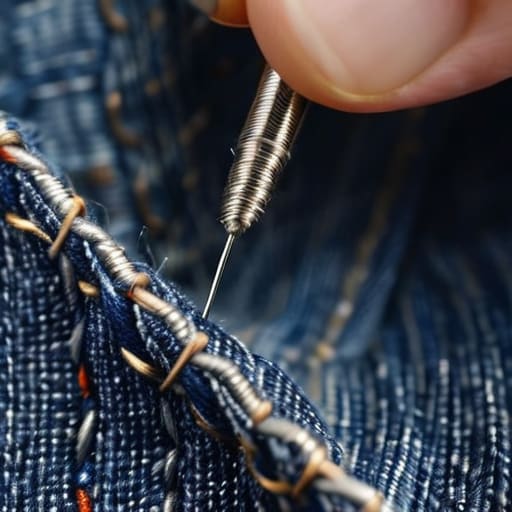
You don’t need a massive sewing kit to get this done, but you do need the right tools if you want the repair to actually hold up under pressure. Most people grab whatever random needle is lying around, but for heavy-duty denim, you need a heavy-duty sharps needle. A standard fine needle will likely snap or bend the moment it hits the thick weave of your jeans. Pair that with a high-quality, all-purpose polyester thread; it has just enough stretch to handle the movement of your legs without snapping.
If you’re looking to avoid the frustration of a failed repair, I always keep a small stash of denim fabric scraps in my workspace. I use them to test my tension before committing to the actual hole. While iron-on denim patches are a tempting shortcut for those of us in a rush, they often peel away after a few heavy washes. Taking five minutes to thread a proper needle and learn a basic stitch ensures your fix becomes a permanent part of the garment, rather than a temporary bandage that fails when you need it most.
Five ways to make sure your patch actually lasts
- Match your thread weight to the denim. Using thin, flimsy sewing thread on heavy-duty jeans is a recipe for frustration; grab a heavy-duty or upholstery thread so the repair doesn’t snap the first time you sit down.
- Always reinforce the edges. A patch shouldn’t just sit on top of the hole like a sticker; you need to stitch a few millimeters beyond the tear itself to prevent the fraying from creeping under your new work.
- Don’t skip the backer fabric. If the hole is large or the denim is thinning out, pin a scrap of sturdy fabric behind the tear before you start sewing to give your stitches something solid to bite into.
- Mind the tension. I’ve learned the hard way that pulling your thread too tight will cause the denim to bunch and pucker, making the repair look messy and feel uncomfortable. Keep it firm, but let the fabric breathe.
- Wash it inside out. Once you’ve finished your repair, turn those jeans inside out before throwing them in the machine. It protects your handiwork from the agitator and keeps the patch looking clean for longer.
The bottom line: fix it once and get back to your day
Choose your method based on the mission: use darning for structural integrity on thin spots and patching for larger, more obvious holes.
Don’t overcomplicate the gear; a sturdy needle and matching heavy-duty thread are the only tools you actually need to get the job done right.
View repairs as a way to reclaim your time and money—fixing what you already own is much more efficient than hunting for a replacement.
The philosophy of a quick fix
“A hole in your denim shouldn’t be a reason to scrap the whole garment or waste an entire weekend on a complex repair. Fix it, reinforce it, and move on—because the goal isn’t to become a tailor, it’s to keep your gear working so you can focus on what actually matters.”
Liam Anders Chen
Get Back to Your Life
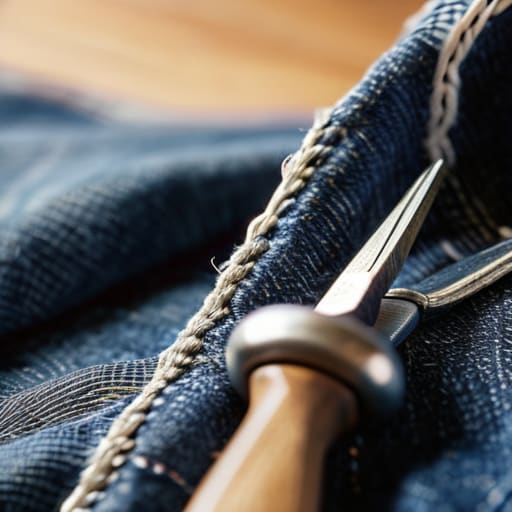
At the end of the day, patching your jeans isn’t about becoming a master tailor; it’s about applying a simple, functional fix to a common problem. Whether you decided to go with a quick patch to save time or opted for the more durable darning method, the goal remains the same: stop the damage from spreading and keep your gear in rotation. You don’t need a massive sewing kit or a degree in fashion to make this work—just the right thread, a bit of patience, and the willingness to maintain what you already own. By taking ten minutes to fix that hole now, you’ve successfully avoided the waste of buying a new pair and the headache of a ruined outfit later.
I’ve always believed that the small, repeatable systems we implement in our homes dictate how much mental energy we have left for the things that actually matter. Fixing a pair of jeans is a small victory in the larger battle against the “disposable culture” that tries to steal our time and money. Don’t let a minor tear become an excuse to clutter your closet or your schedule with unnecessary replacements. Fix it, wear it, and get back to living your life without the distraction of broken things holding you back.
Frequently Asked Questions
How do I make sure the patch doesn't look like a bulky, ugly eyesore on my jeans?
The secret to a seamless patch is all about tension and profile. If you’re layering fabric, don’t just slap it on top; trim the edges of your patch so they sit flush with the denim. When sewing, keep your stitches small and tight. If you go too heavy-handed with the thread, you’ll end up with a stiff, raised bump that feels weird when you move. Aim for a flat, integrated repair, not a bandage.
Can I use a patch on denim that's already stretched out or thin from years of wear?
Short answer: Yes, but you can’t just slap a patch on top and call it a day. If the denim is thin or stretched, the fabric lacks the structural integrity to hold the patch’s weight. You’ll likely end up with a new hole right around the edges of your repair. My advice? Use a stabilizer or a scrap piece of denim underneath to reinforce the area first. Build a solid foundation so your fix actually lasts.
Is there a way to do this quickly if I don't want to sit down and spend an hour sewing?
Look, I get it. Sometimes you don’t have an hour to sit there with a needle and thread. If you need a tactical fix right now, grab some heavy-duty iron-on denim patches. You just trim the patch, position it, and press it with an iron. It takes five minutes, requires zero sewing skills, and gets you out the door. It’s not a permanent masterpiece, but it’s a functional system to bridge the gap.
