I was staring at a pile of expensive cedar scraps and a set of blueprints that looked more like a math exam than a weekend project, wondering why I couldn’t just get this done. Most people think you need a high-end workshop and a degree in carpentry to master how to build a birdhouse, but that’s a total myth that keeps perfectly good wood gathering dust in your garage. In reality, you don’t need a complex setup; you just need a logical sequence and the right basic tools to stop the guesswork before it starts.
I’ve spent my career streamlining operations to cut out the noise, and I’m applying that same philosophy to this build. I’m not going to waste your time with fluff or over-engineered designs that fall apart after the first rainstorm. Instead, I’m going to walk you through a stripped-down, functional blueprint that focuses on precision and durability. You’ll learn exactly how to measure, cut, and assemble a sturdy home for your local birds so you can finish the job efficiently and get back to your life.
Table of Contents
- Step-by-Step Instructions
- Choosing the Best Wood for Outdoor Birdhouses Without the Guesswork
- Essential Woodworking Tools for Birdhouses to Save You Time
- Five Pro-Tips to Keep Your Birdhouse Functional and Long-Lasting
- The Bottom Line: Build Once, Build Right
- ## The Philosophy of the Build
- Get It Built and Get Out There
- Frequently Asked Questions
Guide Overview
Tools & Supplies
- Handsaw or miter saw for cutting wood
- Hammer for assembling pieces
- Drill with spade bit for entrance hole
- Measuring tape for accuracy
- Cedar or pine board (1" x 6" x 4')
- Galvanized nails (approx. 20)
- Waterproof wood glue
- Sandpaper (medium grit)
Step-by-Step Instructions
- 1. First, clear your workbench and lay out your materials. You’ll need a single 1×6 cedar or pine board (about 5 feet long), a saw, some exterior-grade wood glue, and 1.5-inch galvanized nails. I always recommend cedar because it handles the elements without needing toxic stains, which keeps the birds safe and saves you the maintenance headache later.
- 2. Measure and mark your cuts with a pencil and a square. You need six pieces: a base (4″ x 4″), a front and back (each about 5″ x 8″), two sides (approx. 4″ x 8″), and a roof (about 6″ x 8″). Don’t rush this part; if your initial measurements are off by even a fraction, the whole structure will feel wonky when you try to assemble it.
- 3. Once you’ve marked your lines, it’s time to cut. Use a hand saw for a more meditative, controlled approach, or a miter saw if you want to get through the task quickly. Aim for clean, straight edges; any jaggedness will just make the nailing process a frustrating struggle against the wood.
- 4. Drill your entrance hole. For most common backyard birds, a 1.5-inch hole positioned about 6 inches above the floor is the sweet spot. I like to use a spade bit for this because it’s efficient and leaves a smooth finish that prevents birds from snagging their feathers as they enter or exit.
- 5. Start the assembly by gluing and nailing the sides to the back piece. Apply a thin, even bead of wood glue to the edges before you drive in your nails. This creates a mechanical bond that works alongside the nails to ensure the house doesn’t fall apart after the first heavy rainstorm.
- 6. Attach the floor and the front piece next. When you’re installing the floor, I suggest drilling a few small 1/4-inch holes in the corners for drainage. It’s a small, functional detail that prevents the nest from becoming a soggy mess, which is exactly the kind of foresight that keeps a system running smoothly.
- 7. Finally, secure the roof. If you want to make this a truly “smart” build, only nail one side of the roof or use a hinge on the other. This allows you to easily remove the top once a year to clean out the old nesting material, ensuring the house is ready for a new family next season without you having to build a whole new unit.
Choosing the Best Wood for Outdoor Birdhouses Without the Guesswork
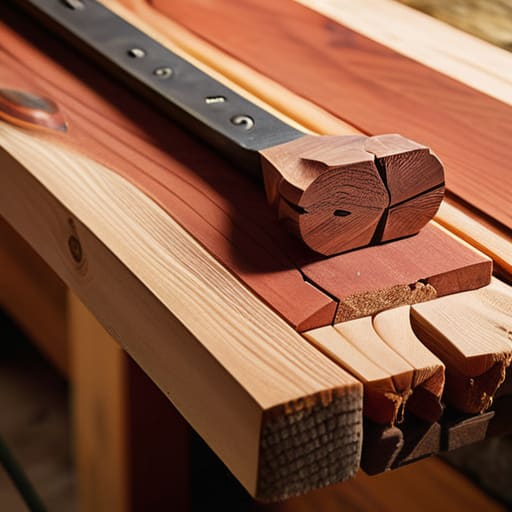
Don’t waste your Saturday afternoon at the hardware store staring blankly at the lumber aisle. When you’re looking for the best wood for outdoor birdhouses, you want something that can handle the humidity and temperature swings without rotting away in a single season. I always steer clear of pressure-treated lumber because the chemicals can be nasty for the hatchlings. Instead, stick to natural, rot-resistant options like cedar or redwood. They age beautifully, require zero maintenance, and most importantly, they don’t need toxic stains to survive the elements.
If you’re on a tighter budget, pine is an option, but you’ll need to be much more diligent about sealing it. Just remember: keep the interior natural. I’ve learned the hard way that painting the inside of a box is a quick way to ruin a nesting site. Once you’ve picked your material, make sure your woodworking tools for birdhouses are sharp; clean, precise cuts prevent gaps where moisture can seep in and create a damp, dangerous environment for the birds. Keep it simple, keep it natural, and the birds will do the rest.
Essential Woodworking Tools for Birdhouses to Save You Time
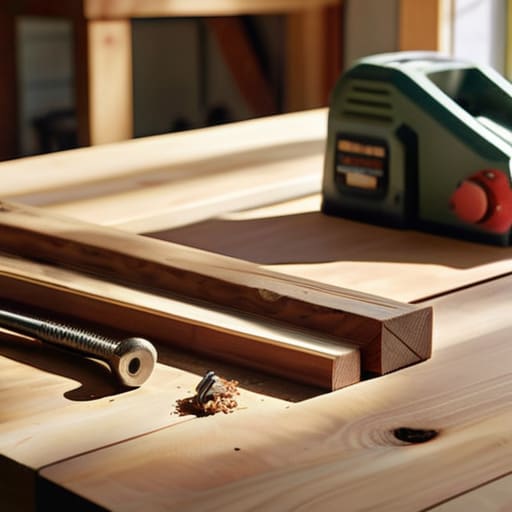
You don’t need a professional-grade workshop to get this done, but you do need the right setup to avoid frustration. I’ve learned the hard way that using a dull saw or a shaky measuring tape turns a thirty-minute project into a two-hour headache. For this build, I keep my kit minimal: a reliable handsaw or miter saw, a drill with a few bits, and a hammer. The real secret to efficiency, though, is having a dedicated set of woodworking tools for birdhouses that are actually sharp and clean. If your blades are nicked, you’ll end up with splintered edges that don’t fit together, wasting the good lumber you just picked out.
Once you have your tools ready, focus on precision rather than speed. I always keep my small notebook handy to jot down the safe birdhouse entrance hole sizes before I start drilling. If that hole is even a fraction too large, you might accidentally invite predators into the nest instead of the songbirds you’re trying to help. Get your measurements right the first time, and you’ll spend less time sanding out mistakes and more time actually enjoying the finished product.
Five Pro-Tips to Keep Your Birdhouse Functional and Long-Lasting
- Skip the fancy finishes; birds don’t care about aesthetics, and toxic stains can actually harm them. Stick to raw, untreated wood or a simple, water-based exterior stain on the outside only.
- Drill your entrance hole with precision. If it’s too big, predators get in; if it’s too small, the birds can’t use it. Research your specific local species to get that diameter exactly right before you commit to the cut.
- Don’t forget the ventilation. A birdhouse without airflow is just a wooden oven in the summer. Drill a few small holes near the top of the side walls to ensure air keeps circulating.
- Build in a way that lets you clean it. I always include one side or a bottom panel that can be easily unscrewed. You’ll need to clear out old nesting material every season to keep the space hygienic.
- Avoid adding a perch. It looks classic in movies, but in reality, it’s just a handle for predators like crows or squirrels to hang onto while they raid the nest. Keep it simple and let the birds fly straight in.
The Bottom Line: Build Once, Build Right
Don’t overcomplicate your materials; stick to weather-resistant wood like cedar so you aren’t rebuilding this every single season.
Prioritize function over aesthetics—birds care about safety and ventilation, not how fancy your paint job looks.
Use the right tools for the job from the start to avoid frustration and wasted wood; a clean build is a fast build.
## The Philosophy of the Build
“Building a birdhouse isn’t about achieving woodworking perfection; it’s about creating a reliable, functional system that works for the birds and doesn’t waste your weekend.”
Liam Anders Chen
Get It Built and Get Out There
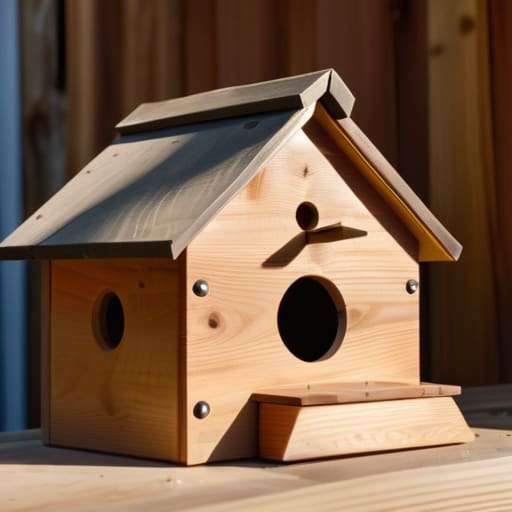
At this point, you have the right wood, the necessary tools, and a clear set of instructions to follow. Building a birdhouse isn’t about achieving architectural perfection or spending weeks in the workshop; it’s about having a functional, well-constructed shelter that stands up to the elements. Remember to double-check your measurements and ensure your drainage holes are clear before you hang it up. Once you’ve nailed those last few boards and cleared your workbench, you’ve successfully stripped away the complexity of a DIY project and turned a pile of lumber into something genuinely useful.
My philosophy has always been that we shouldn’t let the pursuit of “perfect” become an excuse for inaction. The goal here wasn’t just to make a birdhouse, but to reclaim a bit of your time by executing a task with precision and purpose. Now that the sawdust has settled and your tools are back in their proper places, it’s time to step away from the project and actually enjoy the result. Go find a quiet spot, grab a coffee, and watch the local wildlife move into their new home. You’ve done the work, so now it’s time to start living in the space you’ve created.
Frequently Asked Questions
How do I make sure the birdhouse is actually safe for the birds and not a death trap?
Look, there’s no point in building a beautiful house if it ends up being a death trap. First, skip the toxic paints or stains on the interior; keep the inside raw wood. Second, ditch the perch. It looks cute, but it’s just a handle for predators to hang onto while they raid the nest. Finally, drill some drainage holes in the bottom and ventilation slits near the top. If it’s not breezy and dry, they won’t stay.
Do I really need to paint or stain the wood, or will that mess with the birds?
Keep it natural. If you can, leave the wood raw; birds prefer the camouflage of untreated timber, and it’s one less step for you. If you must protect it from the elements, stick to water-based, non-toxic stains on the outside only. Never paint the interior or the entrance hole. I’ve seen too many people overcomplicate this and end up creating a chemical hazard for the very birds they’re trying to help.
Where’s the best spot to hang it so it doesn't get knocked down or eaten by predators?
Location is everything. If you hang it too low, a stray cat or a curious neighborhood dog will find it in minutes. Aim for about five to ten feet up. Mount it on a sturdy pole or a tree trunk away from dense shrubbery—you don’t want to provide a natural ladder for predators. Most importantly, face the entrance away from prevailing winds so the interior stays dry and comfortable for your new tenants.
