I was halfway through a deep-work session at my desk when I heard that sickening, hollow scritch—the sound of my heavy metal coffee mug sliding right across the walnut finish. My heart sank for a second, thinking I’d just ruined a piece of furniture I actually care about. Most people will tell you that a deep gouge means you need to sand down the entire surface and start from scratch, but that is a massive waste of time and energy. Learning how to fix scratched wood doesn’t have to be a weekend-long overhaul that leaves your living room looking like a construction zone.
I’ve spent enough time tinkering with mechanical parts and home repairs to know that most fixes are just unnecessarily complicated. In this guide, I’m going to show you the efficient way to handle everything from light surface scuffs to deeper marks. I’ll skip the fluff and give you the exact, repeatable steps I use to restore my own gear and furniture. We’re going to focus on high-impact, low-effort methods so you can get back to living without that constant visual distraction staring you in the face.
Table of Contents
- Step-by-Step Instructions
- Mastering Removing Surface Scratches From Timber Without the Hassle
- Efficient Wood Filler Application Techniques for Immediate Results
- Pro Tips to Keep Your Fix from Looking Like a Patch Job
- The Bottom Line: Less Effort, Better Results
- ## The Philosophy of Maintenance
- Getting Back to What Matters
- Frequently Asked Questions
Guide Overview
Tools & Supplies
- Sandpaper (various grits for smoothing)
- Microfiber cloth (for cleaning dust)
- Wood filler spreader (for applying repairs)
- Wood filler (one small container)
- Wood stain or marker (color-matched to furniture)
- Furniture wax or polish (for finishing)
Step-by-Step Instructions
- 1. First, I always start by cleaning the area. You can’t fix what you can’t see, and any lingering dust or furniture polish will just get trapped in your repair. Take a soft, lint-free cloth and wipe down the scratch with a bit of mild soap and water, or a dedicated wood cleaner if you have it. Make sure it is completely dry before you move to the next step, otherwise, your fix won’t bond properly.
- 2. Once the surface is clear, assess the depth of the damage. If it’s just a light surface scuff, you might get away with a simple furniture marker or even a walnut. However, if you can actually feel the groove with your fingernail, you’re going to need something more substantial like a wood filler. I keep a small kit of various shades in my bag for exactly this reason—it’s better to have the right tool ready than to improvise with something that ruins the finish.
- 3. If you’re using wood filler, less is definitely more. Use a small putty knife to press the filler into the scratch, working from the edges toward the center. You want to overfill it slightly because the material tends to shrink a bit as it cures. Don’t try to make it perfect right away; just focus on getting the material seated deep into the grain so there are no air pockets left behind.
- 4. Now, patience is your best friend here. Let the filler dry according to the package instructions—usually about 30 minutes to an hour depending on the depth. If you try to rush this, you’ll end up with a gummy mess that’s impossible to sand. Once it feels firm to the touch, take a fine-grit sandpaper (around 220 grit is my go-to) and sand the area until it is perfectly flush with the surrounding wood.
- 5. After sanding, wipe away all the fine dust with a tack cloth or a slightly damp microfiber towel. This is a crucial step because even a tiny bit of leftover grit will act like sandpaper when you try to apply the finish, leaving you with a rough, uneven texture that looks worse than the original scratch.
- 6. Finally, it’s time to restore the color. If you used a filler, you’ll need to blend it back into the original stain. You can use a furniture touch-up pen or a small amount of stain applied with a cotton swab. Dab it on lightly and blend outward to avoid harsh lines. Once the color looks right, apply a bit of furniture wax or a clear coat to seal the repair and restore that original sheen. Give it a few hours to set, and you’re back in business.
Mastering Removing Surface Scratches From Timber Without the Hassle
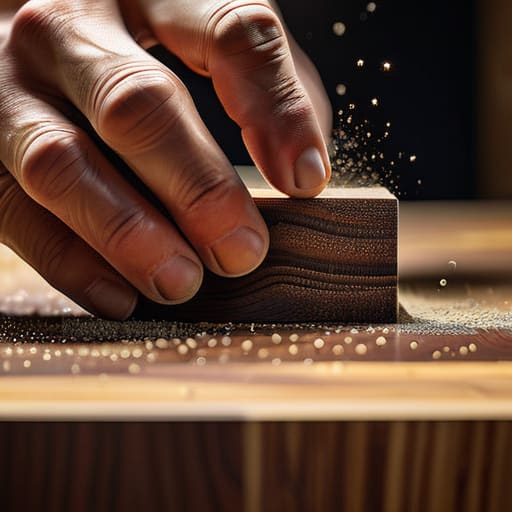
When you’re dealing with light surface damage, the temptation is to grab a heavy-duty sander and go to town. Resist that urge. My philosophy is always to use the least invasive method necessary to achieve the result. If the scratch hasn’t breached the protective coating, you can often avoid the mess of a full overhaul by focusing on buffing out wood imperfections with a bit of patience and a fine-grit abrasive. It’s about precision, not brute force.
If the damage is a bit deeper, you’ll need to move into more intentional territory. This is where most people trip up by being too aggressive with their tools. When you start restoring wood finish on a specific spot, the goal is seamless integration. I always suggest testing your color match on a hidden area—like the underside of a table leg—before committing to the visible surface. If you’re using a compound or a wax stick, work in small, circular motions. It’s much easier to build up the repair slowly than it is to sand away a mistake you made by over-applying product.
Efficient Wood Filler Application Techniques for Immediate Results
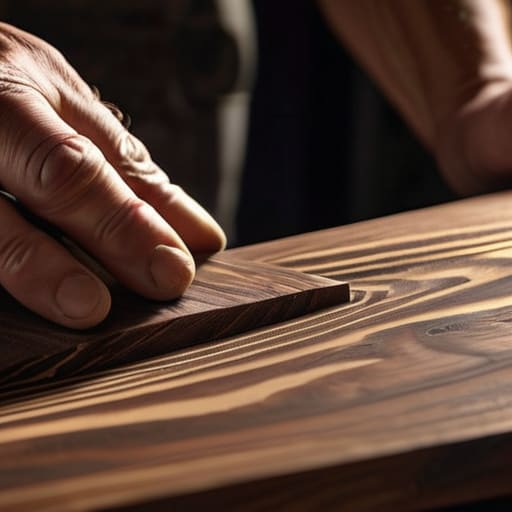
If the scratch is deep enough that a simple buffing won’t cut it, you’re going to need to get tactical with wood filler. The biggest mistake I see people make is trying to over-apply; they treat it like spackle on a drywall, leaving a mountain of material that’s a nightmare to sand down later. Instead, aim for a slightly overfilled surface. Use a small putty knife to press the filler deep into the grain, ensuring there are no air pockets left behind. Once you’ve packed it in, swipe it across to level it off, leaving just a tiny bit of excess. It’s much easier to sand down a small bump than it is to scrape out dried, hardened filler that’s stuck in the grooves.
When you move on to matching wood stain colors, patience is your best friend. Don’t try to fix the whole piece at once; test your filler or stain on an inconspicuous area first. I always keep a small scrap of the same wood type nearby to run tests. Once the filler is dry and sanded flush, your goal is seamless integration. If you’ve mastered your wood filler application techniques, the transition between the patch and the original timber should be practically invisible.
Pro Tips to Keep Your Fix from Looking Like a Patch Job
- Always test your color match on a hidden spot first; wood finishes are notoriously temperamental, and you don’t want to realize your “perfect” stain looks like a dark bruise once it hits the center of the table.
- Don’t rush the drying process. I know it’s tempting to sand it down immediately to get the job done, but if that filler is even slightly tacky, you’ll just end up pulling it out of the scratch and starting from scratch.
- Use the right grit for the job. Start with something slightly coarser to level the area, but finish with high-grit sandpaper to ensure the repair blends seamlessly into the surrounding texture.
- Keep your workspace organized. A little bit of sawdust or grit getting caught in your fresh stain is a nightmare, so wipe everything down thoroughly before you apply the final coat.
- Invest in a decent set of precision tools. You don’t need a workshop full of heavy machinery, but a high-quality sanding block and a few small spatulas will make the difference between a professional finish and a messy DIY attempt.
The Bottom Line: Less Effort, Better Results
Don’t overthink it—assess the depth of the scratch first so you don’t waste time applying heavy filler where a simple buffing would have done the job.
Precision matters more than power; whether you’re sanding or filling, slow and steady movements prevent the mess and ensure a seamless finish.
Fix it once and move on; the goal isn’t to achieve museum-grade perfection, but to restore the piece quickly so it stops being a distraction in your space.
## The Philosophy of Maintenance
“A scratch in your wood isn’t a permanent flaw; it’s just a small system failure. Don’t let a bit of surface damage clutter your headspace or ruin the utility of your home—fix it quickly, fix it right, and get back to what actually matters.”
Liam Anders Chen
Getting Back to What Matters
At the end of the day, fixing those scratches isn’t about achieving some unattainable level of perfection; it’s about maintaining the things you actually use and love. We’ve covered how to assess the damage, whether you can sand it out or if you need to step up to a wood filler, and how to blend that finish so it actually looks seamless. By following these steps—from the initial light sanding to that final, careful application of stain—you’ve effectively removed the friction between you and a home that feels complete. You didn’t need a professional contractor or a massive renovation budget; you just needed a clear process and the right tools to get the job done.
I know how easy it is to let a small imperfection turn into a source of constant, low-level annoyance. We see that scratch on the dining table every single morning, and it becomes just another piece of “clutter” in our mental space. But once you take control and fix it, that mental weight disappears. My advice is to don’t let these small repairs pile up. Tackle them when you see them, keep your tools ready, and remember that mastering your environment is the first step toward reclaiming your focus. Now, put the screwdriver away, step back, and go enjoy your space.
Frequently Asked Questions
What if the scratch is too deep for wood filler to look natural?
If the scratch is deep enough that filler looks like a patch job, stop right there. You’ve moved past a simple fix and into structural territory. At this point, I’d recommend sanding down the area slightly to level it, then using a stain that matches the original grain rather than just slapping on more filler. If it’s a heavy-duty piece, you might need to inlay a small sliver of matching wood. Don’t rush it; precision beats speed every time.
How do I match the color of the repair to the existing stain without it looking like a patch job?
The secret is to stop thinking about “covering” the spot and start thinking about “blending” it. Don’t try to hit the exact shade in one go; that’s how you end up with a dark, obvious patch. Instead, use a stain marker or a tiny bit of wood tint to build the color in thin, translucent layers. Work from the center of the repair outward, feathering the edges so the new color melts into the old.
Is it safe to use these quick fixes on expensive antique furniture, or am I risking permanent damage?
Look, if you’re dealing with a family heirloom or a high-end antique, take a breath and stop right there. My rule of thumb is simple: if the piece has significant historical or sentimental value, don’t DIY it. These quick fixes are designed for modern, everyday items. On an antique, you risk stripping original finishes or causing irreversible chemical reactions. When it comes to the expensive stuff, call a professional. It’s better to pay for expertise than to regret a mistake.