Stop wasting your hard-earned money on those overpriced, neon-colored “specialized” sprays that claim to be the holy grail of kitchen maintenance. I’ve spent enough time tinkering with precision tools and high-end appliances to know that most of these products are just fancy water wrapped in expensive marketing. If you’re still standing in the cleaning aisle wondering how to clean stainless steel without leaving behind a greasy, streaky mess, you’re being sold a lie. You don’t need a chemistry degree or a ten-step ritual; you just need to stop overcomplicating a simple physical problem.
I’m not here to give you a lecture or a list of products you can’t find at a local grocery store. My goal is to give you a functional system that works every single time, using stuff you probably already have in your pantry. I’ll show you the exact, streamlined method I use to keep my own kitchen looking sharp without wasting my entire Saturday scrubbing. We’re going to strip away the fluff and get your surfaces gleaming in minutes so you can get back to your life.
Table of Contents
- Removing Fingerprints From Stainless Steel Without Wasting Your Time
- The Best Cleaning Products for Steel Surfaces That Actually Work
- Five Quick Rules to Stop Making Your Stainless Steel Look Worse
- The Bottom Line: Clean Steel, Less Effort
- ## The Philosophy of Maintenance
- Less Scrubbing, More Living
- Frequently Asked Questions
Removing Fingerprints From Stainless Steel Without Wasting Your Time
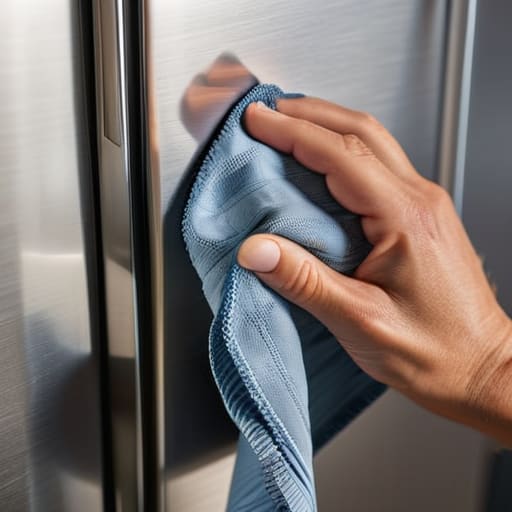
We’ve all been there: you walk into the kitchen, and despite a deep clean yesterday, the fridge looks like a crime scene of oily smudges and handprints. It’s frustrating because it makes a clean home feel chaotic. When I’m dealing with this, I don’t reach for heavy chemicals that leave a film; I go for a quick, two-step system. Start with a microfiber cloth dampened with a bit of water or a mild soap solution to lift the oils. The secret, though, is following the stainless steel grain direction guide—always wipe in the direction of the microscopic lines in the metal. If you scrub against the grain, you aren’t just moving dirt around; you’re inviting unnecessary wear.
Once the smudges are gone, you need to lock in that finish. I’ve found that cleaning stainless steel with vinegar and oil is the ultimate efficiency hack. A quick mist of white vinegar cuts through any remaining residue, followed by a tiny drop of olive oil on a fresh cloth to buff it out. This doesn’t just make it shine; it creates a light barrier that helps in avoiding scratches on metal surfaces during your next quick wipe-down. It’s fast, it’s cheap, and it actually works.
The Best Cleaning Products for Steel Surfaces That Actually Work
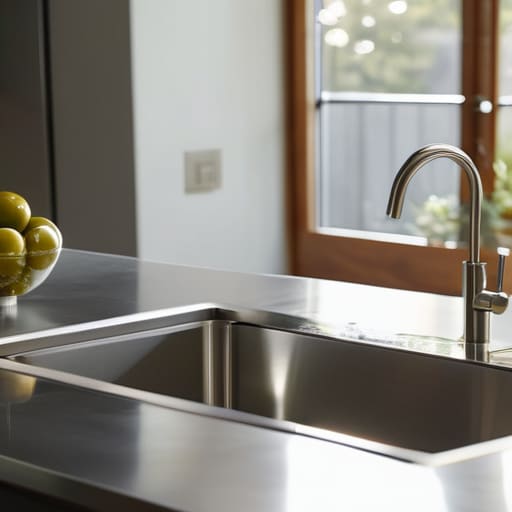
Look, you don’t need a cabinet full of specialized, overpriced chemical sprays that promise a “miracle shine” but just leave a sticky residue behind. In my experience, the best cleaning products for steel surfaces are usually already sitting in your pantry. If you want to keep things simple and effective, a mixture of white vinegar and a tiny bit of olive oil is my go-to. The vinegar cuts through the grime, and the oil provides a protective layer that helps with removing fingerprints from stainless steel later on. It’s a closed-loop system that saves money and reduces clutter.
If you prefer something more heavy-duty for built-up grease near the stove, a mild dish soap diluted in warm water works wonders. The trick here isn’t just the product, though; it’s the application. Always remember to follow the stainless steel grain direction guide—wipe with the lines, not against them. This isn’t just about aesthetics; it’s about avoiding scratches on metal surfaces that can turn a minor cleaning task into a permanent eyesore. Keep it simple, keep it functional, and move on with your day.
Five Quick Rules to Stop Making Your Stainless Steel Look Worse
- Always follow the grain. Just like wood, stainless steel has a direction. If you scrub against it, you’re just pushing grime deeper into the microscopic grooves and leaving tiny scratches that catch the light. Find the direction of the lines and move with them.
- Ditch the abrasive sponges. I’ve seen too many people go at a smudge with a heavy-duty scouring pad, only to end up with a permanent dull patch. Stick to microfiber cloths or soft sponges; your surfaces deserve better than being sandpapered.
- Avoid the bleach trap. I know it’s tempting to reach for the heavy-duty disinfectants, but bleach is a slow killer for stainless steel. It can cause pitting and discoloration over time. If you want to sanitize, stick to mild soap or specialized cleaners that won’t eat away at the finish.
- Buff it dry immediately. Water spots are the enemy of a clean aesthetic. If you let the surface air dry, you’re just inviting mineral deposits to settle in. Once you’ve wiped it down, take a fresh, dry microfiber cloth and give it a quick buff to lock in that shine.
- Keep a “kit” ready. Don’t waste ten minutes digging through a cluttered under-sink cabinet every time you see a smudge. Keep a dedicated microfiber cloth and a small spray bottle of your preferred cleaner in one specific spot. Efficiency is about reducing the friction between seeing a mess and fixing it.
The Bottom Line: Clean Steel, Less Effort
Stop overcomplicating it; most of the time, a simple mix of vinegar and water or a dedicated spray is all you need to beat smudges.
Always work with the grain of the metal to avoid micro-scratches and save yourself from unnecessary scrubbing.
Keep a microfiber cloth handy—it’s the single best tool in your kit for getting that streak-free finish without wasting time.
## The Philosophy of Maintenance
“Cleaning isn’t about achieving perfection; it’s about removing the friction. If you spend twenty minutes fighting a smudge on your fridge, you’ve lost twenty minutes of your life to a piece of metal. Use the right tool, do it once, and get back to what actually matters.”
Liam Anders Chen
Less Scrubbing, More Living
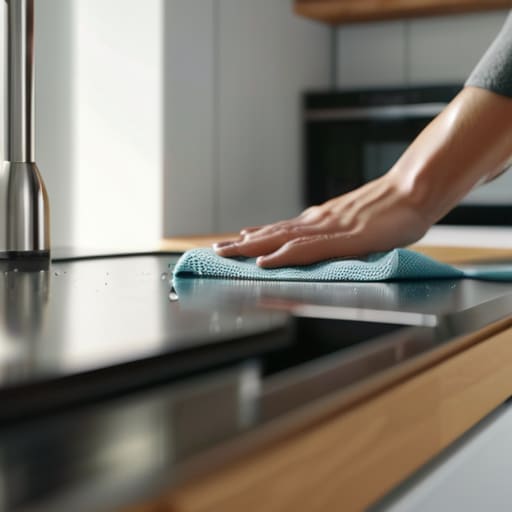
At the end of the day, keeping your stainless steel looking sharp doesn’t require a chemistry degree or an entire afternoon of manual labor. We’ve covered the essentials: ditch the harsh abrasives that cause permanent scratches, use the right products—like simple vinegar or a dedicated cleaner—and always remember to wipe with the grain to avoid those annoying streaks. By focusing on these small, repeatable steps, you turn a frustrating chore into a five-minute maintenance task that keeps your kitchen looking professional without the headache.
My philosophy has always been that your home should serve you, not the other way around. You shouldn’t be spending your precious evening hours wrestling with stubborn smudges or fighting with a dirty appliance. Once you implement these simple systems, you’ll find that the clutter and the chaos start to recede, leaving you with a space that feels truly organized and calm. Stop letting the small things like a fingerprint on the fridge drain your mental energy; get it cleaned up, reclaim your time, and go focus on what actually matters to you.
Frequently Asked Questions
Is it safe to use abrasive sponges or steel wool if there's a really tough stain?
Absolutely not. If you pull out the steel wool, you’re just trading a stain for a permanent scratch. I’ve seen too many people try to “power through” a tough spot only to ruin the finish of a high-end appliance. If a stain is being stubborn, don’t reach for the heavy abrasives; instead, try a dedicated stainless steel cleaner or a paste of baking soda and water. It’s about working smarter, not harder.
How can I tell if my appliance has a protective coating that might react badly to certain cleaners?
Before you go pouring anything on your appliances, do a quick field test. Grab a small, inconspicuous spot—like the side of the fridge near the floor—and apply a tiny amount of your cleaner. Wait a minute, wipe it off, and check for any cloudiness, discoloration, or a change in texture. If it looks weird or feels tacky, stop immediately. It’s better to spend five minutes testing than five hours regretting a ruined finish.
Once it's clean, is there a way to prevent those annoying water spots from coming back immediately?
Look, cleaning it is only half the battle; if you don’t seal it, those water spots will be back before your coffee gets cold. The trick is to create a thin, protective barrier. After you’ve dried the surface completely, take a tiny drop of food-grade mineral oil on a microfiber cloth and buff it in. It fills the microscopic pores in the steel, making water bead off rather than sticking. Just a little goes a long way.
