I was standing in my living room last Saturday, staring at a half-empty gallon of eggshell white and a pile of plastic drop cloths, feeling completely defeated. I had watched three different “quick” tutorials, yet I was already covered in splatters and my edges looked like a jagged mess. Most people think that learning how to paint a room is about the brushwork, but they’re wrong; it’s actually about the systems you put in place before the lid even pops off the can. If you don’t respect the prep, you’re just spending your weekend fighting your tools instead of enjoying a fresh space.
I’m not here to sell you on some magical, expensive gadget or a complicated ten-step process that eats up your entire month. My goal is to strip away the chaos and give you a streamlined, engineering-minded approach to a flawless finish. In this guide, I’ll show you exactly how to organize your workspace, prep those surfaces without the headache, and execute a clean coat so you can stop managing the mess and start actually living in your improved home.
Table of Contents
- Step-by-Step Instructions
- Mastering Essential Painting Tools and Supplies Without the Clutter
- Smart Strategies for Calculating How Much Paint You Need
- Five Pro-Tips to Save Your Sanity (and Your Saturday)
- The Bottom Line for a Stress-Free Paint Job
- The Philosophy of the Finish
- The Finish Line
- Frequently Asked Questions
Guide Overview
Tools & Supplies
- Paintbrush for cutting in edges
- Roller and tray for large surfaces
- Painter's tape for protecting trim
- Drop cloths to protect flooring
- Interior paint 1-2 gallons per room
- Painter's tape 1 roll
- Sandpaper fine grit for smoothing walls
- Spackle small container for patching holes
Step-by-Step Instructions
- 1. First, clear the deck. You can’t paint effectively if you’re constantly stepping over furniture or tripping on loose cables. Move everything to the center of the room and cover it with a heavy-duty drop cloth. Don’t skimp here; I’ve learned the hard way that a cheap plastic sheet will tear mid-project, leaving your rug covered in permanent splatters.
- 2. Prep the surfaces like you would a piece of precision machinery. Take a damp cloth and wipe down the walls to remove dust and oils. If there are small holes or cracks, fill them with a bit of spackle and let it dry completely. Once it’s smooth, sand it down slightly. A smooth surface is the difference between a professional finish and a DIY disaster.
- 3. Protect your edges with painter’s tape. This is where most people lose their patience, but it’s the most critical step for a clean look. Apply the tape along the baseboards, window frames, and the ceiling line. Press the edge down firmly with your finger or a putty knife to ensure no paint bleeds underneath. If you’re in a rush, you’ll pay for it when you try to peel the tape off later.
- 4. Start with the “cutting in.” Grab a high-quality angled brush and paint a border about two or three inches wide around the edges of the room—along the ceiling, corners, and trim. Don’t try to do the whole room at once; work in sections so the “cut-in” paint stays wet enough to blend seamlessly with the main coat from the roller.
- 5. Now, roll out the bulk of the paint. Use a way better roller cover than you think you need; a high-density microfiber roller will give you a much more even texture. Work in small, overlapping sections using a “W” or “M” pattern to distribute the paint evenly. This prevents those annoying streaks and ensures you aren’t fighting the drying time by spreading paint over a section that has already started to tack up.
- 6. Let the first coat dry completely before even thinking about a second one. I know it’s tempting to rush, but applying a second coat to damp paint just results in a muddy, uneven mess. Check the can for the recommended drying time, and once it’s set, repeat the rolling process. A two-coat minimum is my golden rule for getting that deep, consistent color that actually looks intentional.
- 7. The final step is the most satisfying: the cleanup. Remove your painter’s tape while the paint is still slightly tacky—if you wait until it’s bone dry, you risk peeling the actual paint off the wall. Clean your brushes and rollers immediately with warm soapy water. If you treat your tools well now, they’ll be ready for the next project without you having to hunt for replacements.
Mastering Essential Painting Tools and Supplies Without the Clutter
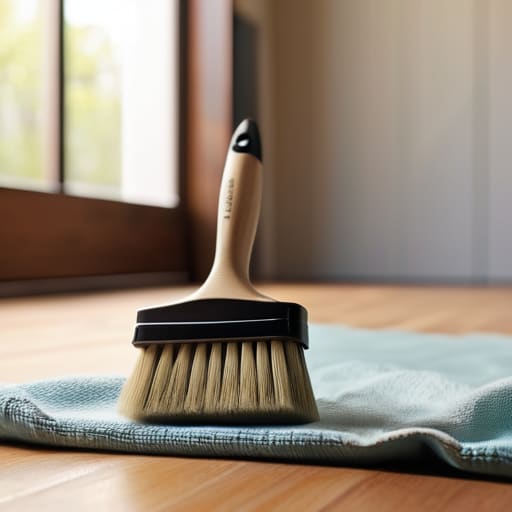
I’ve learned the hard way that a disorganized workspace is the fastest way to lose your momentum. When I’m setting up for a project, I don’t want a garage full of half-empty cans and cheap brushes that shed bristles into my fresh finish. My approach is to curate a lean kit of essential painting tools and supplies that actually work. Invest in a high-quality angled sash brush and a decent microfiber roller cover; it’s much better to own three great tools than ten mediocre ones that make the job twice as hard.
Before you even touch a brush to the surface, you need to get your logistics in order. I always start by calculating how much paint you need based on the actual square footage of your walls, rather than just guessing. There is nothing more frustrating than running out of paint halfway through a second coat when the light is fading. Once you have your quantities sorted, focus on the setup: clear the floor, protect your furniture, and keep your supplies in a dedicated bin. If your gear is organized, your mind stays calm, and the work follows suit.
Smart Strategies for Calculating How Much Paint You Need
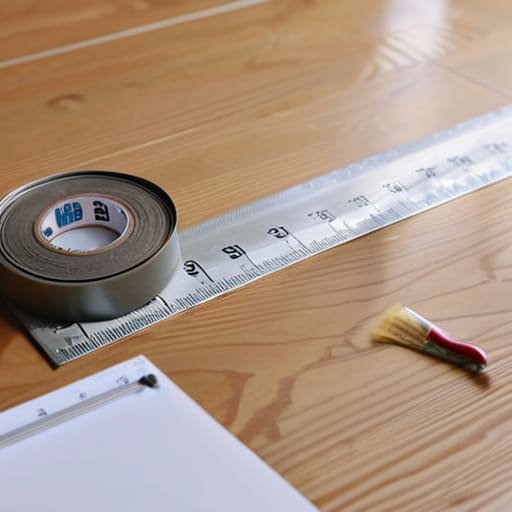
There is nothing that kills my momentum faster than being halfway through a wall and realizing I’m staring at the bottom of an empty can. It’s a mess, it’s expensive, and it completely breaks your flow. When you’re calculating how much paint you need, don’t just eyeball it. Grab a measuring tape and find the total square footage of your walls by multiplying the width by the height. Subtract the areas for windows and doors so you aren’t paying for coverage you don’t actually use.
I always recommend adding a 10% buffer to your final number. You’ll need that extra bit for touch-ups later, or to account for the texture of the surface, which can soak up more liquid than a flat sheet of paper. If you’re switching from a very dark color to something lighter, you’ll likely need two full coats anyway. Getting this math right upfront is just part of a solid system; it keeps the project predictable and ensures you aren’t making a frantic, mid-project run to the hardware store.
Five Pro-Tips to Save Your Sanity (and Your Saturday)
- Don’t skip the primer; I’ve learned the hard way that trying to cover a dark wall with a light color is just a recipe for three extra coats and a wasted afternoon.
- Invest in a decent angled brush for the edges—it’s the one tool that actually makes the “cutting in” phase feel like a precision task rather than a messy chore.
- Clean your tools as you go, even if it’s just a quick rinse; there is nothing worse than reaching for a brush halfway through a project only to find it’s turned into a stiff, unusable brick.
- Work in small, manageable sections rather than trying to tackle an entire wall in one go to prevent those annoying lap marks from showing up once the paint dries.
- Keep a small tray of your mixed paint handy for touch-ups; trust me, you’ll want it for that one inevitable scuff that happens the day after you finish.
The Bottom Line for a Stress-Free Paint Job
Prioritize prep over everything else; spending an extra hour cleaning and taping saves you three hours of frustration and messy edges later.
Buy for the job, not for the “what ifs”—get high-quality tools you’ll actually use, but don’t clutter your workspace with specialized gear you’ll never touch again.
Measure twice and buy slightly more than the bare minimum to avoid mid-project hardware store runs that kill your momentum.
The Philosophy of the Finish
“A room isn’t just a change of color; it’s a reset for your environment. If you spend more time fighting your tools than you do applying the paint, you’ve already lost the battle. Prep with intention, work with precision, and get it done right the first time so you can get back to living in the space you’ve built.”
Liam Anders Chen
The Finish Line
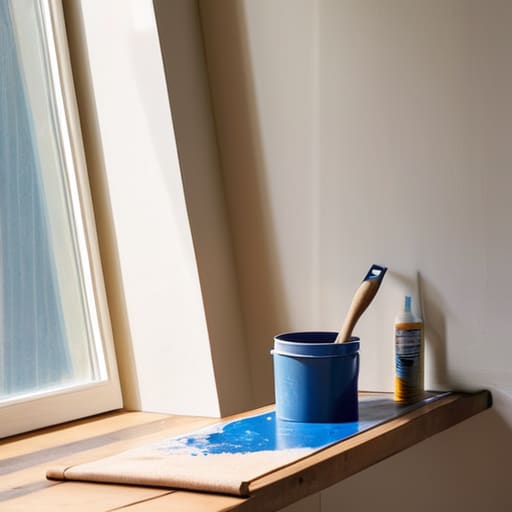
At the end of the day, painting a room isn’t about achieving some impossible, showroom-perfect standard; it’s about executing a solid system. We’ve covered the essentials: prepping your surfaces properly so you aren’t fighting peeling paint later, selecting the right tools to avoid unnecessary clutter, and calculating your volume accurately so you aren’t making mid-project runs to the hardware store. When you respect the process and prepare your workspace with intention, you eliminate the friction that turns a simple weekend project into a multi-day headache. Stick to the steps, keep your tools organized, and you’ll find that the actual application of the paint becomes the easiest part of the entire job.
Once the rollers are cleaned and the tape is pulled, take a second to actually stand back and look at what you’ve done. You didn’t just change a color; you reclaimed a piece of your environment. My goal is always to strip away the chaos so we can focus on what matters, and a fresh, clean room is a perfect example of that. Don’t let the minor imperfections steal your satisfaction. You’ve built a better space through deliberate action, and now it’s time to stop managing the project and start actually living in it.
Frequently Asked Questions
How do I know if I need to use a primer, or am I just wasting time and money?
Look, I hate wasting money on extra cans of paint as much as anyone. But skipping primer when you actually need it is just a recipe for a second weekend of frustration. If you’re painting over a dark color with something light, or if you’re dealing with bare drywall or a fresh patch job, you need primer. It creates a uniform base so your topcoat actually sticks and looks even, rather than patchy and thin.
What’s the fastest way to clean my brushes and rollers so I don't have to buy new ones next time?
Don’t let dried paint turn your tools into expensive trash. If you’re using water-based paint, grab a bucket of warm, soapy water and work the bristles in reverse until the water runs clear. For oil-based, you’ll need mineral spirits—don’t skip this step. The trick to speed is a dedicated brush comb; it clears the ferrule in seconds. Clean them thoroughly, dry them properly, and store them hanging up. It’s a five-minute habit that saves you a trip to the hardware store next time.
How can I prevent those annoying paint drips from ruining my floors or furniture?
Nothing kills my momentum faster than seeing a rogue drip hit a hardwood floor. To avoid the cleanup headache, skip the flimsy newspaper; it shifts and bunches. Instead, grab a roll of heavy-duty canvas drop cloths. They stay put and actually absorb the mess. For furniture, I swear by old bedsheets tucked tightly under the edges. Most importantly, keep a damp rag and a small container of warm water right next to you. If a drip happens, catch it immediately before it sets.
