I was standing in my kitchen last Tuesday, staring at those dated, honey-oak cabinets, feeling that familiar surge of mental clutter. My instinct was to call a contractor and drop five grand just to make the room feel functional again, but my systems-engineering brain kicked in instead. Most people think that learning how to paint kitchen cabinets is some massive, weekend-ruining ordeal that requires a professional studio setup, but that’s a total myth. In reality, the chaos doesn’t come from the painting itself; it comes from a lack of preparation and a disorganized workspace.
I’m not here to sell you on some complex, multi-step miracle process that takes three weeks to complete. I want to show you how to strip away the unnecessary fluff and execute this project with precision. This guide is my personal, no-nonsense blueprint for achieving a factory-smooth finish without the typical DIY headaches. We’re going to focus on the essential tools and the exact sequence of steps you need to reclaim your kitchen—and your sanity—without wasting a single second of your time.
Table of Contents
- Step-by-Step Instructions
- The Essential Cabinet Painting Supplies Checklist for Minimalist Efficiency
- Mastering How to Prep Cabinets for Painting to Avoid Re Work
- 5 Pro-Tips to Keep Your Project from Spiraling into Chaos
- The Bottom Line: Systems for a Stress-Free Finish
- The Philosophy of the Finish
- Finishing the Job Right
- Frequently Asked Questions
Guide Overview
Tools & Supplies
- Screwdriver or drill to remove hardware
- Sandpaper (various grits) to smooth surfaces
- Painter's tape to protect edges
- High-quality brush and microfiber roller for smooth finish
- Cabinet degreaser or TSP to clean surfaces
- Primer (1-2 gallons depending on size)
- Cabinet-grade paint (1-2 gallons)
- Tack cloth to remove dust before painting
Step-by-Step Instructions
- 1. First things first: strip the cabinets down to the basics. Don’t try to be a hero by painting around the hardware. Remove every single door, drawer, and hinge, and lay them out on a clean surface like a workbench. While you’re at it, grab a small container to keep your screws and tiny bits of hardware organized; if you lose them now, you’ll be wasting an hour hunting for them later when you’re tired and just want to be done.
- 2. Now comes the part most people try to skip, but it’s actually the most important: the deep clean. Kitchen cabinets are magnets for grease and cooking oils that you can’t even see, and if you don’t get that off, your new paint will peel within months. Use a heavy-duty degreaser and a microfiber cloth to wipe every inch of the wood. I like to treat this like calibrating a machine—if the surface isn’t perfectly clean, the rest of the system fails.
- 3. Once they are dry, you need to sand the surfaces smooth. You aren’t trying to sand the wood down to nothing; you’re just “scuffing” it to create a mechanical bond for the paint. Use a medium-grit sandpaper to take the shine off the existing finish. If you notice any deep scratches or gouges, fill them with a bit of wood filler now. A smooth foundation is the difference between a professional look and a DIY disaster.
- 4. Don’t skip the primer. I know, it feels like an extra step, but primer is your insurance policy. Use a high-quality, stain-blocking primer, especially if you’re going from a dark wood to a light color. Apply it in thin, even coats rather than trying to cover everything in one thick, gloopy layer. This step ensures your color stays vibrant and consistent without those annoying blotches showing through.
- 5. Now, let’s get to the actual painting. Use a high-quality synthetic brush for the corners and a small foam roller for the flat panels to minimize brush marks. The secret here is patience: apply several thin, controlled coats rather than one heavy one. If you rush this part, you’ll end up with drips that will drive you crazy. Take a breath, keep your movements steady, and let the process work for you.
- 6. This is the hardest part for anyone living in a busy house: the waiting game. You might be tempted to hang the doors back up the moment they feel dry to the touch, but resist that urge. Let them cure in a dust-free area for at least 24 to 48 hours. If you rush the drying process, you’ll end up with sticky surfaces that attract every bit of dust in your home, undoing all your hard work.
- 7. Finally, once everything is completely cured and solid, reinstall your hardware with precision. Use your screwdriver to make sure everything is level and tight. If you have any leftover screws or tiny parts, don’t just toss them in a junk drawer; put them in a labeled baggie. Reassembling your kitchen should feel like completing a successful project, not a frustrating chore.
The Essential Cabinet Painting Supplies Checklist for Minimalist Efficiency
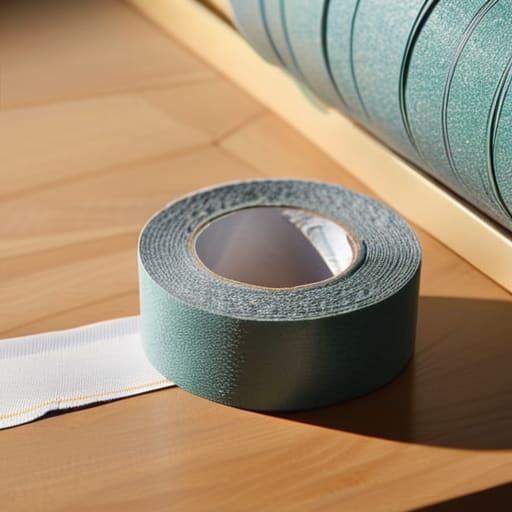
I’ve learned the hard way that a project like this lives or dies in the shopping cart. There is nothing more frustrating than being mid-flow, covered in dust, only to realize you’re missing a specific grade of sandpaper or the right type of tape. To keep things efficient, I treat my cabinet painting supplies checklist like a systems engineer would: everything must be high-quality and purpose-built. Skip the cheap, multipurpose brushes. If you want a professional finish without the headache, invest in a high-density foam roller or a premium synthetic brush. This is your best defense for preventing brush marks on cabinets, which are a nightmare to sand out later.
When it comes to the chemistry, don’t cut corners. You need a dedicated cabinet primer and topcoat system designed specifically for high-traffic surfaces. Standard wall paint won’t hold up to the daily grease and moisture of a kitchen; it’ll peel faster than a poorly maintained vintage keyboard. I usually opt for water-borne alkyds—they give you the durability of oil with the easy cleanup of water. If you’re debating between spraying vs brushing cabinets, remember that spraying offers a factory-smooth look, but brushing is far more manageable for a weekend DIYer.
Mastering How to Prep Cabinets for Painting to Avoid Re Work
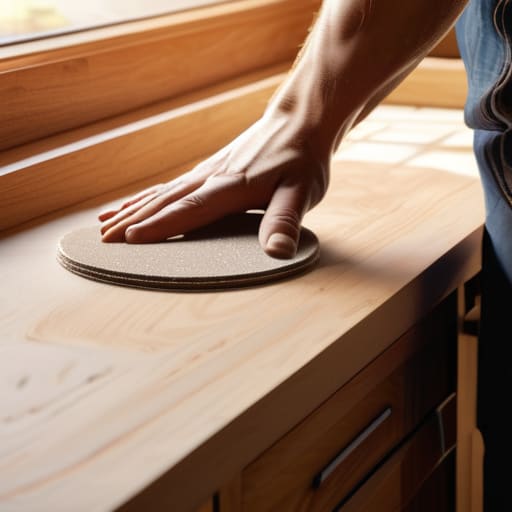
If there’s one thing my engineering background has taught me, it’s that a system is only as strong as its foundation. In this case, your foundation is the prep work. Most people rush this stage because they want to see the color change, but that’s exactly how you end up with peeling edges or a finish that feels like sandpaper. Learning how to prep cabinets for painting isn’t just about cleaning; it’s about creating a surface that actually wants to bond with the new layer. If you skip the heavy-duty degreasing or the sanding, you’re essentially scheduling a massive headache for yourself three months down the line.
Once the surfaces are surgically clean, focus on the details. I always tell myself to treat sanding like a precision task rather than a chore. You aren’t trying to strip the wood to the bone; you’re just creating a “tooth” for the cabinet primer and topcoat to grab onto. This is also where you decide your workflow: are you going the route of spraying vs brushing cabinets? If you’re brushing, your sanding must be flawless to help in preventing brush marks on cabinets later. Do the grunt work right now so you don’t have to do it twice.
5 Pro-Tips to Keep Your Project from Spiraling into Chaos
- Don’t rush the drying time between coats. I know it’s tempting to finish early so you can reclaim your kitchen, but applying a second coat too soon is a recipe for a sticky, textured mess that you’ll be sanding down for hours later.
- Control your environment. If you’re painting in a dusty garage or a room with a draft, you’re asking for debris to get stuck in your wet finish. Close the windows and keep the area as clean as a surgical suite.
- Work in small, manageable batches. Instead of stripping the whole kitchen at once and leaving yourself with zero counter space, take one door or one cabinet at a time. It keeps the chaos contained and ensures you always have a functional kitchen.
- Use a high-quality microfiber cloth for every wipe-down. Any leftover grease or dust is an enemy to a smooth finish. I’ve learned the hard way that a cheap rag just moves the dirt around instead of removing it.
- Invest in a good sanding block, not just your hands. Consistent pressure is the only way to get that professional, level surface. If you wing it with your fingers, you’ll end up with uneven divots that show through every single coat.
The Bottom Line: Systems for a Stress-Free Finish
Don’t skip the prep; I’ve learned the hard way that spending an extra hour cleaning and sanding saves you three days of fixing peeling paint later.
Invest in quality tools rather than a mountain of cheap ones—a single high-grade brush and a steady system will always beat a cluttered workspace and mediocre results.
Focus on the process, not just the outcome; if you keep your workspace organized and follow your steps methodically, the finish will take care of itself.
The Philosophy of the Finish
“A successful cabinet project isn’t about the fancy brushes you buy; it’s about the discipline you put into the prep work. If you respect the process and get the foundation right, the actual painting becomes the easiest part of your week.”
Liam Anders Chen
Finishing the Job Right
At the end of the day, painting your kitchen cabinets isn’t about achieving some unattainable showroom perfection; it’s about the process of intentional maintenance. We’ve covered the ground from gathering a streamlined toolkit to the heavy lifting of cleaning and sanding. If you stuck to the prep work and didn’t rush the drying times, you’ve already bypassed the most common mistakes that turn a weekend project into a month-long headache. Remember, the secret to a finish that actually lasts isn’t a magic brand of paint, but the discipline of the prep work you put in before the first brushstroke ever hit the wood.
Now that the dust has settled and the smell of fresh paint is finally fading, take a second to actually look at what you’ve done. You didn’t just change the color of your kitchen; you reclaimed a piece of your home through your own effort. There is a specific kind of mental clarity that comes from fixing something yourself rather than letting it sit there, looking worn and neglected. Don’t let this be the last time you tackle a project. Use this momentum to simplify your space one corner at a time. You’ve proven you can handle the chaos—now go enjoy your new kitchen.
Frequently Asked Questions
How do I know if my current cabinet finish is too glossy to paint without a full sanding?
Here’s the quick test: grab a piece of fine-grit sandpaper and scuff a small, inconspicuous spot on the inside of a door. If the surface turns dull and matte immediately, you’re good to go with a light scuff. But if the shine stubbornly resists and the surface feels slick or waxy, that finish is too high-gloss. In that case, don’t skip the heavy lifting; you’ll need a more thorough sanding to ensure the new coat actually sticks.
What’s the best way to deal with inevitable drips or runs without ruining the entire door?
Don’t panic; a drip isn’t a death sentence for your project. If the paint is still wet, grab a clean brush and gently feather out the edge of the run. If it’s already dry, don’t try to sand it while it’s tacky—that just creates a mess. Wait for it to cure completely, sand the bump smooth with fine-grit sandpaper, wipe away the dust, and apply a thin, controlled layer of paint to level it out.
How long do I actually need to wait between coats before I can start using my kitchen again?
The short answer? Don’t rush it. While the cabinets might feel dry to the touch in a few hours, they aren’t “cured.” I usually tell people to wait at least 48 to 72 hours before light use, but for heavy activity—like slamming doors or cleaning with sprays—give it a full week. If you jump the gun, you’ll end up with tacky surfaces or chipped paint, and nobody has time for that kind of re-work.
