I was halfway through a weekend project, trying to trim some cedar, when my chisel gave way with a pathetic, blunt slide instead of a clean cut. It wasn’t just frustrating; it was a complete waste of my Saturday. Most people think you need an expensive, motorized setup or a degree in metallurgy to fix this, but that’s a myth that keeps people stuck with junk. The truth is, learning how to sharpen tools isn’t about buying more gear; it’s about mastering a few fundamental mechanical principles that turn a piece of dull metal back into a precision instrument.
I’m not here to sell you a complex system or a fancy workshop upgrade. I want to show you how to strip away the friction in your workflow by maintaining what you already own. In this guide, I’ll walk you through the exact, no-nonsense methods I use to get a razor edge using minimal equipment. We’ll cover everything from selecting the right abrasive to finding that perfect angle, ensuring you can stop fighting your equipment and get back to the actual work that matters.
Table of Contents
- Step-by-Step Instructions
- Mastering Whetstone Sharpening Techniques Without the Stress
- Optimizing Sharpening Bevel Angles for Effortless Performance
- Five Pro-Tips to Keep Your Edge From Failing You
- The Bottom Line: Less Friction, More Flow
- The Philosophy of the Edge
- The Edge of Efficiency
- Frequently Asked Questions
Guide Overview
Tools & Supplies
- Garden shears (standard bypass type)
- Utility knife (retractable or fixed blade)
- Combination whetstone (dual grit) 1 unit
- Honing oil or water 1 bottle
- Microfiber cloth 1 unit
- Leather strop 1 unit
Step-by-Step Instructions
- 1. First, you need to clear your workspace and gather your gear. Don’t try to do this on a cluttered kitchen counter; find a flat, stable surface—a workbench is ideal. You’ll need a quality whetstone (a combination grit stone is a great starter), some water or honing oil, and a small clamp if you’re working with something larger. Having everything laid out before you start prevents that mid-task scramble that usually leads to accidents.
- 2. Prepare your stone by soaking it. If you’re using a water stone, submerge it in a shallow tray for about 10 to 15 minutes until the bubbles stop rising. If you’re using an oil stone, just apply a light coating of honing oil to the surface. The goal here is to create a consistent lubricant that prevents the metal particles from clogging the grit, which would otherwise ruin your edge.
- 3. Secure your tool or find a comfortable grip. If you’re sharpening a knife, hold it firmly; if it’s a chisel or a plane iron, I highly recommend using a small clamp to keep it steady. You want to eliminate any unintended movement during the process. Precision is everything here, and trying to muscle a tool into position while simultaneously grinding is a recipe for a crooked edge.
- 4. Find your bevel angle. This is where most people mess up. Look at the existing edge of your tool to see the angle it was manufactured with—usually around 20 to 25 degrees for most household knives. Use a piece of paper or a dedicated angle gauge if you’re unsure. Once you’ve found it, maintain that exact same angle throughout the entire stroke; consistency is more important than pressure.
- 5. Start with the coarse grit. Begin sweeping the blade across the stone in a smooth, controlled motion. Think of it as a rhythmic, repetitive movement—similar to how I approach cleaning out a mechanical keyboard. You aren’t trying to rush; you’re looking for a consistent burr to form along the entire length of the edge. Once you can feel that tiny lip of metal curling over the side, you know you’ve done your job on the coarse side.
- 6. Move to the fine grit for honing. Flip your stone over to the higher grit side and repeat the process with much lighter pressure. This stage isn’t about removing metal; it’s about polishing the edge and refining the microscopic teeth of the blade. This is where the magic happens, turning a rough edge into something that slices through material like it isn’t even there.
- 7. Test the edge and clean up. Before you put the tool back in your kit, do a quick test on a piece of scrap paper or a piece of wood. It should bite cleanly without tearing. Once you’re satisfied, wipe the tool down thoroughly to remove any grit or oil residue. A clean tool is a well-maintained tool, and it’s much easier to see if you need to touch it up again in a few months.
Mastering Whetstone Sharpening Techniques Without the Stress
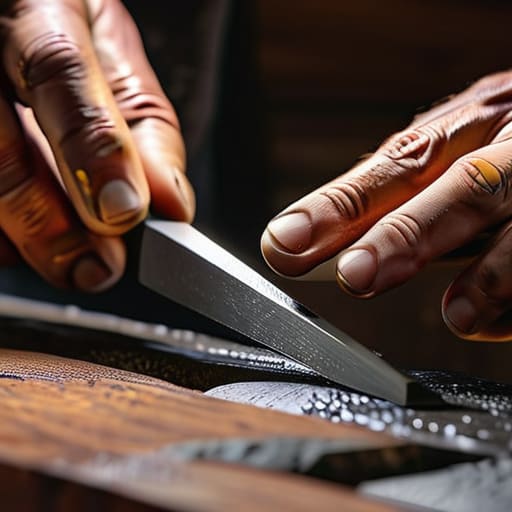
If you’re feeling intimidated by a whetstone, you aren’t alone. When I first started, I treated it like a high-stakes engineering project, overthinking every single micro-movement. The secret is to stop treating it like a chore and start treating it like a rhythm. Most people struggle because they don’t realize that sharpening bevel angles isn’t about brute force; it’s about consistency. Find a comfortable angle—usually around 15 to 20 degrees—and focus on maintaining that same tilt throughout the entire stroke. If your angle wobbles, you’re just creating a jagged mess rather than a clean edge.
Another common pitfall is confusing your tools. I see people trying to use a honing steel to actually repair a dull edge, but that’s a recipe for frustration. Think of it this way: a stone removes metal to create a new edge, while a steel simply realigns what’s already there. If you want to focus on maintaining blade edge longevity, use the stone for the heavy lifting and save the steel for quick touch-ups between tasks. Keep your movements steady, keep your stone wet, and don’t rush the process.
Optimizing Sharpening Bevel Angles for Effortless Performance
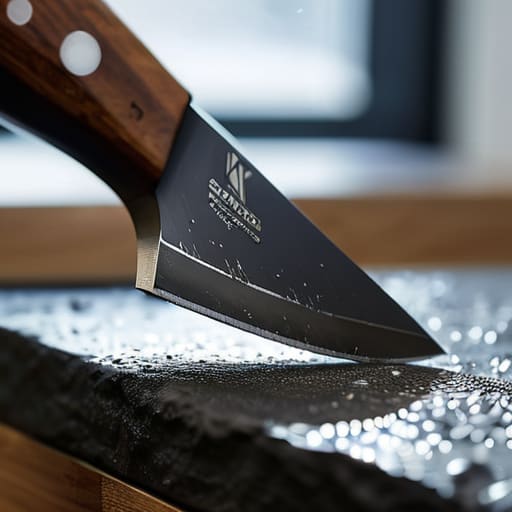
If you’ve ever felt like your knife is cutting through food like it’s hitting a brick wall, the problem usually isn’t the steel—it’s the geometry. Most people think a sharp edge is just about getting it thin, but sharpening bevel angles correctly is what actually dictates how the tool performs under pressure. For a kitchen knife, you want a relatively acute angle for slicing, but if you’re working on a heavy-duty chisel or a garden spade, you need a wider, more obtuse angle to prevent the edge from chipping the moment it hits something hard.
I used to make the mistake of trying to force one single angle across every tool in my kit, which was a massive waste of time. Instead, think of the angle as a balance between extreme sharpness and long-term durability. If you’re just starting out, don’t overcomplicate it; focus on finding a consistent angle that matches the tool’s intended job. Getting this right is the real secret to maintaining blade edge longevity, ensuring you spend less time at the workbench and more time actually using your gear.
Five Pro-Tips to Keep Your Edge From Failing You
- Don’t skip the deburring phase; a shiny edge is useless if there’s a microscopic wire edge still clinging to the metal and catching on your work.
- Stop over-sharpening with power tools if you can help it; high-speed grinders generate heat that ruins the temper of your steel, turning a premium tool into a paperweight.
- Consistency is your best friend, so if you aren’t using a guide or a steady hand, you’re just creating a wavy, useless edge that will fail the moment you apply pressure.
- Clean your tools before you even think about touching a stone; a single grain of grit or a smudge of grease can create deep scratches that ruin your progress.
- Test your edge on something simple like a piece of scrap paper or a shaving of wood before you commit to a major project; it’s the only way to know if your system actually worked.
The Bottom Line: Less Friction, More Flow
Stop treating sharpening like a chore and start seeing it as a system; a sharp tool isn’t a luxury, it’s a prerequisite for getting your work done without the mental tax of struggling with dull edges.
Consistency beats intensity every time—focus on maintaining a steady bevel angle and a smooth rhythm rather than trying to force a perfect edge in a single, stressful session.
Invest in the right setup once so you can stop troubleshooting and start executing; when your tools are dialed in, you spend less time managing your gear and more time actually using it.
The Philosophy of the Edge
A dull tool isn’t just an inconvenience; it’s a tax on your time and your focus. When you take ten minutes to sharpen a blade, you aren’t just fixing metal—you’re reclaiming the efficiency you need to get the job done and get back to your life.
Liam Anders Chen
The Edge of Efficiency
At the end of the day, sharpening your tools isn’t just about maintaining metal; it’s about maintaining your own momentum. We’ve covered how to master the whetstone, how to dial in those precise bevel angles, and how to stop fighting against your equipment. When you take the time to respect the geometry of a blade or the edge of a chisel, you aren’t just performing maintenance—you are eliminating friction from your workflow. A sharp tool doesn’t just work better; it works smarter, allowing you to complete tasks with half the physical effort and twice the precision.
I know it can feel like just another chore on an already overflowing to-do list, but I promise you, the investment pays off every single time you pick up a tool that actually responds to your touch. Don’t let dull, frustrating gear be the thing that slows your life down or turns a simple project into a headache. My advice is to keep your sharpening setup accessible and make it a habit. Once you reclaim that sense of effortless control, you’ll realize that a little bit of preparation is the ultimate shortcut to getting things done and getting back to what actually matters.
Frequently Asked Questions
How often should I actually be sharpening my tools versus just cleaning them?
Look, don’t overcomplicate this. Cleaning is your daily ritual—wipe them down, dry them, and keep the grit off. That’s non-negotiable to prevent rust. But sharpening? That’s about performance. If you feel yourself pushing harder to get through a cut, or if the tool feels “sluggish,” stop. Don’t wait for a disaster. Aim to sharpen based on use, but if you’re hitting that resistance, it’s time to get the stone out.
Is it worth investing in high-end whetstones, or can I get the job done with basic pull-through sharpeners?
Look, if you just need to slice a tomato once a month, a pull-through sharpener is fine. But if you actually care about your tools, ditch the pull-throughs. They’re aggressive; they shave off metal indiscriminately and leave a jagged edge that’ll frustrate you every time you use it. Invest in a decent set of whetstones. It’s a small upfront cost for a system that preserves your tools and gives you a precision edge that lasts.
How do I know if a tool is actually sharp enough to be safe, or if I'm just getting used to the struggle?
It’s easy to mistake muscle memory for competence. You shouldn’t have to force a cut. If you’re applying heavy downward pressure or feeling a “sawing” sensation, you’re fighting the tool, not using it. A truly sharp edge should bite into a surface—like a piece of paper or a tomato skin—with almost zero resistance. If you have to grit your teeth to get the job done, it’s not sharp; it’s a hazard.
