I was halfway through mounting a floating shelf in my apartment last Tuesday when the drill slipped, gouging a deep, ugly scar right into the drywall. I felt that familiar surge of heat in my chest—the pure, unadulterated frustration of a project turning into a messy disaster. Most people think that knowing how to use a drill is just about pulling a trigger and hoping for the best, but that’s exactly how you end up with stripped screws and ruined furniture. It isn’t about brute force; it’s about understanding the mechanics of the tool in your hand so you can stop fighting it and start making progress.
I’m not here to give you a technical manual that reads like a high school physics textbook. Instead, I’m going to show you the practical, streamlined systems I use to get the job done right the first time. We’ll cover everything from selecting the right bit to mastering the pressure you apply, ensuring you can tackle your home projects with total confidence. My goal is to get you through the task quickly and cleanly, so you can put the tools away and get back to your actual life.
Table of Contents
- Step-by-Step Instructions
- Mastering Drill Bit Types and Uses for Faster Results
- Essential Cordless Drill Safety Precautions to Save Your Day
- Five Pro Moves to Stop Wasting Time and Start Drilling Right
- The Bottom Line: Less Friction, More Progress
- The Philosophy of the Right Tool
- Stop Overthinking and Start Building
- Frequently Asked Questions
Guide Overview
Tools & Supplies
- Power Drill (cordless or corded drill/driver)
- Drill Bits (set containing wood, metal, and masonry bits)
- Workpiece (wood, metal, or plastic)
- Fasteners (screws, nails, or anchors)
Step-by-Step Instructions
- 1. Before you even touch the trigger, you need to pick the right bit. I’ve seen too many people ruin a perfectly good piece of wood because they tried to use a masonry bit for a screw or a Phillips head that didn’t quite fit the slot. Match your bit to the material and the fastener exactly; if it feels loose or wobbly, stop immediately and find the correct one.
- 2. Next, grab your drill and select the right speed and torque settings. Most drills have a numbered collar near the chuck; for driving screws, you want a lower number to prevent stripping the head, while drilling holes usually requires a higher speed. Think of it like gear shifting in a car—you wouldn’t try to start a climb in fifth gear, so don’t try to drive a screw with maximum torque right out of the gate.
- 3. Now, let’s talk about the chuck—that’s the part at the very tip that holds the bit. Insert your bit and tighten the chuck by hand first, then use the key (if your drill isn’t keyless) to lock it down tight. If the bit isn’t centered and secure, it’s going to wobble, which is a fast track to a ruined project and a frustrated afternoon.
- 4. Once the bit is locked in, mark your spot. Don’t just eye it; use a pencil or a center punch to create a small indentation where you want the hole to go. This tiny bit of preparation prevents the bit from skating across the surface when you first start the motor, which is one of those small, preventable errors that turns a five-minute job into a mess.
- 5. Position yourself comfortably and apply steady, even pressure. Hold the drill perpendicular to the surface—if you’re at an angle, you’re going to end up with a crooked hole that looks amateurish. Start the drill at a slow speed to establish the pilot, then gradually increase the pressure and the speed as the bit bites into the material.
- 6. As you reach the end of the hole, especially if you’re drilling through something finished like cabinetry or trim, ease up on the pressure. If you go full throttle until the very end, the material will likely splinter or “blow out” on the backside. It’s better to take an extra three seconds to finish cleanly than to have to fix a mistake later.
- 7. Finally, once the task is done, remove the bit and clean the tool. I know it sounds tedious, but a quick wipe-down and a check for sawdust in the vents keeps your gear in top shape. A well-maintained drill is a tool you can actually rely on when you’re in the middle of a real project.
Mastering Drill Bit Types and Uses for Faster Results
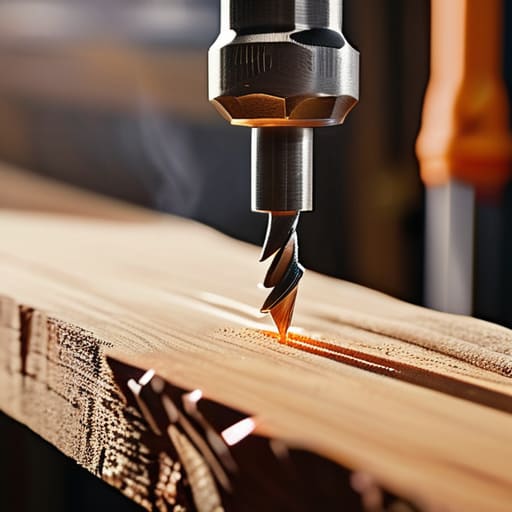
Look, the fastest way to ruin a project—and your afternoon—is by using the wrong bit. I’ve spent way too many hours trying to force a standard twist bit through a piece of hardened steel, only to end up with a burnt-out motor and a stripped screw. You need to understand the fundamental differences in drilling into wood vs metal before you even pull the trigger. For wood, use a Brad Point bit to keep things precise and prevent splintering. If you’re working with metal, grab a Cobalt bit; they’re tougher and won’t quit on you when the heat rises.
When things get more serious, like when you’re learning how to drill into masonry, don’t just grab any old bit. You need a masonry bit with that distinct carbide tip to chew through stone or brick. Also, pay attention to your machine’s settings. Adjusting drill torque settings is the difference between a perfectly seated screw and one that’s buried too deep or snapped off entirely. Treat your tools with respect, use the right bit for the job, and you’ll stop fighting the material and start actually finishing your projects.
Essential Cordless Drill Safety Precautions to Save Your Day
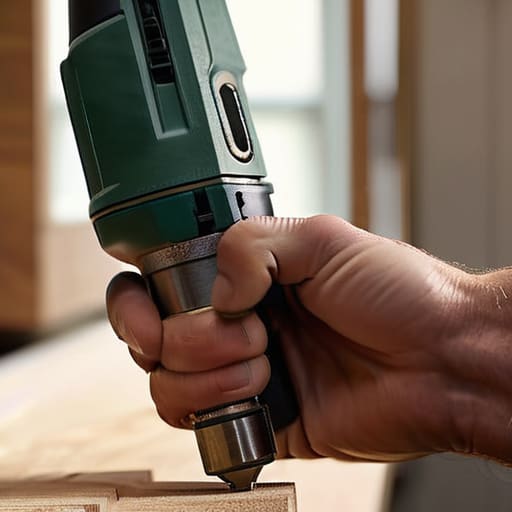
Look, I’ve seen enough botched projects and minor injuries to know that a drill is only as good as the person holding it. You don’t need to be a professional to stay safe, but you do need to respect the tool. First off, always check your workspace for hidden obstructions—nothing ruins a productive afternoon faster than accidentally drilling into a live wire or a water pipe behind a wall. Once you’ve cleared the area, focus on your proper drill grip technique; keep your stance stable and your wrist firm. If the bit catches unexpectedly, you want to be in control of the tool, not the other way around.
Beyond the physical setup, pay attention to the machine itself. I always make it a habit to double-check my settings before pulling the trigger. Whether you’re adjusting drill torque settings to prevent stripping a screw or switching modes for different materials, that extra five seconds of prep prevents a massive headache later. Most importantly, never force it. If the drill isn’t biting, stop and reassess. Pushing too hard is a quick way to burn out a motor or, worse, lose your grip and cause a slip.
Five Pro Moves to Stop Wasting Time and Start Drilling Right
- Mark your spot with a center punch or a nail first. If you try to freehand a hole into a hard surface, the bit will wander, you’ll scratch your workpiece, and you’ll end up frustrated.
- Let the tool do the heavy lifting. I see people constantly leaning their entire body weight into the drill, which just burns out the motor and snaps bits. Apply steady, controlled pressure and let the torque work.
- Adjust your speed based on what you’re doing. Use high speed for small bits and low speed with more torque for larger ones. It’s the difference between a clean hole and a smoking, ruined piece of wood.
- Keep your drill perfectly perpendicular to the surface. If you’re tilting even slightly, you’re going to end up with a crooked hole that makes mounting anything later a total nightmare.
- Clear the debris as you go. Pull the bit out frequently to clear the dust from the hole. If you let the sawdust pack in there, you’re just creating friction and heat for no reason.
The Bottom Line: Less Friction, More Progress
Don’t waste time guessing; match your bit to your material immediately so you aren’t fighting the hardware halfway through the job.
Safety isn’t about being cautious, it’s about being efficient—preventing a slip or a broken bit means you finish the task instead of cleaning up a mess.
Respect the tool, but don’t let it intimidate you; once you master the basics of pressure and speed, the drill becomes an extension of your intent rather than a source of chaos.
The Philosophy of the Right Tool
A drill shouldn’t be something you fight; it should be an extension of your intent. If you’re wrestling with the machine, you’ve already lost the battle for your time. Pick the right bit, steady your hand, and let the tool do the heavy lifting so you can move on to what actually matters.
Liam Anders Chen
Stop Overthinking and Start Building
At the end of the day, mastering a drill isn’t about having a massive, expensive toolkit; it’s about having the right bit for the job and the discipline to use it correctly. We’ve covered the fundamentals—from selecting the specific bit that won’t strip your screw to the safety protocols that keep your fingers intact. If you can remember to check your depth, maintain a steady grip, and respect the power of the tool in your hand, you’re already ahead of most people. Don’t let the fear of a crooked hole or a slipped bit paralyze you. Just keep your workspace organized, your bits sharp, and your focus sharp.
My philosophy has always been that we shouldn’t let our tools become a source of stress. A drill should be an extension of your intent, a way to turn a mental blueprint into something tangible that you can actually touch and use. Once you get past the initial learning curve, you’ll realize that these small wins—fixing a loose cabinet hinge or mounting a new shelf—build a sense of competence and autonomy that carries over into everything else you do. So, clear the clutter off your workbench, grab that screwdriver from my bag if you need to tighten a screw, and just get to work. You’ve got this.
Frequently Asked Questions
How do I know if I'm applying too much pressure and risking a stripped screw or a snapped bit?
If you’re leaning your entire body weight into the drill, you’re doing it wrong. Listen for the sound: if the motor starts laboring or whining, back off. If you feel the bit “skating” or slipping inside the screw head, stop immediately—that’s the sound of a stripped screw being born. You want firm, steady pressure, but you should never feel like you’re fighting the tool to keep it engaged. Let the torque do the work.
Is there a trick to stopping the drill instantly so I don't accidentally gouge the wood or wall?
It’s all about the trigger control. Most people treat the trigger like an on/off switch, but you need to treat it like a dimmer. Practice a “feathering” technique: as you approach the surface, ease your finger pressure off gradually rather than slamming it shut. Also, keep your drill in a straight line; if you’re tilting it, the bit will wander and gouge. Control the speed, control the outcome. Don’t let the tool drive you.
My drill keeps slipping when I try to start a hole; how do I get it to bite into the material properly?
That slipping is a massive time-sink, and it’s usually down to one of two things: pressure or technique. First, stop trying to force it. Instead, use your non-dominant hand to apply steady, even pressure on the back of the drill. Most importantly, use a center punch or even a sharp nail to create a small indentation first. That little divot gives your bit a place to seat so it can actually bite instead of skidding across the surface.
