I was standing in my kitchen last Tuesday, staring at a blackened, lumpy mess of wax that smelled more like a burnt tire than “Midnight Lavender,” and I realized something. Most people think you need a laboratory full of expensive equipment or a degree in chemistry to master this craft, but that’s a total myth. The truth is, if you try to overcomplicate how to make candles, you’ll just end up with a cluttered countertop and a wasted Saturday. I’ve spent way too many hours troubleshooting failed batches because I followed a “fancy” tutorial that ignored the basic physics of heat and scent.
In this guide, I’m stripping away the fluff to give you a streamlined, repeatable system for success. I’m not going to sell you on a lifestyle aesthetic; I’m going to show you the exact, no-nonsense workflow I use to create clean-burning, professional-grade candles without the chaos. We’ll cover the essential gear, the precise temperatures you actually need to watch, and how to avoid the most common rookie mistakes. By the time we’re done, you’ll have a reliable process that lets you enjoy the result without the unnecessary stress.
Table of Contents
- Step-by-Step Instructions
- Curating Your Essential Soy Wax Candle Making Supplies
- Mastering the Candle Pouring Temperature Guide Without the Stress
- Five Small Tweaks for Professional-Grade Results
- The Bottom Line for a Stress-Free Pour
- The Philosophy of the Pour
- Final Thoughts Before You Light Up
- Frequently Asked Questions
Guide Overview
Tools & Supplies
- Double boiler or heat-proof pitcher to melt wax
- Thermometer to monitor temperature
- Pouring pitcher for controlled pouring
- Wick centering tool or clothespin to hold wicks
- Soy or paraffin wax (1-2 lbs)
- Candle wicks (set of 5-10)
- Fragrance oils (1 oz)
- Candle jars or tins (3-5 units)
Step-by-Step Instructions
- 1. First, clear your workspace. I can’t stress this enough: candle making involves hot wax and oils that will stain your surfaces if you aren’t careful. Lay down some old newspapers or a silicone mat, and gather your gear—soy wax flakes, wicks, containers, a thermometer, and your fragrance oils. Having everything laid out and ready before you turn on the heat is the only way to keep this from becoming a chaotic mess.
- 2. Set up a double boiler. Don’t try to melt wax directly in a pot over a flame; that’s a recipe for a fire and a ruined batch. Instead, fill a medium saucepan with an inch or two of water and nestle a heat-safe pouring pitcher inside it. You’re looking for a steady, controlled melt, so keep the heat at medium-low to ensure the wax doesn’t overheat or scorch.
- 3. Monitor the temperature like a hawk. This is where most people fail by rushing. Use your thermometer to track the wax as it turns from flakes to liquid. Once it hits about 185°F (85°C), remove it from the heat. This is the optimal window to add your fragrance oils, as the temperature is high enough to ensure they bind properly with the wax rather than just sitting on top.
- 4. Prep your containers and wicks. While the wax is cooling slightly, take your glass jars or tins and wipe them down with a bit of rubbing alcohol to remove any dust. Use a tiny dab of hot glue or a wick sticker to secure the metal base of the wick to the exact center of the container. If your wick is crooked, your candle will burn unevenly, and you’ll end up with a wasted jar.
- 5. Pour with intention. Once the wax has cooled down to roughly 135°F–145°F (57°C–63°C), slowly pour it into your prepared containers. Avoid pouring too fast, as this can create air bubbles that ruin the aesthetic. I like to pour in one smooth, continuous motion to keep the surface looking professional and clean.
- 6. Let them set (and leave them alone). This is the hardest part for anyone used to a high-paced lifestyle: patience. Place your candles on a flat, level surface away from drafts and let them cure completely. Depending on the wax type, this could take anywhere from 24 hours to a full week. Don’t try to light them early; the scent needs that time to develop properly.
- 7. Trim the wicks for the first burn. Before you light your new creation, take your precision scissors and trim the wick to about 1/4 inch. A wick that is too long will produce a massive, smoky flame that creates soot, which is exactly the kind of unnecessary clutter we’re trying to avoid in our homes.
Curating Your Essential Soy Wax Candle Making Supplies
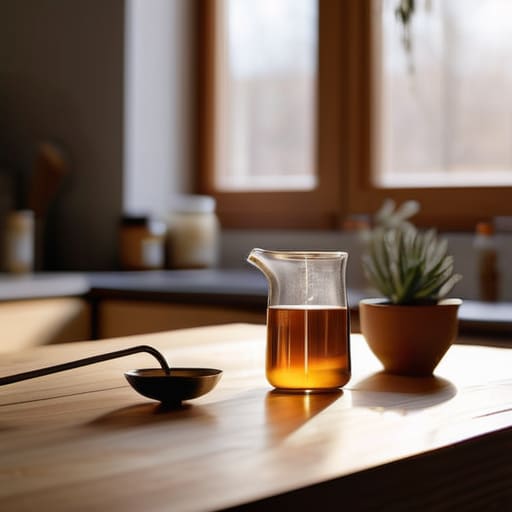
Look, the biggest mistake I see people make when starting out is buying a massive, disorganized kit of cheap, random components. It feels productive in the moment, but it’s just clutter waiting to happen. If you want to actually enjoy this process without the frustration, you need to focus on quality over quantity. When you’re gathering your soy wax candle making supplies, don’t just grab whatever is cheapest on a random marketplace. Invest in a decent thermometer and a dedicated pouring pitcher; having the right tools from the jump prevents the kind of messy cleanup that kills your momentum.
I also can’t stress enough how much the “small” decisions impact the final result. For instance, choosing the best wick types for candles is more important than the scent itself. If your wick is too small, you get a tunnel; too large, and you have a smoky mess. I usually keep a few different cotton core wicks in my kit so I can troubleshoot as I go. Treat your supplies like a well-maintained toolkit: keep them organized, keep them high-quality, and they’ll actually work for you instead of against you.
Mastering the Candle Pouring Temperature Guide Without the Stress
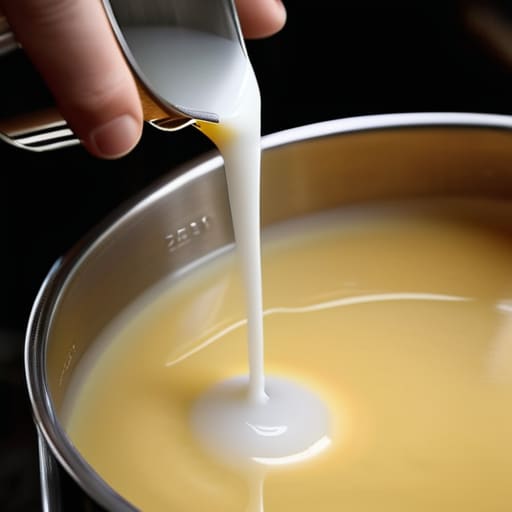
If you’ve ever pulled a candle out of its mold only to find a cratered, uneven surface, you’ve likely ignored the most important variable: heat. I used to think more heat meant a smoother finish, but that’s a one-way ticket to cracked wax and wasted supplies. To get it right, you need to treat your thermometer like a precision tool. When you’re following a candle pouring temperature guide, don’t just eyeball the liquid. Aim for that “sweet spot” where the wax is clear but not steaming; for most soy blends, this is usually between 135°F and 145°F.
The real trick to a professional finish isn’t just the wax, though—it’s the timing of your additives. If you’re working with essential oils for scented candles, adding them too early can cause the fragrance to flash off, leaving you with a scentless jar. Wait until the wax has cooled slightly to your target pour temperature before stirring in your oils. It takes a little patience, but consistent temperature control is what separates a hobbyist project from a candle you’d actually feel confident gifting to a friend.
Five Small Tweaks for Professional-Grade Results
- Don’t skip the pre-heat. If you pour hot wax into a cold glass jar, you’re asking for “wet spots” or shrinkage. Warm your containers slightly with a hairdryer first to ensure a smooth, seamless bond.
- Use a thermometer, not your gut. I know it’s tempting to guess when the wax looks “ready,” but scent throw is all about chemistry. If you add your fragrance oil too early or too late, you’ll end up with a candle that smells like nothing when lit.
- Center your wicks like your life depends on it. A crooked wick isn’t just an aesthetic fail; it leads to uneven burning and wasted wax. Use a centering tool or even a simple clothespin to keep things perfectly aligned while the wax sets.
- Give your candles time to cure. This is the hardest part for me, too. Don’t light that candle the second it hardens. Let soy wax sit for at least a week; it allows the fragrance to bind with the wax molecules for a much stronger scent.
- Watch your workspace clutter. Candle making involves heat and oils that can ruin your surfaces. Set up a dedicated, wipeable zone—I usually use a silicone mat—so you aren’t spending an hour cleaning up spills instead of actually enjoying the process.
The Bottom Line for a Stress-Free Pour
Don’t overcomplicate your kit; focus on high-quality soy wax and reliable thermometers so you aren’t fighting your tools mid-process.
Precision matters more than speed—hitting that specific temperature window is the difference between a smooth finish and a cracked mess.
View candle making as a system, not a chore; once you nail the prep and the temperature, the actual execution becomes second nature.
The Philosophy of the Pour
“Candle making isn’t about chasing some complex, artisanal perfection; it’s about building a reliable system of temperature and timing so you can stop worrying about the process and finally just enjoy the glow.”
Liam Anders Chen
Final Thoughts Before You Light Up
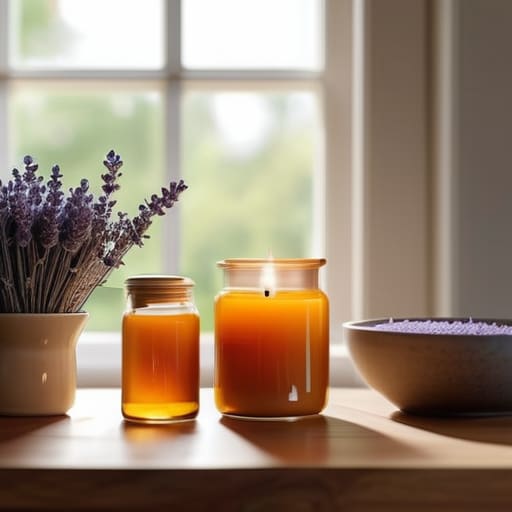
Making your own candles doesn’t have to be a chaotic experiment that leaves your kitchen smelling like burnt wax and your weekend wasted. By sticking to a curated list of quality soy wax, managing your pouring temperatures with precision, and organizing your workspace before you even turn on the stove, you’ve effectively removed the friction from the process. Remember, the goal here isn’t to achieve professional factory perfection on your first try; it’s about building a repeatable system that works for you. When you respect the science of the melt and the timing of the pour, you stop fighting the materials and start mastering the craft.
At the end of the day, I don’t make candles just to have more things on my shelves; I make them to reclaim a sense of intentionality in a world that feels increasingly automated. There is something deeply grounding about taking raw, simple ingredients and transforming them into something that provides light and calm in your home. Don’t let the fear of a slightly uneven surface or a minor mistake stop you from starting. Once you have your rhythm down, you’ll realize that the real reward isn’t just the candle itself, but the quiet mental clarity that comes from creating something with your own two hands.
Frequently Asked Questions
How do I stop my candles from getting those annoying sinkholes or uneven tops as they cool?
Sinkholes are a massive headache, but they usually boil down to one thing: temperature fluctuations. If your room is drafty or the wax cools too fast, it shrinks unevenly. To fix this, keep your workspace stable and avoid any sudden temperature drops while they set. If you already have a cratered top, don’t panic. Just use a heat gun to gently melt the surface back into a smooth, level finish.
Is it worth investing in high-end fragrance oils, or can I get away with cheaper alternatives?
Look, I’m a big believer in systems, not vanity. If you’re just testing the waters, cheap oils are fine for practice. But if you want a candle that actually fills a room without smelling like a chemical factory, invest in the high-end stuff. Cheap oils often lack “throw”—the ability to actually scent your space—and can leave a weird, synthetic aftertaste. Spend the extra few dollars on quality fragrance; it’s a small upfront cost for a much better result.
How can I tell if my wick is actually the right size for the diameter of my jar to avoid tunneling?
The easiest way to tell is by watching the “melt pool.” During your first burn, the wax should melt all the way to the glass edges within two hours. If you see a ring of hard wax clinging to the sides while a deep crater forms in the middle, your wick is too small. It’s called tunneling, and it’s a waste of good wax. If that happens, you’ll need to upsize the wick diameter next time.
