I was staring at a scratched-up, mid-century side table I’d picked up at a thrift store, surrounded by a mountain of expensive, specialized equipment I didn’t actually need. Most people think that learning how to refinish furniture requires a professional workshop and a massive budget, but that’s just a recipe for unnecessary complexity. I spent my childhood watching my dad fix everything with nothing but a few basic tools and a lot of patience, and that’s exactly the mindset I bring to my own projects. You don’t need a garage full of industrial sanders to breathe new life into an old piece; you just need a logical system and the right sequence of steps.
In this guide, I’m stripping away the fluff and the jargon to give you a straightforward, repeatable process for tackling your next DIY project. I’ll show you how to prep your surfaces, choose the right finishes, and avoid the common mistakes that turn a weekend project into a month-long headache. My goal isn’t to turn you into a master carpenter, but to give you the practical tools to reclaim your home’s aesthetic without wasting your precious time.
Table of Contents
- Step-by-Step Instructions
- The Essential Wood Refinishing Tools List for Maximum Efficiency
- Mastering Furniture Sanding Techniques to Save Your Sanity
- Five Pro-Tips to Keep Your Project from Spiraling into Chaos
- The Bottom Line: Refinishing Without the Headache
- The Philosophy of the Process
- The Finished Product
- Frequently Asked Questions
Guide Overview
Tools & Supplies
- Sandpaper (various grits for smoothing)
- Screwdriver (to remove hardware)
- Paintbrush or foam roller (for applying finish)
- Tack cloth (to remove dust)
- Wood stripper or liquid sandpaper (1 bottle)
- Primer (1 quart)
- Furniture paint or stain (1 quart)
- Protective gloves (1 pair)
Step-by-Step Instructions
- 1. First, clear your workspace and gather your gear. I’ve learned the hard way that stopping halfway through a job to hunt for a specific grit of sandpaper is a massive productivity killer. You’ll need a screwdriver to remove hardware, some heavy-duty sandpaper (start with 80 or 100 grit), a tack cloth, a high-quality brush or foam applicator, and your chosen finish. Lay everything out on a clean surface before you even touch the furniture; organization is half the battle.
- 2. Strip the piece down to its bare essentials. Remove every single knob, hinge, and handle. If you try to sand around hardware, you’re just going to create uneven divots and waste your time. I always keep a small labeled bag for the screws and hardware so I don’t end up with a junk drawer of mystery parts later. Once the hardware is gone, you have a clean slate to work with.
- 3. Now comes the sanding phase, and this is where most people lose their patience. Start with your coarsest sandpaper to strip away the old, flaking varnish or paint. Move in long, steady strokes following the natural grain of the wood. Don’t press too hard; let the grit do the work. Once the old finish is gone, switch to a finer grit (like 150 or 220) to smooth out the scratches left by the heavy sanding. If you skip this transition, your final finish will feel gritty and unprofessional.
- 4. Clean the surface like your life depends on it. This is the most underrated step in the entire process. Use a vacuum with a brush attachment to get the bulk of the dust, then wipe the entire piece down with a tack cloth. If there is even a microscopic layer of dust left on the wood, your new finish will look bumpy and uneven. I like to do a quick visual inspection under a bright lamp to ensure the surface is completely pristine.
- 5. Apply your stain or new finish in thin, controlled layers. I know it’s tempting to glob it on to get it done faster, but that’s a recipe for drips and uneven drying. Use a high-quality brush and work in the direction of the grain. If you’re using a stain, apply it evenly, let it sit for the recommended time, and then wipe away the excess with a clean rag. It’s much easier to add a second thin coat than it is to fix a thick, messy one.
- 6. Let it cure before you start using it. This is the hardest part for me because I want to see the finished product immediately, but patience is a functional necessity. Most finishes require at least 24 to 48 hours to dry, and even longer to fully “cure” or harden. If you put a heavy lamp or a stack of books on that table too early, you’ll ruin all your hard work and end up back at step one. Give it the time it needs to become durable and lasting.
- 7. Reassemble the piece once it’s fully dry. Take your hardware, clean the screw holes if necessary, and put everything back exactly where it came from. If you organized your screws in a bag during step two, this will take you five minutes. Once it’s back together, step back and look at what you’ve done. You didn’t just fix a piece of furniture; you reclaimed something useful from the chaos of clutter.
The Essential Wood Refinishing Tools List for Maximum Efficiency
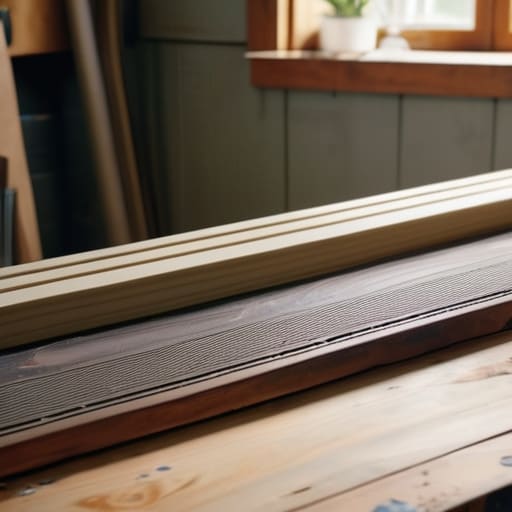
Before you even touch the wood, you need to get your workspace organized. I’ve learned the hard way that hunting for a specific grit of sandpaper halfway through a job is a massive drain on your momentum. When putting together your wood refinishing tools list, think in terms of layers. You’ll need heavy-duty stripping agents for removing old varnish or even stripping old paint from wood if you’re dealing with a multi-layered relic. Don’t skimp on the chemical strippers; a cheap one will just leave you scrubbing for hours, which is exactly the kind of inefficiency I try to avoid.
Once the surface is bare, your focus shifts to precision. I always keep a set of sanding blocks handy—using just your hands can lead to uneven surfaces that will haunt you later during the finishing stage. Mastering a few basic furniture sanding techniques, like moving strictly with the grain, is what separates a professional look from a DIY disaster. Lastly, decide on your finish early. Whether you’re debating furniture lacquer vs polyurethane, having your brushes and rags ready means you can apply your topcoat while your environment is still clean and controlled.
Mastering Furniture Sanding Techniques to Save Your Sanity
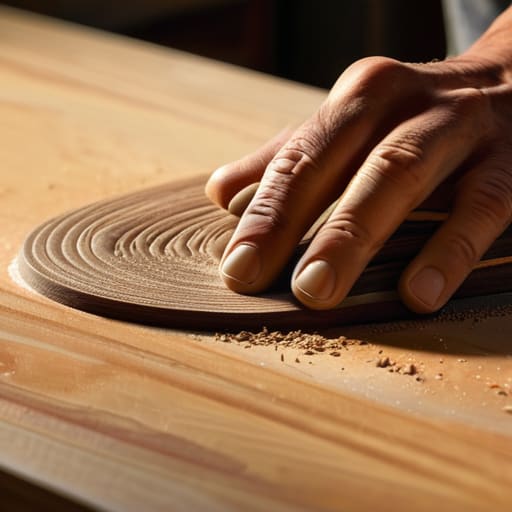
Sanding is where most people lose their patience, and frankly, that’s where most projects fail. If you rush this stage, you’ll spend the next three hours fighting streaks when you start applying wood stain later. The secret isn’t about brute force; it’s about following the grain religiously. I’ve seen too many people move their sander in circles, creating tiny swirl marks that become glaringly obvious once the finish hits the wood. Start with a coarser grit to handle the heavy lifting of removing old varnish, then systematically work your way up.
Don’t treat your sander like a race car. If you press down too hard, you’ll gouge the surface, and no amount of fine-grit work will fix that mistake without adding more time to your schedule. I always recommend a light, even touch—let the machine do the work. If you’re dealing with a particularly stubborn piece, you might find yourself stripping old paint from wood before you even touch the sandpaper. Take a breath, keep your workspace clear, and remember: a smooth surface is the foundation of everything that follows.
Five Pro-Tips to Keep Your Project from Spiraling into Chaos
- Prep your space like you’re prepping a workstation. Clear the clutter, lay down heavy-duty drop cloths, and make sure you have enough room to move; fighting a cramped workspace is the fastest way to lose your focus and ruin a finish.
- Don’t skip the cleaning phase. Even if the wood looks clean, a quick wipe with a tack cloth or a damp microfiber rag ensures you aren’t just sanding fine dust deep into the grain, which is a total waste of your time.
- Resist the urge to rush the drying times. I know it’s tempting to slap on the next coat to get it over with, but if you don’t let the base layers cure properly, you’ll end up with a tacky, gummy mess that you’ll spend hours trying to fix.
- Test your finish on a hidden spot first. Every piece of wood reacts differently to stains and oils, so don’t guess. Take five minutes to test a small area on the underside or a leg to make sure the color is exactly what you’re aiming for.
- Work in thin, even layers. It’s much more efficient to apply three light, controlled coats than to try and fix one thick, uneven layer that’s started to drip or pool. Precision beats speed every single time.
The Bottom Line: Refinishing Without the Headache
Respect the prep work; most people fail because they rush the sanding, but a smooth finish is 90% about the foundation you build before the first drop of stain touches the wood.
Invest in the right tools once so you don’t spend your weekend fighting mediocre equipment; a precision approach saves you both time and unnecessary frustration.
Keep your workspace organized and your process systematic to ensure that “restoring” a piece of furniture doesn’t turn into a chaotic project that consumes your entire week.
The Philosophy of the Process
“Refinishing isn’t about chasing perfection or making something look brand new; it’s about stripping away the layers of neglect until you find the solid foundation underneath. Treat the process like a system: respect the prep work, trust your tools, and don’t rush the finish. If you get the fundamentals right, the rest takes care of itself.”
Liam Anders Chen
The Finished Product
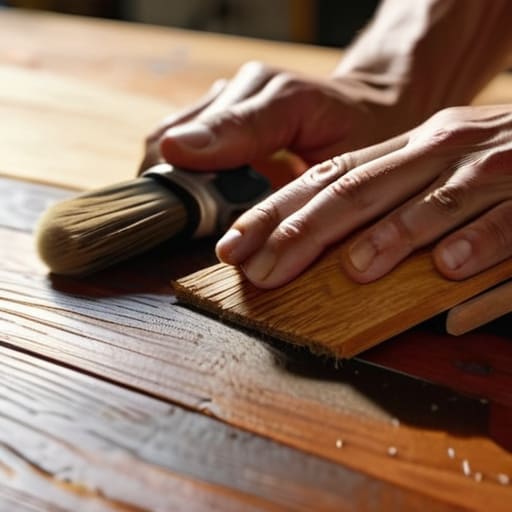
At the end of the day, refinishing furniture isn’t about achieving some impossible, factory-perfect standard; it’s about the process of stripping away the old to reveal something better. We’ve covered the groundwork: selecting the right tools to avoid unnecessary frustration, mastering the sanding rhythm so you don’t burn through your patience, and applying the finish with a steady hand. If you’ve followed these steps, you haven’t just fixed a piece of wood—you’ve implemented a systematic approach to restoration that respects both your time and your effort. Remember, the goal was to move from chaos to clarity, and seeing that grain pop under a fresh coat of stain is the ultimate proof that the work was worth it.
Don’t let the fear of a messy workspace or a slightly uneven finish keep you from starting your next project. The most important thing I’ve learned is that perfection is the enemy of progress. A few minor imperfections just give a piece character and tell the story of the hands that worked on it. Now that you have the tools and the technique, stop overthinking the details and just get to work. You’ve reclaimed this piece from the scrap heap, and more importantly, you’ve reclaimed the skill to do it again. Go ahead, grab your gear, and start building a home that actually feels like yours.
Frequently Asked Questions
How do I know if the wood underneath the old finish is actually worth saving?
Before you commit hours to sanding, do a quick diagnostic. Find an inconspicuous spot—like the underside of a table or a back corner—and scrape away a small patch of the old finish. If the wood underneath looks solid, even if it’s stained or discolored, it’s worth saving. However, if you see signs of rot, deep structural cracks, or crumbling texture, that’s a red flag. Don’t waste your weekend fighting a losing battle with dead wood.
Is it worth the extra effort to use a chemical stripper, or should I just stick to heavy sanding?
Honestly, it comes down to the project’s complexity. If you’re dealing with intricate carvings or heavy, layered old varnish, go with the chemical stripper. It saves you from the nightmare of trying to sand into tiny crevices with a power tool. But for flat, simple surfaces? Stick to sanding. It’s cleaner, more predictable, and keeps your workspace from becoming a toxic mess. Choose the tool that gets you to the finish line faster.
How can I prevent dust from settling into the new finish while it's drying?
There’s nothing more frustrating than spending hours on a perfect finish only to find a layer of grit stuck in the wet lacquer. To prevent this, control your environment. If you can, seal off the room and turn off any fans or HVAC systems that circulate dust. I always keep a tack cloth and a spray bottle of water handy; a light mist can help settle airborne particles before you apply the final coat.
