I remember sitting at my kitchen table last month, surrounded by half-empty bottles of expensive epoxy and a mountain of “must-have” tools I didn’t actually need, wondering why my first attempt at a simple coaster looked more like a cloudy, sticky disaster than art. Most people online make resin crafts for beginners look like a seamless, magical process, but they conveniently leave out the part where you end up with a ruined tabletop and a massive headache. I’ve spent way too much time cleaning up preventable messes because I didn’t have a system in place, and frankly, I think the hobby has become unnecessarily complicated for anyone who just wants to create something cool without the chaos.
I’m not here to sell you a twenty-piece starter kit or promise you’ll become a master artist overnight. Instead, I’m going to give you the streamlined, functional blueprint I wish I’d had when I started. We’re going to strip away the fluff and focus on the exact gear, the precise mixing ratios, and the workspace setup you actually need to succeed. My goal is to help you master the basics of resin crafts for beginners so you can spend less time fighting your supplies and more time actually making things.
Table of Contents
- Mastering Essential Resin Art Supplies Without the Clutter
- Finding the Best Resin Types for Jewelry Making Fast
- Five Rules to Keep Your First Resin Project from Turning Into a Disaster
- The Bottom Line: Less Friction, More Creating
- The Systems Approach to Resin
- Cutting Through the Noise to Start Creating
- Frequently Asked Questions
Mastering Essential Resin Art Supplies Without the Clutter
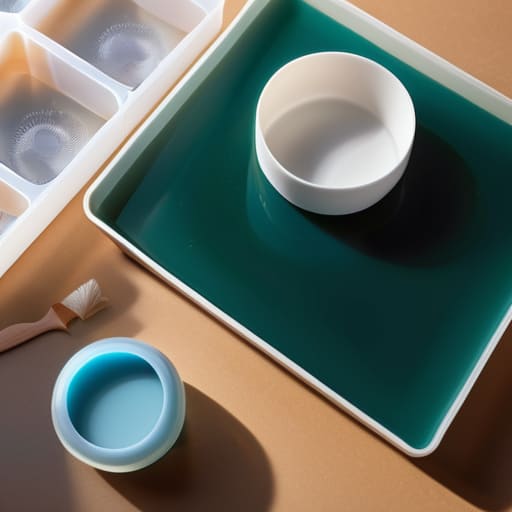
I’ve learned the hard way that a cluttered workbench is a recipe for a ruined project. When I first started tinkering, I thought I needed every gadget under the sun, but that just created more friction. To keep things streamlined, focus on the essential resin art supplies that actually move the needle: a high-quality digital scale, silicone molds, and a decent set of mixing cups. If you try to eyeball your measurements, you’re asking for a sticky, half-cured mess that will frustrate you before you even get started.
Precision is everything here. One of the biggest hurdles I see is people ignoring the specific resin mixing ratios for beginners—usually a 1:1 or 2:1 ratio depending on the brand. If you don’t nail that math, nothing else matters. I also recommend keeping a small butane torch or a heat gun nearby; it’s a simple, effective way to manage surface tension and clear out those annoying air pockets. Stick to a minimal kit, master the basics of your specific resin, and you’ll spend less time cleaning up mistakes and more time actually creating.
Finding the Best Resin Types for Jewelry Making Fast
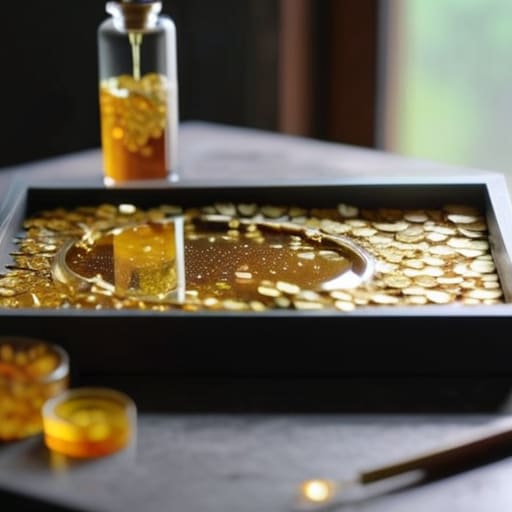
When you’re looking for the best resin types for jewelry making, don’t get paralyzed by the endless options on Amazon. For jewelry, you aren’t looking for the industrial-grade stuff used for tabletop coatings; you need something with high clarity and low viscosity. I always recommend starting with a dedicated casting resin or a high-quality jewelry-grade epoxy. These are formulated to flow easily into tiny molds, which is your first line of defense in how to avoid resin bubbles ruining a delicate pendant.
The real trap for most newcomers is ignoring the technical specs on the bottle. You need to be obsessive about resin mixing ratios for beginners—usually a strict 1:1 or 2:1 ratio by volume. If you’re even slightly off, your piece will stay tacky forever, and you’ll have wasted both time and money. Also, keep a close eye on the curing time for epoxy resin before you try to de-mold. I’ve learned the hard way that rushing the process is the fastest way to create a sticky, disorganized mess that ruins your momentum.
Five Rules to Keep Your First Resin Project from Turning Into a Disaster
- Prioritize your ventilation from minute one. I’ve learned the hard way that working in a closed-off room is a recipe for a headache; keep a window open or a fan running so you aren’t breathing in those fumes while you work.
- Master the ratio before you pour. Resin is chemistry, not guesswork—if your measurements are even slightly off because you were rushing, you’ll end up with a sticky, half-cured mess that’s impossible to fix.
- Create a “clean zone” for your workspace. Nothing kills momentum like getting resin on your favorite desk or getting dust trapped in your piece; lay down silicone mats or cheap parchment paper so you can wipe things clean and move on quickly.
- Don’t rush the curing process. It’s tempting to poke at your creation to see if it’s hard, but patience is your best tool here—leave it alone in a dust-free spot and let the chemistry do its job.
- Keep a small “oops kit” nearby. Always have some high-percentage isopropyl alcohol and a handful of cotton swabs ready to catch drips or smudges before they set, saving you from having to scrap the whole project.
The Bottom Line: Less Friction, More Creating
Don’t overcomplicate your starter kit; focus on high-quality basics like a reliable stirrer and precision scales so you aren’t fighting your tools mid-project.
Match your resin type to your specific goal—using jewelry resin for a large tabletop is a recipe for a messy, expensive mistake.
Set up a dedicated, clutter-free workspace before you even open the bottles to ensure your creative flow isn’t interrupted by a search for a missing glove or a stray piece of tape.
The Systems Approach to Resin
Don’t get lost in the endless aisles of specialty hobby shops; resin art isn’t about having every gadget on the shelf, it’s about having the right core tools and a clean workspace so you can actually create instead of just cleaning up messes.
Liam Anders Chen
Cutting Through the Noise to Start Creating
At the end of the day, resin crafting doesn’t need to be a massive, expensive undertaking that takes over your entire dining table. We’ve covered the essentials: you need the right tools, a workspace that isn’t a disaster zone, and a resin type that actually matches what you’re trying to build. If you focus on quality over quantity when picking your supplies, you’ll avoid the frustration of wasted batches and ruined projects. Remember, the goal isn’t to own every gadget on the market; it’s to have a streamlined setup that lets you transition from “thinking about it” to “actually doing it” without any unnecessary friction.
Don’t let the fear of a messy pour or a failed cure keep you on the sidelines. Perfectionism is just another form of clutter that slows you down. Your first few pieces might not look like something out of a high-end boutique, and honestly, that’s fine. The real win is in the process—the ability to take raw materials and turn them into something tangible and unique. Stop overthinking the variables and just get your hands dirty. Once you establish a simple, repeatable system for your craft, you’ll find that the chaos fades away, leaving you with nothing but the pure satisfaction of creating something from scratch.
Frequently Asked Questions
How do I actually prevent those annoying air bubbles from ruining my first few pours?
Bubbles are the ultimate momentum killer. To keep them at bay, start with a warm water bath—place your resin bottles in warm water for a few minutes before mixing to lower the viscosity. When you stir, go slow and steady; don’t whip it like you’re making meringue. Once poured, hit the surface with a quick pass of a butane torch or a heat gun. It’s a small step that saves a massive headache.
Is there a way to work with resin in a small apartment without making my whole place smell like a chemistry lab?
I’ve been there. When I first started tinkering with small electronics, I realized quickly that a bad workspace ruins the focus. To keep your apartment breathable, skip the cheap, high-VOC resins and invest in high-quality, low-odor epoxy. Set up near a window with a portable HEPA air purifier, and always work in a dedicated, ventilated zone—even if it’s just a tray on your kitchen table. Control the environment, or it’ll control you.
How long do I really need to wait before I can touch my project without leaving permanent fingerprints?
Look, I get the urge to grab your piece the second it looks clear, but patience is your best tool here. Even if it feels hard to the touch after a few hours, it’s still “soft” internally. Wait at least 24 hours before handling it with bare hands. If you absolutely must move it, wear nitrile gloves. Trust me, a permanent fingerprint in the middle of your hard work is a headache you don’t need.
