I was sitting on my living room floor last Tuesday, surrounded by a chaotic nest of cotton cord and a dozen half-finished, lopsided knots, wondering why I’d even bothered. Most tutorials make it look like a meditative breeze, but the reality is often just a tangled mess of frustration and wasted material. I realized then that most advice on macrame for beginners is far too focused on the “aesthetic” and not enough on the actual mechanics of the cord. If you don’t understand the tension and the geometry behind the knot, you aren’t creating art; you’re just making a pile of expensive string.
I’m not here to sell you on a lifestyle or a vague sense of Zen; I’m here to give you a functional system for success. In this guide, we are going to strip away the fluff and focus on the essential knots and structural setups that actually work. I’ll show you how to organize your workspace, select the right cord without overthinking it, and master the foundational movements so you can stop fumbling and start actually building something beautiful.
Table of Contents
- Step-by-Step Instructions
- The Essential Macrame Tools List to Avoid Clutter
- Mastering Basic Macrame Knot Patterns Without the Stress
- Five Pro-Tips to Keep Your Workspace (and Sanity) Intact
- Cut Through the Noise: My Three Golden Rules for Macrame
- ## Cutting Through the Tangled Mess
- Beyond the Knots
- Frequently Asked Questions
Guide Overview
Tools & Supplies
- Scissors for cutting cord
- Measuring tape for length accuracy
- S-hooks or wooden dowel for hanging work
- Cotton macrame cord (3mm or 4mm) 1-2 rolls
- Wooden dowel or ring 1 piece
- Masking tape to secure workspace
Step-by-Step Instructions
- 1. First, clear a workspace that won’t drive you crazy. You don’t need a dedicated studio, but you do need a stable surface—ideally a table with a heavy-duty clamp or a dowel rod hanging from a door frame. Grab a pair of sharp scissors and a measuring tape. I’ve learned the hard way that trying to work with dull kitchen shears is a recipe for frayed cord and pure frustration.
- 2. Cut your cords to length before you even think about knotting. For a standard beginner project, I recommend cutting several lengths of cotton cord about four to six times the length of your finished piece. It feels excessive, but you need that extra slack to account for the cord being consumed by the knots themselves. Measure twice, cut once—it’s a rule for a reason.
- 3. Secure your cords using a Lark’s Head knot. This is your foundation. Fold a cord in half to create a loop, place that loop over your dowel or ring, and pull the two loose ends through the loop. Tighten it until it’s firm and centered. If your foundation is wonky, the entire project will look skewed, and we’re aiming for precision here.
- 4. Master the Square Knot, which is the bread and butter of macrame. Take four strands: two will act as your “core” (the middle two) and two will be your “working” cords (the outer two). Cross the left cord over the core to form a shape like a “4,” tuck the right cord under the core and up through the loop. Pull it tight. Now, reverse the process starting from the right side. Do this repeatedly to create a solid, structural line.
- 5. Learn the Half Hitch to create borders or patterns. This is how you move from random knots to actual design. Take one cord and wrap it tightly around your working cords, then pull it through the loop created by the next cord. This allows you to create diagonal lines or horizontal ridges that give your piece its shape and professional finish.
- 6. Keep your tension consistent. This is where most people stumble. If you pull one knot tight and the next one loose, your project will look like a disorganized mess. I like to imagine I’m tightening a screw on a mechanical keyboard; it needs to be just right—not so tight that it deforms the cord, but not so loose that the pattern loses its definition.
- 7. Trim the fringe to finish. Once you’ve reached your desired length, lay the piece flat and use your sharp scissors to cut the bottom cords into a clean, even line. You can go for a blunt straight edge or a V-shape. If the cord ends look a bit fuzzy, run a comb through them to smooth out the texture. Now, step back and actually enjoy the fact that you just built something with your own two hands.
The Essential Macrame Tools List to Avoid Clutter
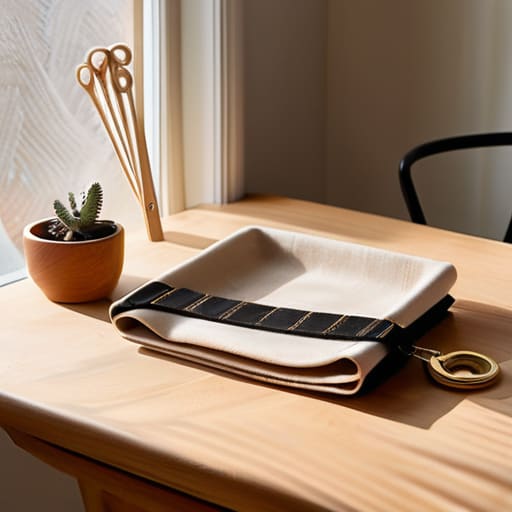
Look, I’ve spent enough time cleaning up disorganized workspaces to know that a cluttered desk leads to a cluttered mind. When you’re starting out, it’s tempting to buy every colorful spool and decorative bead you see on Instagram, but that’s a fast track to overwhelm. To keep your process streamlined, you only need a few high-quality items. Start with a solid pair of sharp fabric shears—don’t even think about using kitchen scissors—and a sturdy wooden dowel or a ring to hold your work. I always keep a small measuring tape and a few heavy-duty binder clips in my kit to keep everything tensioned and in place.
The real secret to a smooth workflow, though, is understanding your materials. Instead of guessing, follow a simple cotton cord weight guide to ensure your knots look crisp rather than bulky or flimsy. For your first few projects, I recommend sticking to specific macrame cord types for beginners, like a 3mm or 4mm single-twist cotton. It’s predictable, easy to manipulate, and won’t leave you fighting with the material. Keep your setup minimal, and you’ll find the rhythm much faster.
Mastering Basic Macrame Knot Patterns Without the Stress
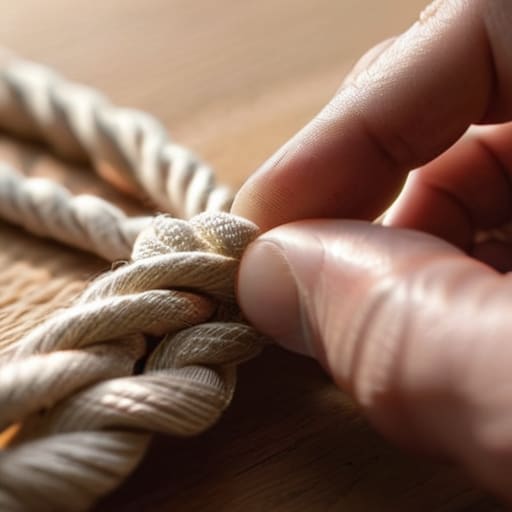
Once you have your tools laid out, the real challenge is keeping your tension consistent. I’ve spent enough time fixing misaligned mechanical switches to know that even a tiny deviation in pressure can throw an entire system out of whack. When you’re working through basic macrame knot patterns, don’t rush the rhythm. If your knots are too tight, the piece will curl; too loose, and it looks messy. I like to treat it like a calibration process—take a breath, find a steady tension, and focus on the repetitive motion. It’s less about speed and more about building muscle memory.
If you find yourself getting frustrated by a knot that won’t sit right, step back. Often, the culprit isn’t your technique, but your choice of materials. Checking a cotton cord weight guide before you start can save you a massive headache; trying to execute intricate patterns with cord that is too thick or too flimsy is a recipe for burnout. Keep your workspace clear, keep your knots even, and remember that perfection is the enemy of progress. Just keep moving.
Five Pro-Tips to Keep Your Workspace (and Sanity) Intact
- Don’t go overboard on cord. I’ve seen too many beginners buy massive, expensive spools of specialty cotton before they even know if they like the craft. Start with a single, decent roll of 3mm or 4mm single-twist cord. It’s cheap, it’s forgiving, and it won’t clutter your closet if you decide macrame isn’t your thing.
- Control the tension or lose your mind. The biggest mistake I see is pulling some knots tight and others loose, leaving the piece looking lopsided. Pick a rhythm. If you find yourself tightening up because you’re frustrated, stop, take a breath, and reset. Consistency is what makes a project look professional rather than amateur.
- Use a heavy-duty stand, not a flimsy hanger. You can’t build a stable system on a shaky foundation. If your dowel or ring is wobbling every time you pull a knot, you’re going to end up with a mess. Secure your work to something heavy or use a dedicated macrame stand so you can focus on the knots, not the balance.
- Work in a dedicated “zone.” Macrame creates a surprising amount of tiny fiber scraps. Instead of letting them drift across your entire living room, keep a small tray or a dedicated mat on your desk. It keeps your workspace clean and makes the cleanup process take thirty seconds instead of thirty minutes.
- Embrace the mistakes. You’re going to mess up a knot. You’re going to have to undo ten minutes of work. Don’t view it as a failure; view it as a necessary recalibration. Just grab your seam ripper or carefully untie it, learn where the tension went wrong, and start that section again. That’s how you actually build the skill.
Cut Through the Noise: My Three Golden Rules for Macrame
Don’t overcomplicate your setup; you only need a few high-quality tools to start, so skip the impulse buys and focus on the essentials that actually work.
Master the foundation first—once you have those basic knots down pat, you’ll stop fighting the cord and start actually creating.
Embrace the mess but keep your process organized; a little bit of planning goes a long way in preventing a tangled, frustrating afternoon.
## Cutting Through the Tangled Mess
“Don’t get intimidated by a pile of cord and a dozen complex patterns; macrame isn’t about perfection, it’s about mastering a few reliable systems that turn raw material into something functional and beautiful.”
Liam Anders Chen
Beyond the Knots
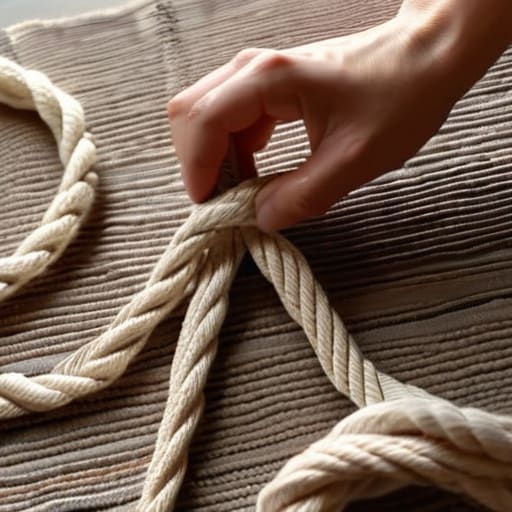
At this point, you’ve moved past the initial intimidation of a tangled mess of cord and actually built a foundation. We’ve stripped away the fluff, identified the only tools you actually need to keep your workspace functional, and walked through those core knot patterns that form the backbone of almost every design. Remember, the goal wasn’t to master every complex pattern in existence by tonight; it was to establish a repeatable system that allows you to create something tangible without the mental clutter. You have the tools, you have the basic movements, and most importantly, you have a clear path forward that doesn’t involve drowning in unnecessary supplies or confusing tutorials.
Now, my best advice is to just start. Don’t wait for the perfect setup or a pristine studio to begin your first project. Macrame is a tactile, grounding process that rewards patience and punishes perfectionism, so embrace the occasional knot that goes sideways. Use this craft as a way to reclaim your focus from the digital noise of the day. Once you find that rhythm—the steady pull of the cord and the repetition of the knot—you’ll realize that you aren’t just making a wall hanging; you’re building a small, quiet pocket of order in a chaotic world. Get to work, keep it simple, and enjoy the process.
Frequently Asked Questions
I've seen so many different types of cord online—how do I know which one won't just fray into a mess the second I start knotting?
Look, don’t get distracted by the flashy, colorful rolls you see in specialty shops. If you’re just starting, stick to single-strand cotton cord. It’s predictable and holds a knot beautifully. Avoid the cheap, multi-strand twisted stuff; it’ll fray and turn into a chaotic mess the moment you apply tension. Think of it like choosing the right screwdriver—you want something reliable that won’t strip the screw. Keep it simple, keep it single-strand.
Do I really need a dedicated workspace for this, or can I just set this up on my kitchen table without making a huge mess?
Look, I get it—space is a premium. You don’t need a dedicated studio, but you do need a plan. If you’re using the kitchen table, clear a specific zone and lay down a large cutting mat or even a piece of heavy cardboard. It keeps the cord scraps from migrating into your coffee and protects the finish. As long as you can tuck everything away in a bin afterward, a makeshift station works fine.
How long does it actually take before my knots start looking intentional instead of just like a bunch of tangled string?
Look, I get the frustration. When I first started tinkering with mechanical builds, everything felt like a mess until the patterns clicked. With macrame, you’ll likely hit that “intentional” threshold after your first three or four consistent projects. It’s not about magic; it’s about muscle memory and tension control. Once you stop fighting the cord and start feeling the rhythm of the knots, the chaos turns into design. Stick with it.
